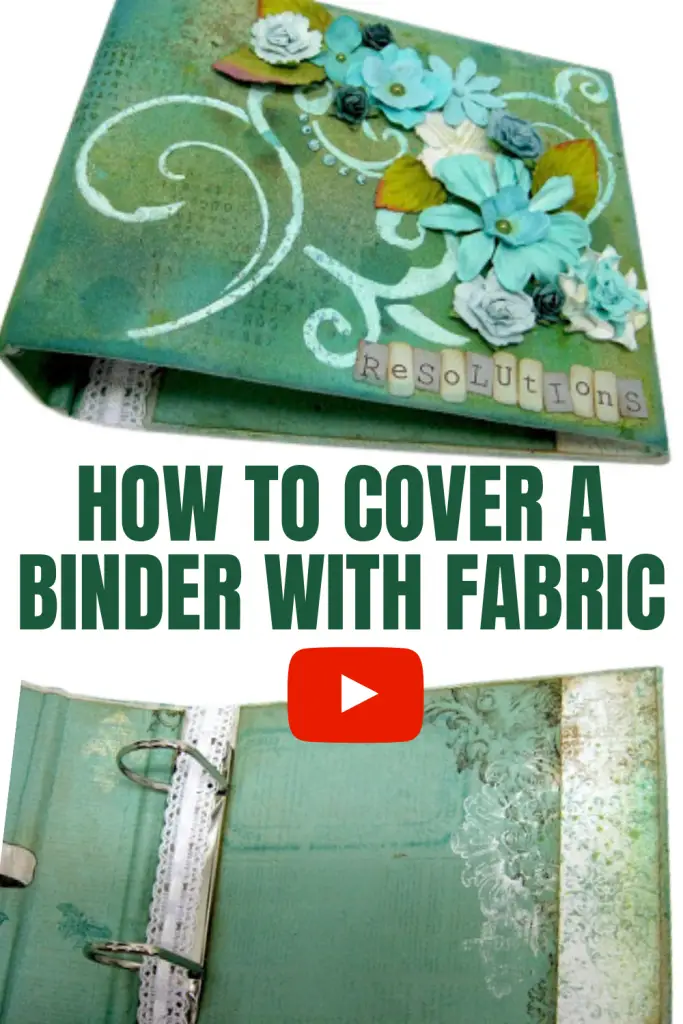
Inside: how to cover a binder with fabric and give it a new look
Since I was young I had trouble accepting things as they are. I always tried to change them and it didn't matter if it was something big or small. I think that is part of why I love altered art so much. It gives me the opportunity to change things and make them my own.
ALTER A BINDER
Binders can be very boring and ordinary. This office item is useful for filing many things and it can be very handy even in the craft room. You can store pattern papers, stamps, die cuts, cut outs and much more. But if you are a creative person like me you wouldn't want to leave the binder in it's original look.
Here are some ideas how to alter a binder:
- Cover it with pattern paper
- Prime it with gesso and then paint it
- Glue chipboard pieces or other thick embellishments and then cover with gesso and paint. See this technique on a canvas here
- Cover with any type of fabric or canvas
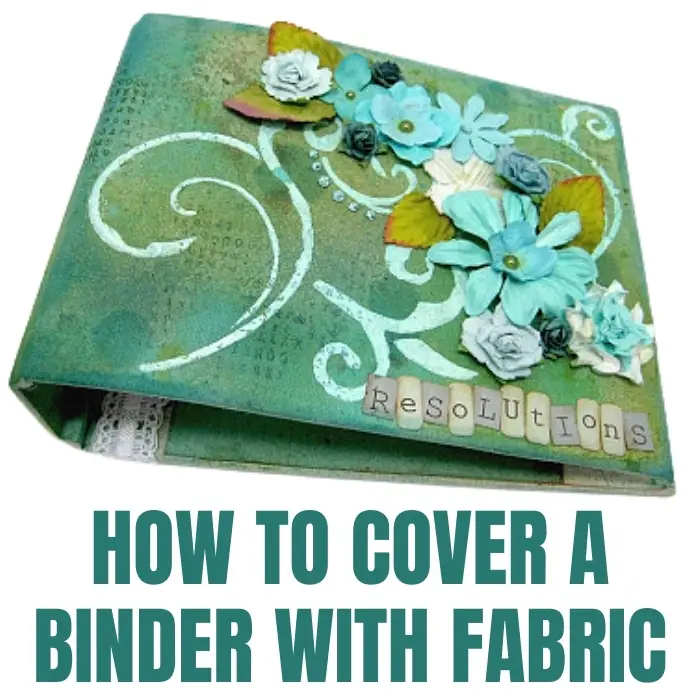
HOW TO COVER A BINDER WITH FABRIC
COVER THE BINDER WITH FABRIC
Attach the fabric to the binder with a strong liquid glue. I recommend fabric glue because the fabric absorbes it and adheres better.
The process might change slightly if the binder is made from different materials:
- Chipboard - attach fabric to cover with glue
- Plastic, varnished wood or other material - apply gesso first and then attach the fabric with the glue. The gesso will be a better surface that will accept the glue more easily.
ADD COLOR
In order to customize the cover you'll need to use a white fabric that you can later paint and/or add color.
Ways to add color:
- Paint with acrylic paint
- Spray with ink or acrylic sprays
- Color with watercolors
- Paint with fabric paints
EMBELLISH THE COVER
The embellishments depend on the style you want your binder to be. You can use any maerials or techniques like stamping, stenciling, drawing or painting.
Here are some ideas:
- Attach clock parts, cogwheels and other industrial items to design a steampunk design for your binder. Check out the video tutorial on how to make a steampunk cover.
- Add paints and unusd brushes to make an artistic cover for the binder. Here's how to make it.
- Cover the binder with flowers to give it a romantic look. Scroll down to see the full tutorial how to do that.
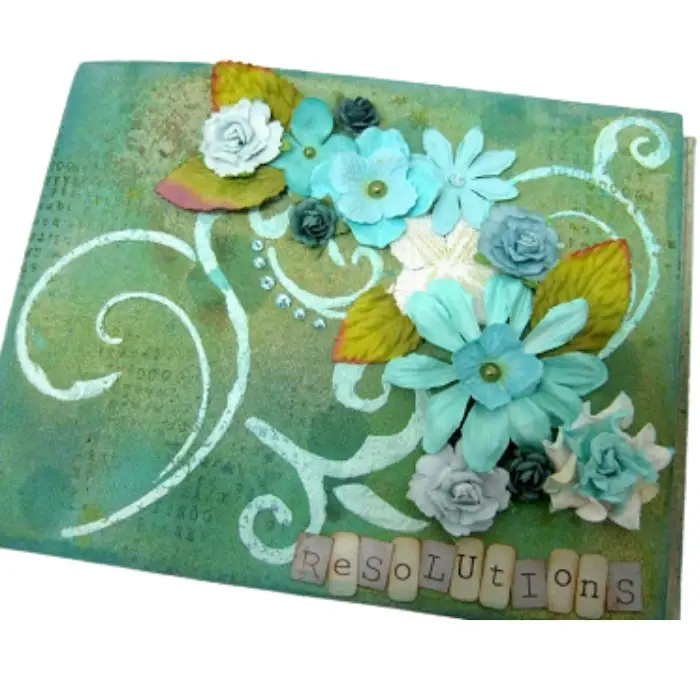
COVER A BINDER WITH A ROMANTIC LOOK
- Adhere the binder with fabric using a fabric adhesive. Wrap the fabric around the binder like you would wrap a book.
- Spray it with color sprays to add some color.
- Stamp the binder with two colors of distress ink: blue and green.
- Add a pattern with modeling paste.
- Embellish with flowers and leafs.
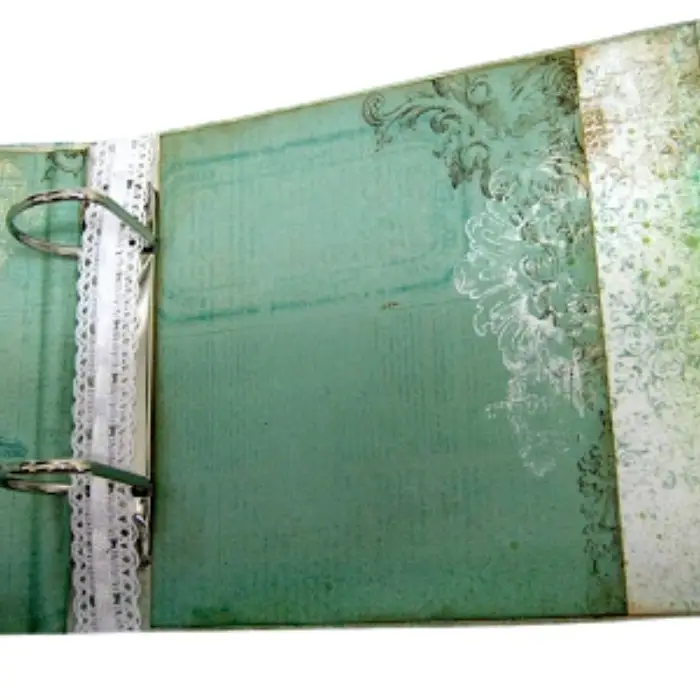
- Cover the inside with pattern papers.
- Tie a ribbon or lace on the binder ring mechanism to hide it and embellish the spine on the outside.
Here are most of the materials I used to make this project:
Have fun creating!