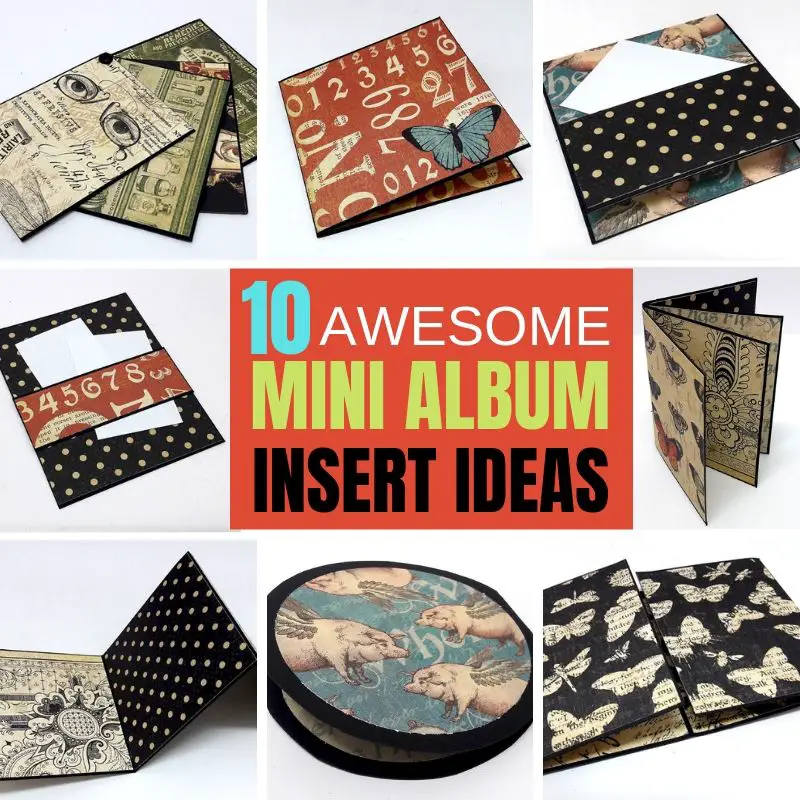
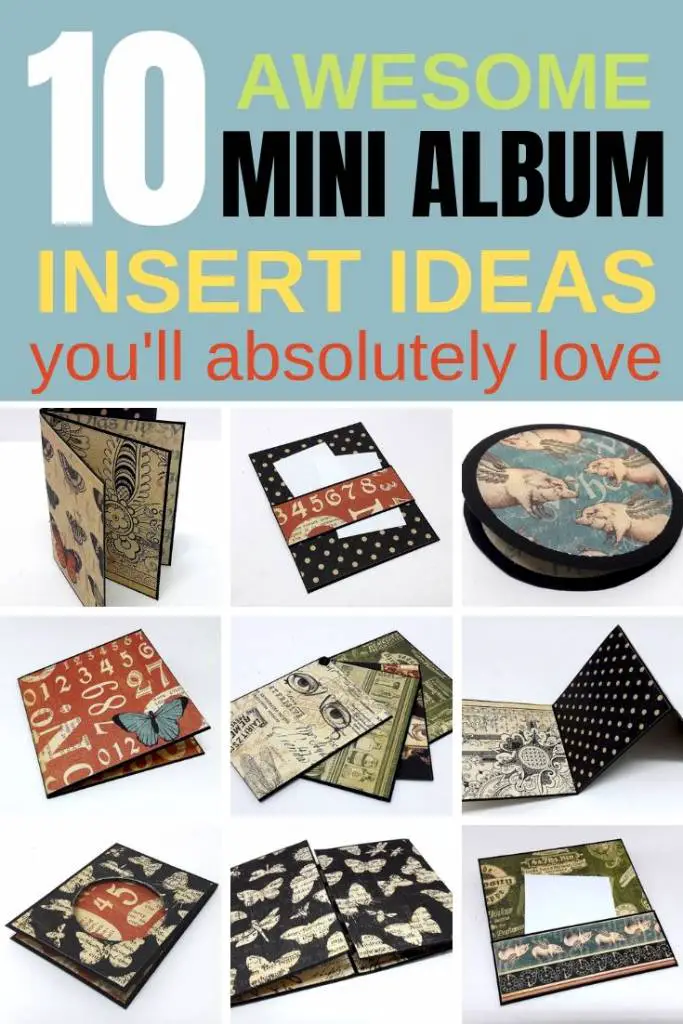
Inside: 10 fun and creative ideas to make mini album inserts you just have to try!
I can't think of the last time I made a scrapbook or a mini album page without adding an interactive mechanism or an insert. It's safe to say I can't stop making them and I try to come up with new ways to make them all the time. I love making inserts so much my crafty friends have started calling me the queen of inserts...
WHAT ARE MINI ALBUM INSERTS
Mini album inserts are little paper additions in various designs that you add to an interactive page with a pocket, a belly band or other mechanism you can insert something to. Inserts can be very simple or complicated and sometimes can be a mini album on their own. Many mini album inserts making techniques come from the card making world because they are essentially little cards or have a card structure.
WHY MAKE INSERTS
Making mini album inserts is popular among scrapbookers and mini album makers because:
- They add interest to scrapbook layouts and mini album pages
- Inserts are a great way to use smaller pieces of paper and scraps
- When making mini album inserts you increase the space for photos and journaling
- They challenge you to be creative and come up with ways to utilize a small space
- Mini album inserts are really fun to make
Here's how to make pockets for all these inserts and how to use them in mini albums!
MINI ALBUM INSERTS IDEAS
If you want to start making inserts here are the top ones to start with:
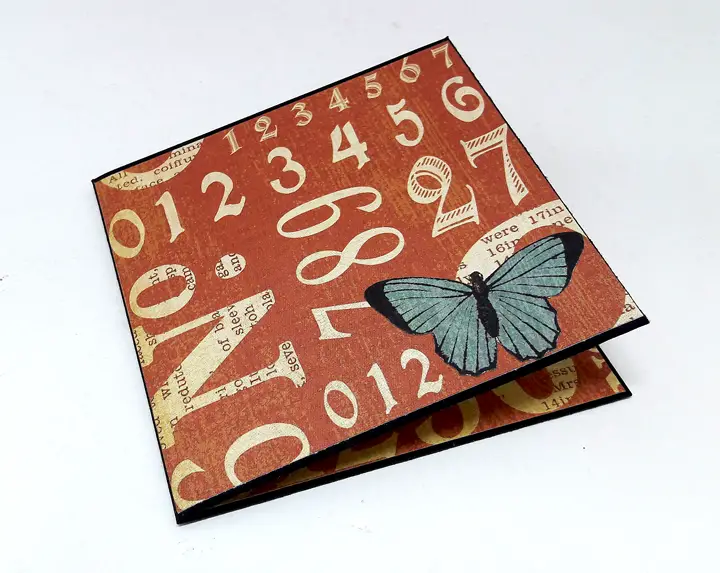
BASIC SIDE FLAP
A flap that can be opened to any direction you choose with two equal sides. Depending on the size of the insert and photos you'll be able to add at least 4 photos on this insert.
To make it you'll need to:
- Figure out the size of the space the insert needs to go into.
- Cut double sided cardstock at least 1/2" smaller than that space in width and no higher than the mini album page in height.
- Fold the piece in half.
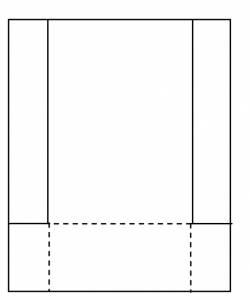
POCKET TAG
A tag with a built in pocket made from one piece of paper. Inside you can insert photos and journaling cards.
Here's how to make a 4" x 5" pocket tag:
- Cut a 5" x 5 1/2" piece of double sided cardstock
- Score horizontally at 4"
- Turn 45 degrees and score vertically at ½” from each side.
- Cut both vertical side fold lines.
- Cut horizontal fold lines from vertical side line to the edge to remove the margins.
- Fold bottom flap towards the top and fold two side flaps on backside of insert. Secure flaps with glue.
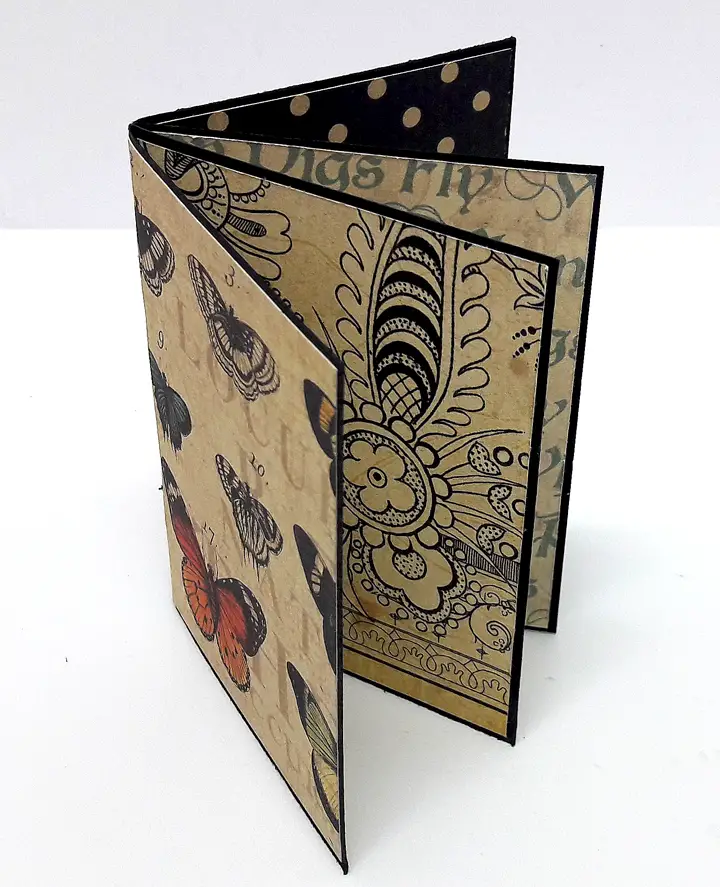
TRIPLE FLAP
An accordion shape flap that is one of the most popular mini album inserts to make and can hold 6 photos.
You'll need to:
- Figure out the size of the space the insert needs to go into and multiply by 3. For example: if the pocket width is 4" then the space inside is about 3 1/2". Multiplies by 3 = 10 1/2".
- Cut a double sided cardstock 10 1/2" wide on 1" smaller than the height of the mini album page.
- Fold the cardstock into a three flap accordion. For easier fold score on 3 1/2" and 7".
BELLY BAND TAG
This is basically an open pocket that holds photos or journaling cards with a band across the tag.
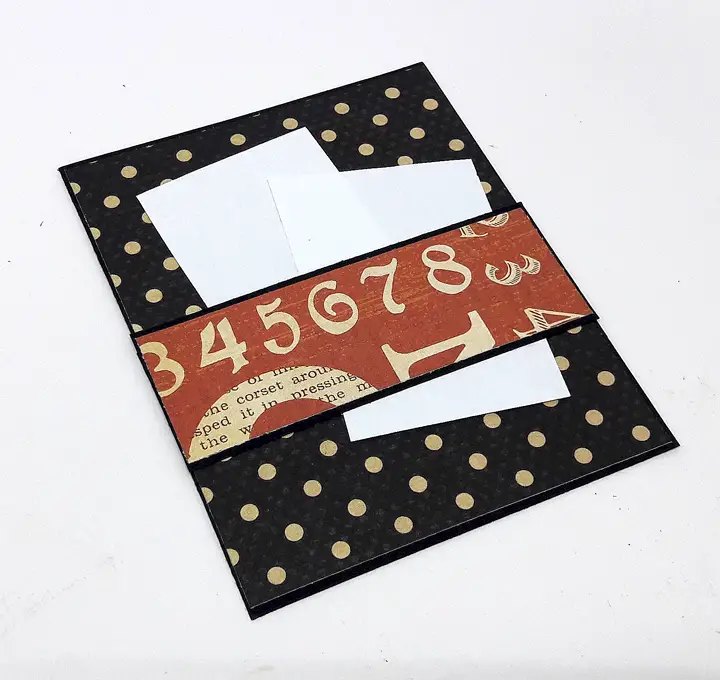
Here's how to make it:
- Cut double sided cardstock according to desired size.
- Cut a strip of cardstock 1" in height and 2" longer than tag's width.
- Fold edges of strip behind the tag and secure with glue.
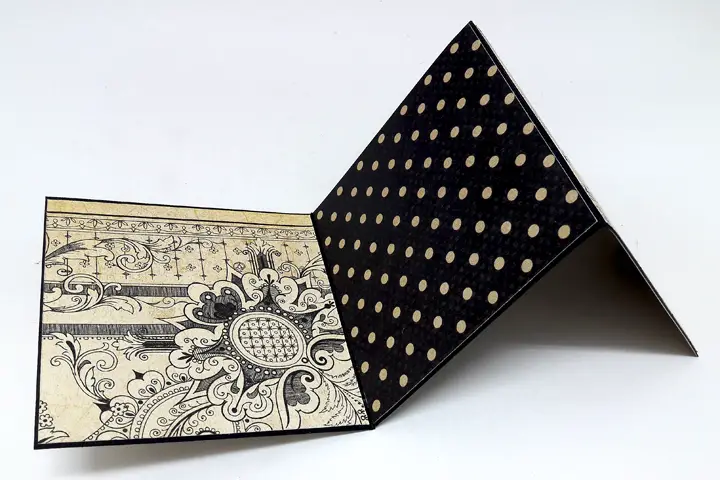
GATE FOLD INSERT
An insert similar to the basic flap with a double opposite flaps that open to both sides.
Here's how to make the insert:
- Cut 8" x 4" cardstock .
- Score cardstock on 2" and 6".
- Fold towards the center to create the gate fold.
INSERT COMBINATIONS
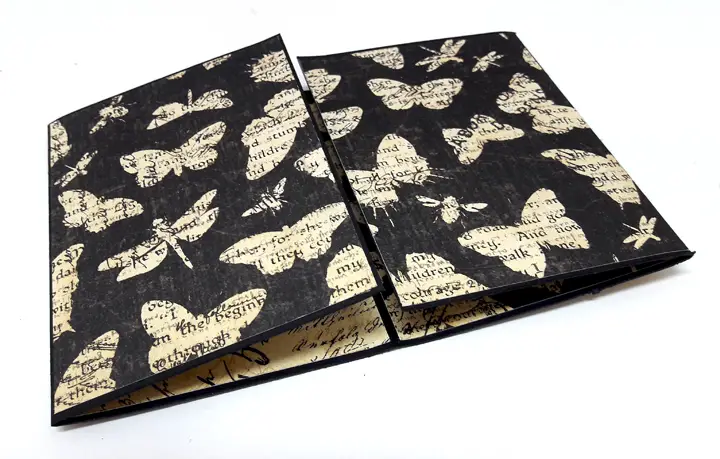
MINI BOOK
This is a combination of a few basic side flaps.
Do this:
- Make two or three side flaps.
- Attach them into a book with a staple or glue.
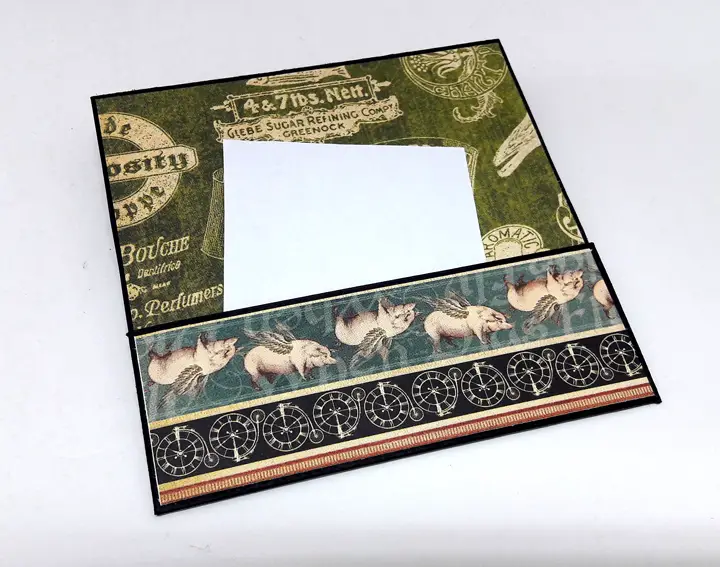
TOP FLAP WITH POCKET
This insert is a combination between a basic flap and a pocket tag.
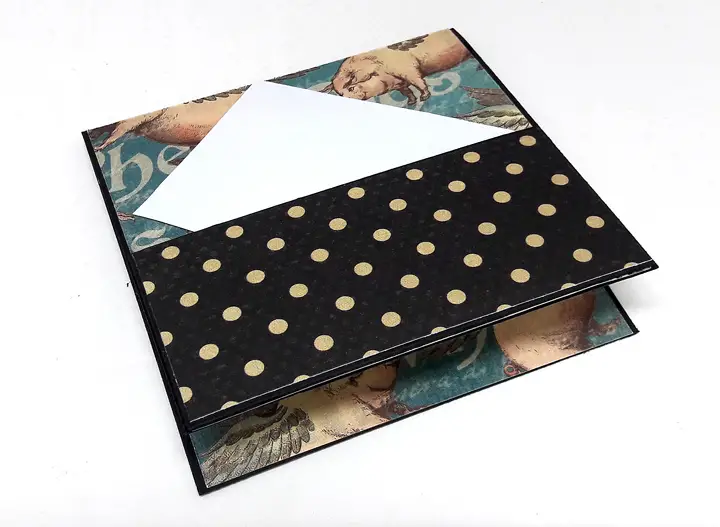
The making process is:
- Decide what is the size of the insert you need.
- Cut a double sided cardstock twice the height as you need and for the width the size you need plus 2".
- Fold the cardstock in half lengthwise.
- Open the insert and score vertically 1" from each edge.
- Score the cardstock horizontally 1" from bottom edge.
- Cut out margins (like you did in the pocket tag) from the top edge to the second fold line.
- Create pocket. You might want to hide the folds on back side of the flap with paper.
- Fold flap.
MINI FAN
a versatile insert that can be a combination of all the inserts.
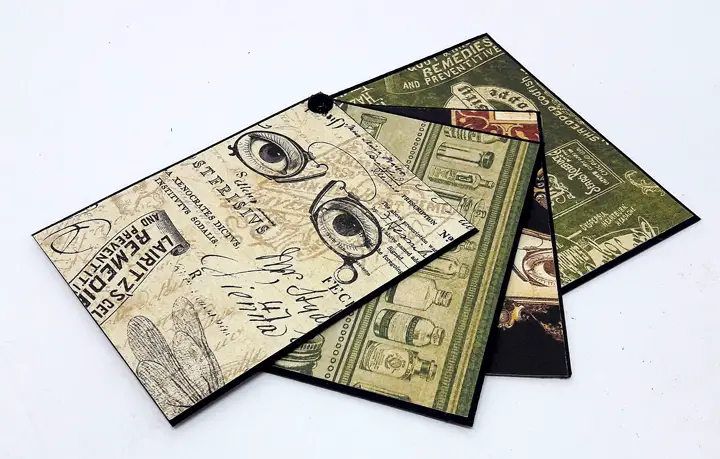
Do this:
- Cut four equal pieces of double sided cardstock. At this stage you can make the other inserts to include in the fan.
- Attach all pieces with a brad in the top left corner
CIRCLE MINI ALBUM INSERTS
Inserts don't always need to be in a square shape. Making circle inserts can add movement and interest to the page.
CIRCLE FLAP
A basic flap that is folded first and cut later.
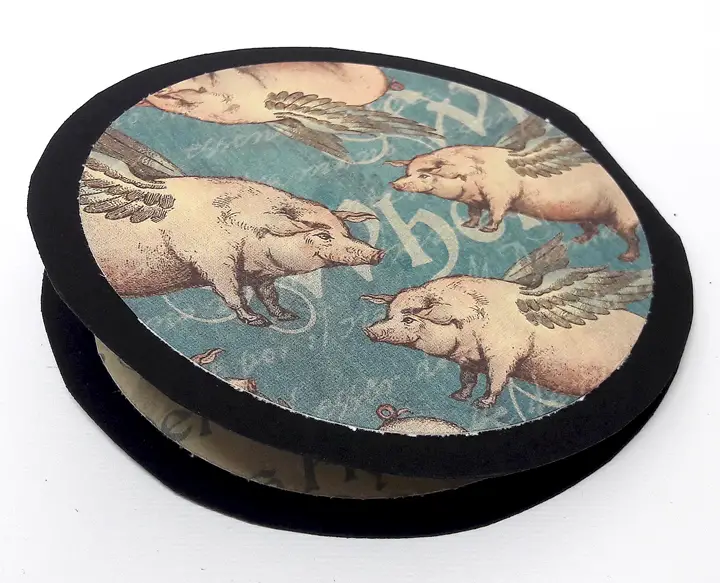
Here's how:
- Cut a 8" x 4" double sided cardstock.
- Fold it in half.
- Cut the folded cardstock into a circle while leaving a small part un-cut to connect the circles.
CIRCLE WINDOW
A basic flap with a little circle window to add an element of surprise.
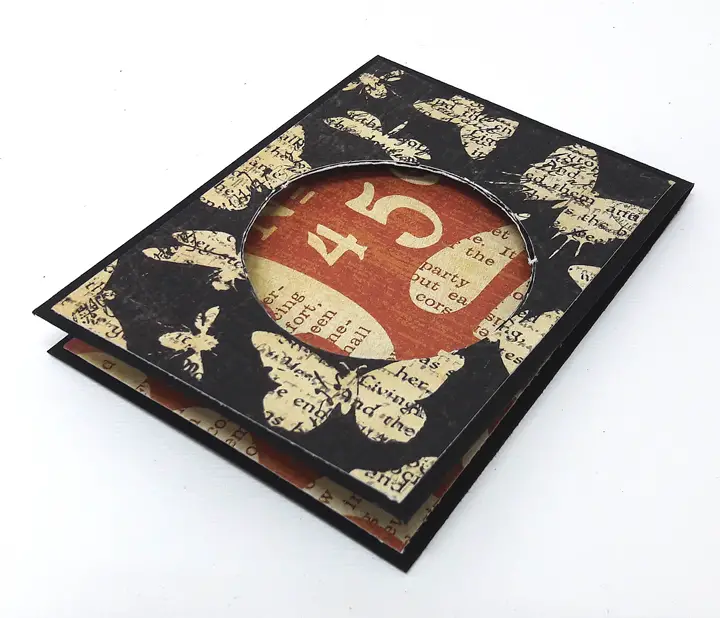
Make it like this:
- Create a basic side flap.
- Punch out or cut out a circle in the center of the front flap.
There are so many types and designs of mini album inserts you can make! Try to come up with your own designs and share them with me in the comments.
Check out a few tutorals to make mini albums with inserts:
Save it for later - PIN IT!
Have fun creating!


8 comments on “10 AWESOME HOW TO MAKE MINI ALBUM INSERT IDEAS YOU’LL LOVE”
You can look up a video tutorial on my YouTube channel
Thank you for sharing this information. I’m new to this and it’s very helpful!
I love making one with a pocket and adding journaling pages with a pamphlet stitch. It gives you a place to put a picture, some ephemera, and of course, some journaling. Thank you for your ideas! I use these in my junk journals for added interest.
Thank you SO MUCH for sharing this info!!!!
Thank you!
Great ideas and instructions. Thank you Einat for sharing your talent.
Thank you Suzie!