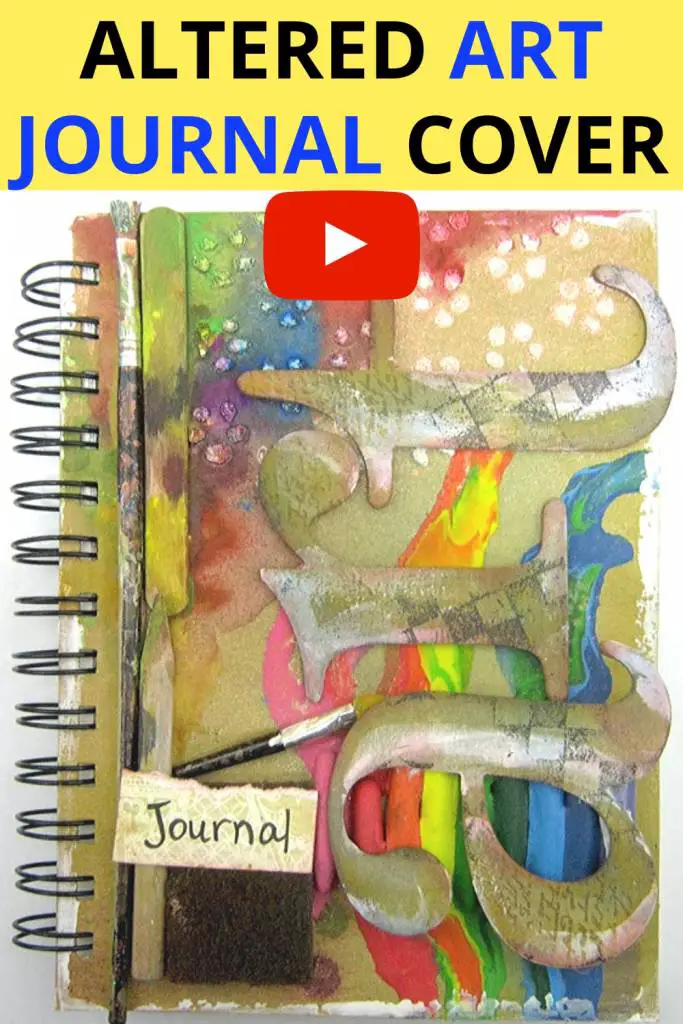
Inside: how to make a mixed media art journal cover
I just got a new diary the other day and the first question my husband asked was: "did you change it already?" He's right... I usually change things and customize them to want I need and want. So when I found this old notebook I immediately knew it will not stay the same...
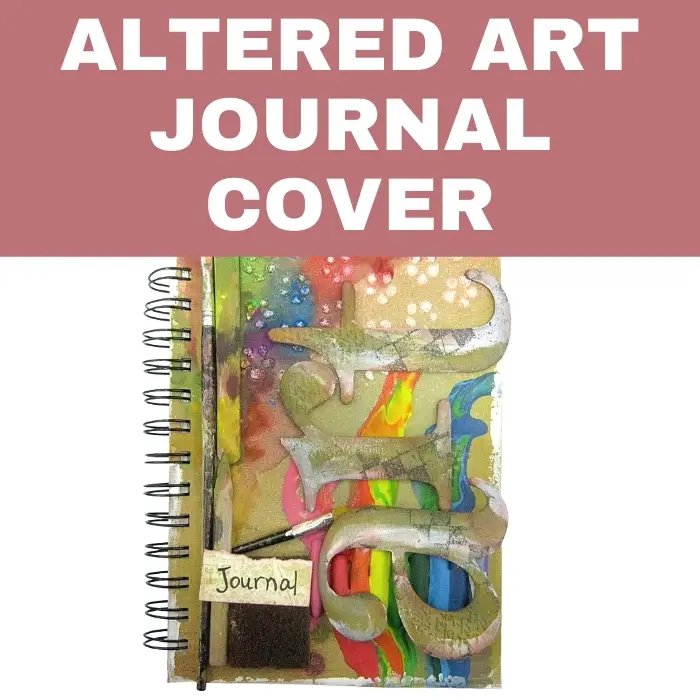
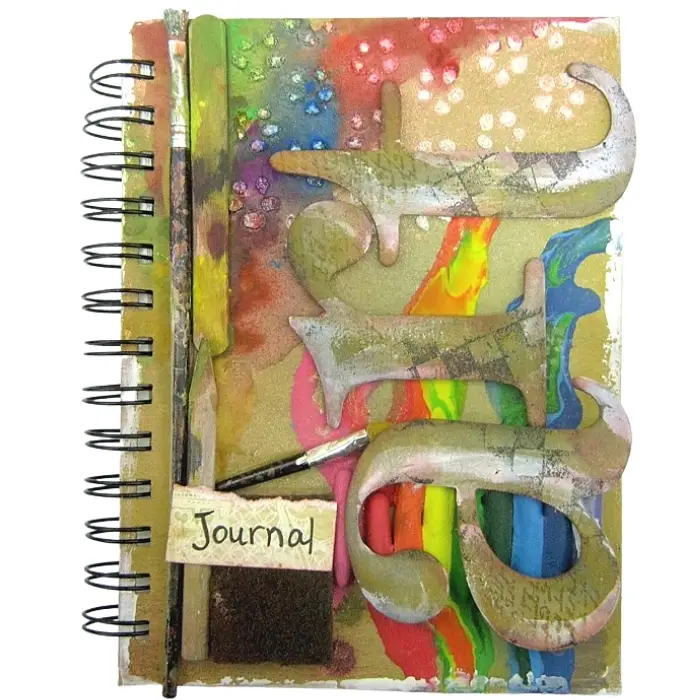
ALTERING AN ART JOURNAL COVER
Most art journals or notebooks come with a flat one color cover that is ideal for decorating or embellishing. You can go from just covering the front and back with paper to completely alter the cover with all kinds of techniques and materials.
Here are a few ideas how to alter an art journal cover:
- Cover it with patterned paper
- Paint it with acrylic paints
- Make a collage of paper pieces
- Attach stickers
MIXED MEDIA TECHNIQUES FOR THE COVER
You can treat the art journal cover like a canvas and make an entire artwork on it with different mixed media techniques. If the cover is already painted or covered with paper or other material you will have to prime it with gesso. Once the gesso is dry you can start working with any material you want.
Here are some ideas:
SPRAYING
Using acrylic sprays or other type of sprays to cover the chipboard cover. You can blend a few colors or use one color to cover the entire area.
- Spray the surface with the first color
- Dry surface
- Speay with second color
- Keep spraying until yo are happy with the result
PASTELS PAINTING
Painting chipboard letters or the cover of the art journal with pastels. Spread the pastels with baby wipes or a wet brush.
- Apply the pastels to the cover
- Smear with your fingers or a damp baby wipe
- Repeat on chipboard letters
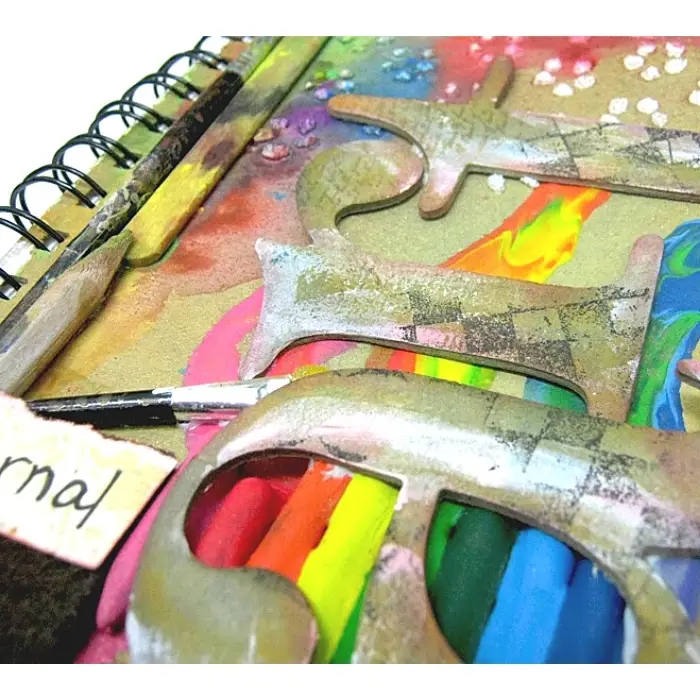
MELTING CRAYONS
Add texture and color to the front side cover with melted crayons.
- Attach the crayons to the cover
- Melt their tips with a heat tool
- When the crayon melts let it drip on the cover
ALTERING CRAFT SUPPLIES
Altering items is reusing them and giving them new life as something else. In this project I used an old brush, a used ink sponge and more.
- Attach the tools or other craft supplies to the cover
- Use strong liquid glue and wait until dry
STENCILING
Add patterns and texture with stenciling on the surface.
- Stencil the surface with paint or modeling paste
- Color the modeling paste or leave white
- Let dry before continuing to work
WATERCOLORING
Add a layer of watercolors to the cover to add more color
- Apply the watercolors directly on the surface
- Spread the paint witha wet brush
- Blend the colors to create more shades
STAMPING
Add patterns and chipboard letters with stamps and ink
- Stamp the surface with a pattern stamp
- Use permanent ink to make sure you won't smudge
Here's the step by step to create this altered project
If you are new to mixed media and you want to start here the 4 essentials you need to know before starting to make mixed media projects
Looking for some more ideas to give your notebook or journal a new look:
Sharing is caring - PIN IT!
Have fun creating!