live_tv
Livestream Starting Soon
00
Hours
:
00
Minutes
:
00
Seconds
Up next in 10

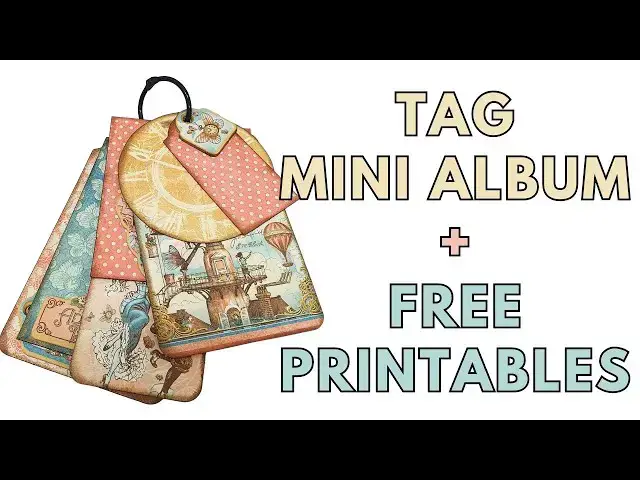
Download the free tags printable: https://mailchi.mp/afbcf76ab7c3/tag-mini-album
Learn how to make an easy tag mini album using printed tag templates
Join this channel to get access to perks:
https://www.youtube.com/channel/UCPdD0ifkS1vKYPs3zgDx3YQ/join
Show More Show Less View Video Transcript
0:01
[Music]
0:06
hi everyone anat kler here with a new
0:08
video tutorial today we're going to make
0:11
a tag mini album so you have all the
0:15
tags that I have used in a printable
0:19
that you can download from the
0:21
description under the video and you can
0:25
print that as many times as you want and
0:28
then cut it out to use as templates for
0:33
the tag mini album that we're going to
0:37
make so I'm going to go ahead and cut
0:40
the tags and then show you how I adjust
0:43
their size how I use them to
0:47
make the mini
0:50
album so I have here the double-sided
0:54
card stock that I have already cut it's
0:57
important to use a double-sided card
0:59
stock for
1:01
this tag mini album because we're going
1:04
to see the tag on both sides first I
1:06
want to show you the really simple easy
1:08
way to make a tag so you have a
1:10
rectangle or a square and then you cut
1:13
the corner flip it 180° and use it on
1:18
the other side as a template to have the
1:20
exact same
1:22
angle so this is a pretty easy thing you
1:25
don't need any printable for that you
1:27
just cut both corners and and use the
1:31
template like I showed you some tags you
1:34
can follow the pattern that you have on
1:38
your card stock like here there is a
1:40
nice
1:42
Arch on the top which I have cut out and
1:46
this looks pretty cool as the top of a
1:50
tag next I have a tag that I cut and a
1:54
piece of paper that I got from the
1:56
collection that is too big so what I'm
1:59
going to to do is cut around it while
2:01
holding it down if you want you can use
2:06
removable tape to secure the paper tag
2:09
to the card stock and then cut around it
2:12
or you can simply take a pencil and draw
2:15
the lines around it and then cut the
2:18
paper the card stock I mean so I like to
2:21
do it this way I think it's pretty
2:25
easy and now I have my tag ready
2:31
again I'm using double-sided card stock
2:33
so it will be visible on both sides next
2:37
I'm going to show you how I'm going to
2:38
do the only the top of the tag this one
2:41
is slightly wider than the tag that I
2:44
have cut so I'm just starting on the
2:48
edge and then follow the line of the
2:52
tag only to the top I want the top only
2:56
so that's another way to use the
2:58
template I mean partially use the
3:00
template and not completely of course
3:02
you can adjust the size to the width
3:06
also here I have a shorter tag than the
3:11
printed tag and I'm going to use only
3:15
two of The Arches you see there are
3:17
three arches one on the top and then two
3:20
on each side I only want to use the two
3:24
on each side so I'm just aligning the
3:28
tag slightly on top of the paper
3:32
Square you can play with the angles of
3:35
the tag with their
3:38
positioning to create the effect that
3:40
you want on the
3:42
tag here again I have a slightly larger
3:46
piece of paper but I like the angles so
3:49
I'm just going to follow them along and
3:53
cut along the lines
3:59
and then here
4:01
again I'm going to
4:05
cut only the
4:08
top cuz I like how that
4:12
looks and I'm also going to cut the
4:15
sides so basically this tag is going to
4:18
be completely cut according to the paper
4:23
template and of course you
4:26
can print it as many times as you want
4:30
want create as many tags as you want not
4:34
just for this mini album but for
4:39
any project that you want they can be
4:42
gift tags they can be white tag wine
4:44
tags they can be whatever you
4:48
want so now that I have all the tags
4:51
ready I have a few more here I cut the
4:54
smaller ones and the circle
4:56
one and this one is slightly bigger so I
4:59
had to adjust it a little bit the next
5:04
step is to what I like to
5:07
do is to ink all the edges it gives the
5:11
tags a really good definition and
5:15
borders especially when you use pattern
5:18
paper that is
5:20
busy and you want sort of a separation
5:25
between the layers because all the tags
5:27
are going to be one on top of the other
5:30
so that gives you this
5:33
definition of the
5:38
tag also you need to decide if you want
5:41
to round the corners or
5:45
not I going to round some of the corners
5:49
and leave some of the corners
5:51
unrounded and make sure that when you
5:54
use the ink to
5:59
make the definition on do it on both
6:02
sides of the tag then you can embellish
6:06
the tags I added a few chipboard pieces
6:09
you can add stickers you can add of
6:12
course photos the idea is
6:15
to have this as a mini album so you can
6:17
add photos to both sides of each
6:22
tag so I'm going to start making the
6:25
holes for the tags the are these are the
6:27
chipboard pieces that I have
6:31
added from the
6:34
collection and the reason they have the
6:37
reason that I have to punch the holes is
6:39
because I covered their other side with
6:42
paper now I want all the holes to be in
6:46
the center of the tags so what I'm doing
6:48
is taking a few
6:50
tags aligning them
6:53
together and then punch a hole in the
6:57
center make sure it's not too close to
7:01
the edge because you
7:03
need the hole to be far enough for from
7:06
The Edge so when you flip the pages it
7:09
won't
7:13
tear if it's too close then you when you
7:16
add the ring to bind all the
7:18
tags it might
7:23
tear so I had a really
7:28
pretty ch board that I wanted to add but
7:32
I had to bear in mind that I need to
7:35
punch a hole on the tag so I attached it
7:38
slightly below where I wanted the hole
7:41
to
7:42
be so it's kind of popping out on the
7:45
bottom which is fine by me I don't care
7:48
I like that I covered the that part with
7:52
a little bit of
7:56
paper so I just want to make sure I have
7:58
all the h holes
8:01
ready and for the circle ones if you
8:04
have a pattern like mine it's a clock
8:07
face then make sure that you punch the
8:12
hole on the top so the clock faces the
8:15
right way and when you have a square
8:18
like this it can also be a diamond
8:21
depending on where you put the
8:24
hole the next thing is to arrange all
8:27
the tags in the order that you want want
8:30
and then insert them to the ring pretty
8:34
simple pretty easy I like them to be in
8:37
different sizes and have smaller ones
8:40
bigger ones play with the chipboard
8:44
pieces that I have and
8:48
just decide what I want to face up and
8:52
what I want what I want to face the
8:54
other
8:55
way so
8:59
and since it's bounded with the ring you
9:02
can always change the order or take them
9:05
out when you add your
9:07
photos so basically this is your mini
9:11
album if you are a member of the extra
9:14
Club this is the YouTube membership that
9:17
I have on this
9:19
channel then you can learn how to add
9:22
interactive tags to
9:25
this um mini
9:27
album uh you get get an extra tip every
9:31
month for one of the public projects
9:34
that I
9:36
post on this
9:38
channel and if you want just for $5 a
9:43
month you can become a member and
9:45
support me in continuing to post public
9:50
movies as videos not movies
9:54
videos on this channel so this is how
9:58
our finished
10:01
mini album tag tag mini album looks with
10:08
everything with all the interactive tags
10:12
as well as the tags that we have made so
10:16
again if you want to support me please
10:19
join the membership just click the join
10:23
button this is one of the tags with the
10:26
belly band on both sides
10:32
and then we have another one with a flap
10:36
on the front on one side and then a
10:39
pocket on the other
10:43
side and then the last one is with two
10:47
opening side flaps so this is really
10:50
cool thank you very much for joining me
10:52
please don't forget to subscribe to my
10:54
channel and click on the little bell
10:55
icon to be notified when I upload a new
10:57
video I will see you next time
#Online Media
#Crafts
#Greeting Cards
#Custom & Personalized Items