0:09
hi everyone anat kler here with a new
0:11
video tutorial and today we are making
0:13
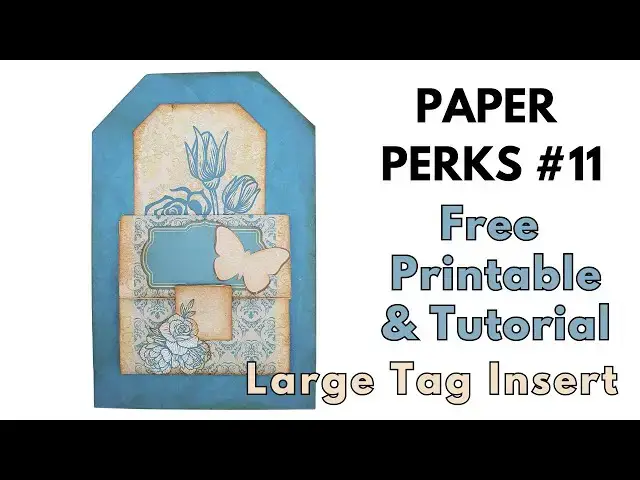
paper perk number 11 so I have here
0:17
these uh Tags I'm going to show you what
0:20
to make of them and it's going to be
0:24
pretty cool what we're going to make is
0:30
we're going to make sort of a large tag
0:36
and like a triple interactive tag sort
0:41
of um I'm going to cut all of these and
0:44
back okay so I have all the pieces going
0:50
to put the smaller ones aside so this is
0:52
a really cool blue tag that you can
1:01
junk journal or you can uh cover it on
1:05
the other side with some
1:08
uh tea dye or coffee dyed paper and then
1:11
use it as an insert so we have the tag
1:24
stick because I want to
1:38
of paper to the other
1:42
side I don't print it directly on this
1:45
type of paper because then it
1:50
changes the colors of the design cuz the
2:01
paper so that is why I'm attaching this
2:05
on the other side cutting
2:10
around and then we're going to Ink the
2:15
edges I always like to Ink the edges but
2:21
optional I'm going to Ink the edges on
2:35
you don't have to Ink the edges if you
2:37
don't want to you can attach a different
2:39
type of paper also I'm going to Ink the
2:42
edge of edges of the tag again you can
2:53
paper whatever you want so what I'm
2:56
going to do with this is simply
3:07
this like a little pouch or pocket or of
3:20
sort and then let's just make sure it is
3:25
burnished I'm going to attach it to this
3:28
but I'm only going to apply glue on the
3:32
sides because I want this to go
3:36
inside of the tag the pouch so just a
3:42
tiny little bit of glue here on the
3:49
edges well not not tiny but I mean thin
4:02
and then we're going to attach
4:04
it in the center like
4:14
this and then we have this opens up like
4:18
that this going on the
4:24
inside and now we can embellish it what
4:30
have this as a some sort of a
4:34
closure so what I'll do I'm going to
4:39
this want to make it a little heavier a
4:42
little thicker so I'm going to attach it
4:47
paper to the tea dye paper left over
5:02
is and then this one is going to hold it
5:05
like this so we're going to apply glue
5:14
bottom and then Center
5:20
it then I want to add this
5:26
flower can add the flour here
5:34
or let's see where to add this
5:39
guy let's add it here
6:01
a little bit of Ink on the
6:05
butterfly So Butterfly and the paper
6:09
or let's add the butterfly on the bottom
6:14
now we can't add it on the bottom
6:17
because it's needs to open so I'm just
6:19
going to add it on the
6:47
edges it's not going to be very
6:50
visible but it will create a
6:57
contrast really like the blue colors of
7:02
everything so what we have here is our
7:06
tag of course you can punch a hole and
7:09
add a ribbon of some sort if you
7:13
want and then we have this opens up like
7:18
this and you can add a photo here or
7:28
journal and this this is how it looks so
7:34
Journal where we're going to put
7:53
here doesn't cover the entire page but
7:56
it's still pretty cool
8:06
pouch so I really hope you like this
8:08
tutorial please don't forget to
8:10
subscribe to my channel go to the
8:13
Facebook group paper perks to download
8:15
all the printpal of course you have a
8:19
link in the description under the video
8:21
thank you very much for joining me and I
8:23
will see you next time