0:10
hi everyone anath kler here with a new
0:12
video tutorial and today we are at paper
0:14
perks number seven paper perks are
0:17
printables that you can download from
0:19
the face group you have a link to that
0:21
group in the description under the video
0:24
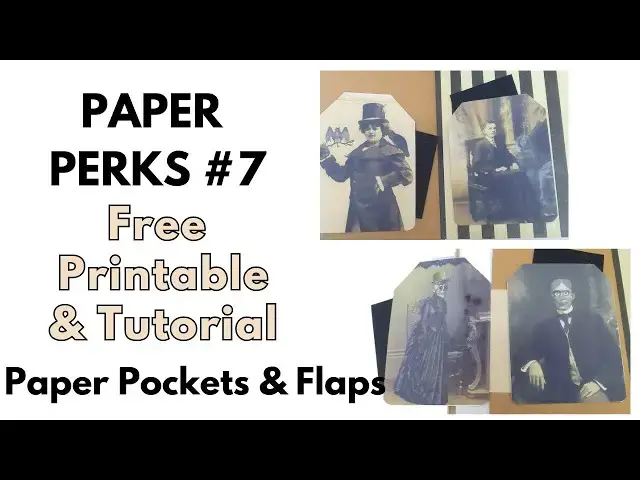
so actually these are my favorite paper
0:28
perks until now these are my creepy
0:32
ancestors tags that are especially made
0:37
for Halloween which is around the corner
0:46
person and then we have the creepy lady
0:50
with the bat and the Raven the skull guy
0:57
eyes and then the guy that say it's in a
1:02
ghosts so I'm going to cut these and be
1:05
back to show you what I'm going to do
1:08
them okay so what I want to do today is
1:12
two things so I'm going to show you both
1:15
first you can use these as tags
1:18
obviously you can back them with another
1:21
type of paper and then use them as
1:23
inserts or cards you can write on the
1:27
back um add them to a scrapbook page a
1:30
mini album Etc so what I want to do
1:34
first is a pocket which is really easy
1:38
glue to the sides and the
1:43
bottom and then this pocket can also
1:46
also be an insert we don't want to glue
1:52
a page or something because then we're
1:57
side and if you have excess
2:00
this just simply cut them
2:09
out so this is a really cool pocket that
2:17
under paper clips remember we made
2:33
things let's put this in here I really
2:36
like this guy here and then inside the
2:45
want so basically this is one cool thing
2:50
the second thing I want to make is a
2:53
flap so when we want to make a flap we
2:56
want to again gain both sides so we want
2:59
to create a hinge to use for the flap to
3:04
open and close so for that we need some
3:10
sort of a paper so I'm just going to
3:27
half and then even for this you can make
3:30
the flap a pocket so you can either
3:34
apply glue on everything and glue them
3:36
together so they will be just a two
3:44
can add po uh glue to bottom sides make
3:49
a pocket or you can make the pocket from
3:53
this side which is what I'm going to do
3:55
so first we're going to
4:02
hinge so we have two sides for the hinge
4:05
one side we're going to put
4:08
glue which is the right side the bottom
4:13
side then we're going to align the
4:16
fold of the hinge with the left
4:24
tag now we are going to add the other
4:27
tag so again at at this point you need
4:30
to decide if you want to just attach it
4:32
or make a pocket so what I'm going to do
4:39
this apply glue to the bottom the left
4:45
top and then attach my other
4:58
now what I have is a pocket that is a
5:02
side pocket so now we can attach the
5:09
want if you want the flap to open to the
5:13
right then you leave the other side of
5:17
the hinge folded this way if you want it
5:19
to open to the left then you need to
5:22
reverse the fold of the hinge so now it
5:26
will open like this and this is what I
5:29
want so I'm going to look for a page ooh
5:32
this looks like fun so what we're going
5:37
bottom of the hinge and apply
5:43
again I'm not worried that it's going to
5:45
be on the paper at this
5:48
point the fold is aligned with the edge
5:53
of the page and this later when I go
5:57
over pages and add things I can add
6:00
here now remember this is a
6:03
pocket remember so we can add whatever
6:07
inserts oops just dropped my glue we can
6:11
add inserts in here and have like a
6:16
hidden compartment in our art journal or
6:20
junk journal or whatever mini album
6:22
whatever we add this too so this is our
6:31
is our creepy ancestor insert which is
6:35
also a pocket so I really hope you like
6:38
this tutorial go ahead and download the
6:41
paper perks from the Facebook group
6:42
again you have a link in the description
6:44
under the video don't forget to
6:46
subscribe to my channel and click on the
6:48
little bell icon to be notified when I
6:50
upload a new video so you won't miss
6:52
anything and you'll be able to follow
6:55
all the tutorials that make all the
6:56
projects thank you very much for joining
6:58
me and I I will see you next time