Folding card – Tutorial

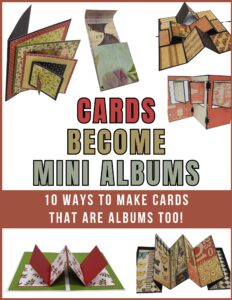
I made this folding card as one of the designs for the MY Punch August kit. It looks complicated but it is actually very easy once you know where to cut and fold. The hard work is to cut all the squares that come on it. So this is how it’s done: 1. Cut a double sided cardstock 12″ by 5.5″. 2. Make 4 folds at 2″, 4″, 8″, 10″ 3. Turn the cardstock and make 2 cuts at 1.5″ and 4″. Cut only from the first fold to the last fold. 4. Fold the card, starting from the left: first fold – mountain (out), second fold – valley (in), then mountain again and end with a valley fold. 5. Change two of the folds: the inner second fold turns out and the third fold turns in. 6. Now you have the basic card and you need to embellish it. Cut 2 sets of squares: The first set 1/4 of …

Einat Kessler

Welcome!


Hello crafty friends!
I'm Einat: creative professional,mixed media artist, scrapbook and paper designer, altering enthusiast and class instructor.
Click here to learn more about me and my creative journey

Contact me:
kessler054@gmail.com


Social Links


Newsletter Signup


Craft and Hobby Association


Copyright Information

Copyright


The designs, pictures and instructions listed on this blog are provided here for personal use only and may not be sold, reproduced or used for commercial or submission purposes in any form without my written permission.