THE NEW EXCLUSIVE FREE PRINTABLES FOR JUNK JOURNALS
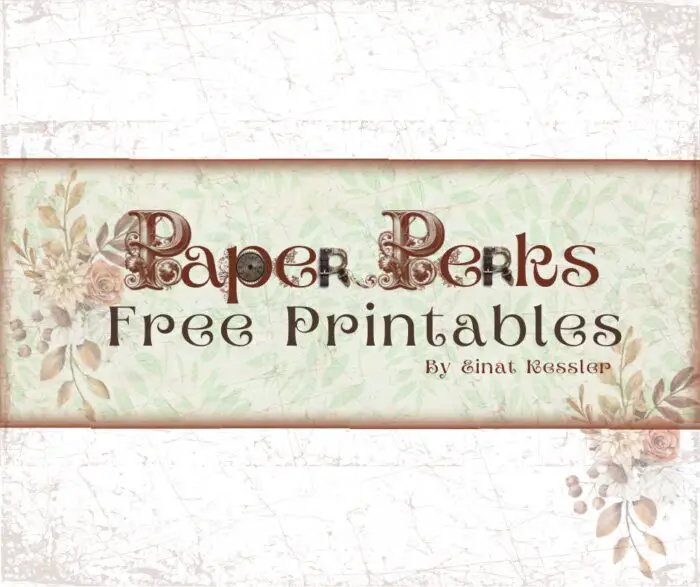
Inside: the new free junk journal ephemera to use If you are constantly looking for new papers and materials for your junk journals than you are in the right place. I want to tell you about an exciting new resource for getting free papers and embellishments for junk journaling. WHAT IS A JUNK JOURNAL There is no one definition of a junk journal and they can vary from person to person however there is one main thing that is common to all junk journals: they are all made from a …


