Hi dear members!
Today we'll continue to explore the different aspects and techniques of art journaling.

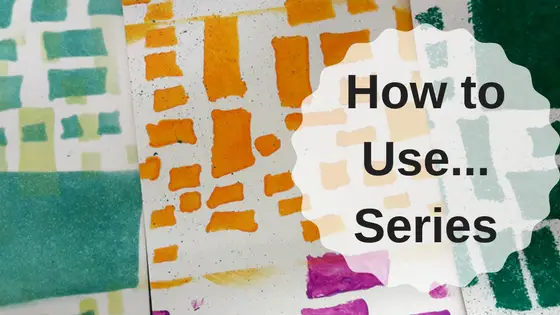
The most basic technique or skill in art journaling is layering. This is the part where you add layers of paint, texture or pattern one on top of the other. When you layer you can use one material for all the layers or multiple materials, but it's important to know your materials and what will work on what.
There are some basic principles for layering:
- Start with making a colored background. That can be one or more colors but try not to use more than three.
- Then start adding patterns. Begin with larger shapes or pattern and then add gradually smaller patterns, shapes or details.
- When adding the layers slightly overlap each layer but don't cover it completely or it will disappear.
- The focal point of the page should be your main layer and should not be covered or hidden by other layers.
- The text is the final layer before you add final touches.
In order to make your layers visible on your page you need to know your materials and make sure what you can apply on what and what works with what. For example you can't add watercolors to a page you previously gessoed.
I have compiled a chart with the main materials and their properties so it'll be easier to avoid mistakes and things that don't work.
Download Know Your Materials Chart
In this video we'll learn how to create a page with layers and how to add layers that will be both visible but also combined to one page without being too noisy or take over the background.
TIPS & TRICKS
- Use contrasting colors for the background. It's best to use one bright color and one darker color so they will make an interesting background.
- If you are using stencils then use very little acrylic paint to make the pattern. This way you will be able to keep working without waiting for the paint to dry.
- If you want to add paper pieces with gel medium or other wet materials it's best to make the layers beneath with a material like acrylic paints that dries permanent. If you use Distress Inks for example and then attach tissue papers with gel medium the ink with react with the gel and everything will smear.
- Add the focal point and text in such a way that they don't cover all the layers and that you can still see all the layers to the first background layer.

SUPPLIES
Acrylic paints
Stencils
Tissue papers
Face stamps
Black and white pens
******
Some of these techniques might be familiar to you or you might have tried before. The tutorials in this series are going to go in depth to every technique, explain the principles of execution and the artistic implementation. As we move forward we're going to learn new techniques and combine previous techniques as well.
Have fun creating!
