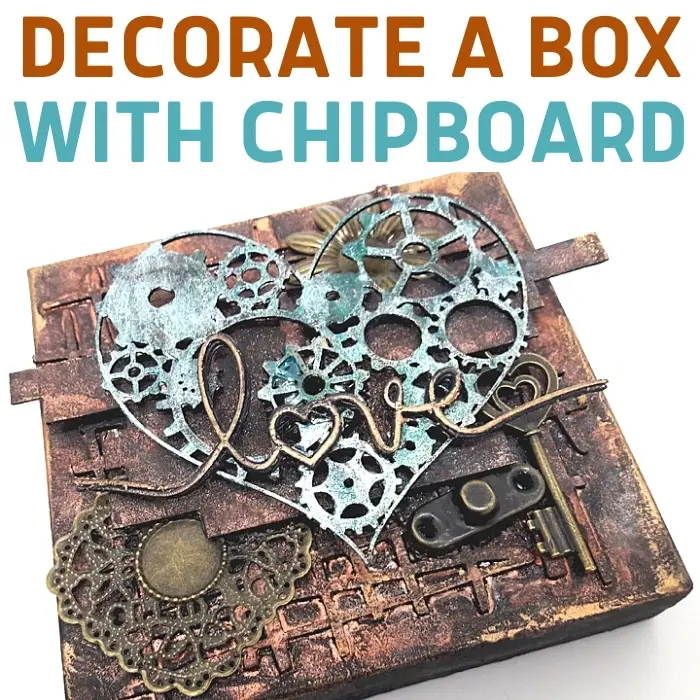
Inside: how to decorate a box with chipboard
My one great craft supply weakness is boxes! I admit I can't throw them away and every box I see is a potential craft project for me. So I have a pile of boxes from all materials in my craft room and I get to stare at them daily. But sometimes inspiration strikes and I take one box and make it into something beautiful...
ALTERING AND EMBELLISHING BOXES
Boxes are a great thing to alter or embellish:
- They are made of materials that are easy to cover with paper, paint or color.
- Boxes are useful so altering them is not just taking care of the environment but also creating more storage for you.
- You can find boxes in all shapes and sizes.
- They are 3D which allows more design options.
- You can decorate them with almost any object or embellishments.
DECORATE A BOX WITH CHIPBOARD
I love using chipboard to decorate and embellish my mixed media projects and especially boxes because it allows me to add layers and texture.
Decorate a box with chipboard is an easy technique:
- Chipboard is easily painted, sprayed and colored
- It is thick enough to add texture but not too thick to interfere with layering
- The variety of shapes and designs is huge and can fit any style or project
- You can apply many techniques on chipboard like embossing, inking, stamping, stenciling and more.
if you want to learn more about chipboard and how to work with it check out the Best Ideas for Crafting with Chipboard You Need to Know.
Here's how to make the box:
- Cover a box with black gesso. If you don't have black gesso, any other type will work too.
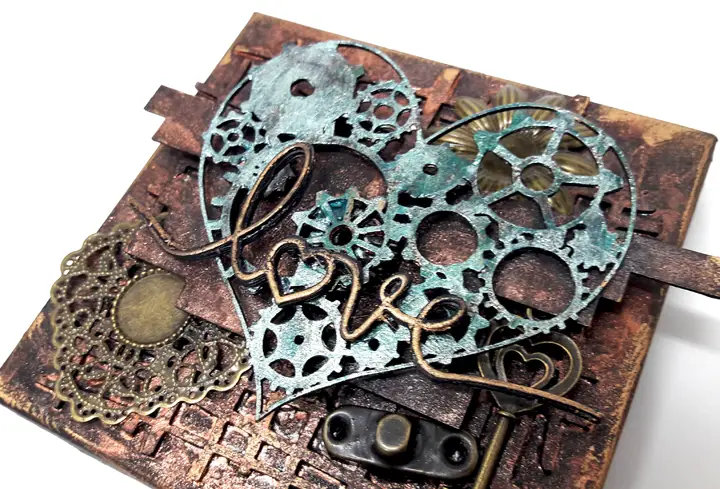
- Add the first layer of chipboard to create a textured pattern. Use a pattern like plaid, circles or stars to make the box top a background for the next layers.
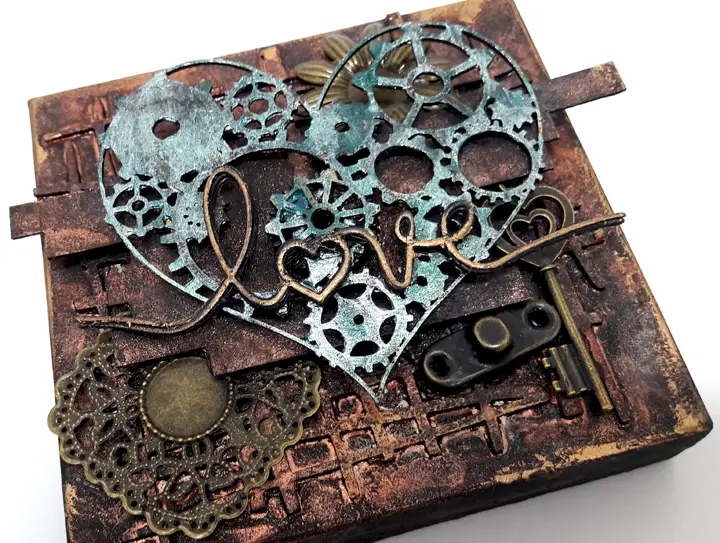
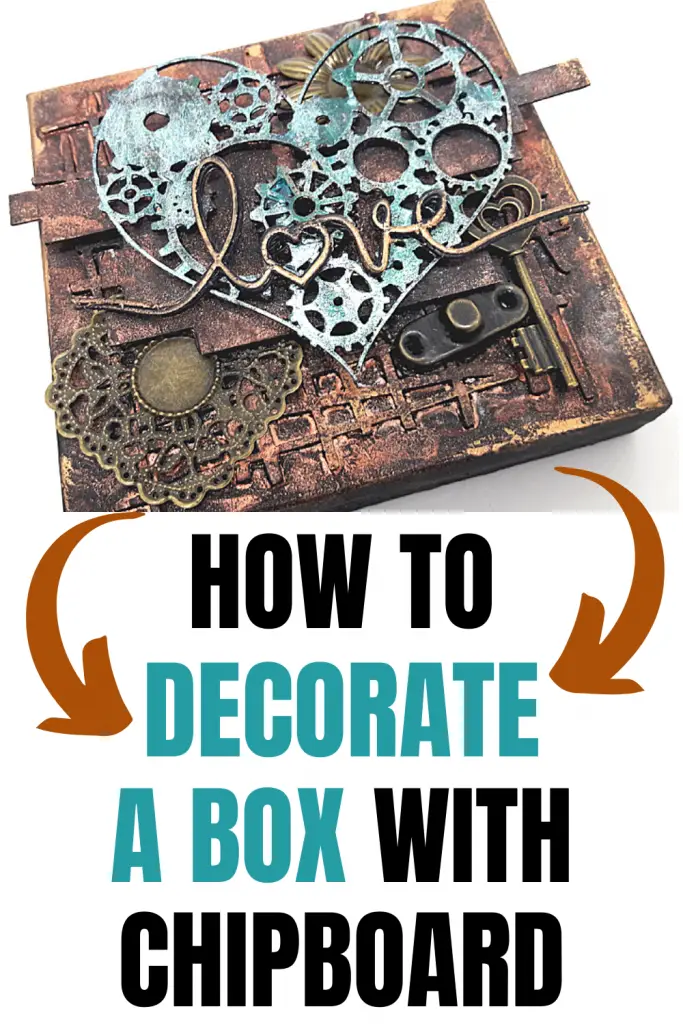
- Then add more chipboard shapes on top of it to create more layers. Paint everything with the color of your choice. I wanted the box to have a steampunk style so I painted everything with a black paint and then added highlights with metallic paints.
- Add a focal point to the box to complete the design. I added a heart and the word LOVE as the main feature of the box and finished the look with some metal embellishments to add the steampunk look I wanted.
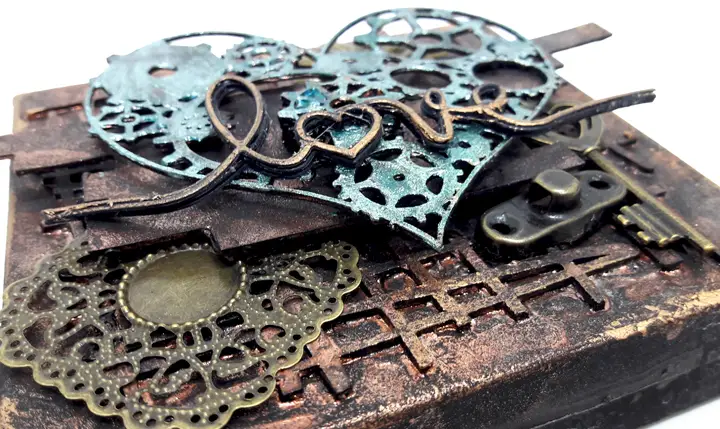
- Color the focal point with contrasting colors so it will be visible and pop out of the design.
TIPS AND TRICKS TO DECORATE A BOX WITH CHIPBOARD
- Adding layers of chipboard achieves two goals: first, it adds height to the project and second it adds details and interest because your eye is drawn to all the layers that are under the focal point.
- Match the shape of the chipboard to the theme of the box so if you make a steampunk box use chipboard cogwheels and clock parts. But if you want the box to have a romantic look add chipboard flowers, hearts and swirls.
- The more layers of chipboard you add the higher your design will be but make sure to use less detailed patterns for the lower layers because they will be less visible.
- Add more interest and texture to the chipboard pieces by adding embossing, stenciling or stamping to them.
Learn more about covering chipboard embellishments and giving them a new look. Check out the video tutorial.
Sharing is caring - PIN IT!
Have fun creating!


4 comments on “HOW TO DECORATE A BOX WITH CHIPBOARD”
Gorgeous!
Thanks dear!
Love it!
Thank you Einat!