Inside: the new free junk journal ephemera to use If you are constantly looking for new papers and materials for your junk journals than you are in the right place. I want to tell you about an exciting new resource...
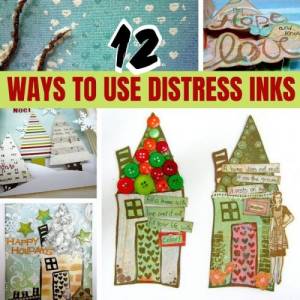
Inside: 12 ways to use distress inks in your craft projects When I first tried Distress Inks all those years ago I didn’t really understand what was all the noise about. But that was not because they were...
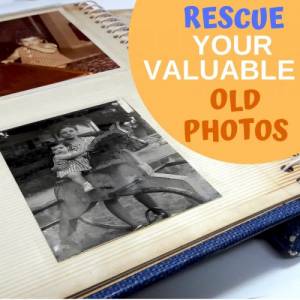
Inside: how to rescue your valuable old photos from magnetic albums If you’re over 40 it means you probably have old magnetic albums, black glue-on scrapbooks or just old photos stashed in boxes or drawers. All these precious photos...
Inside: how to age paper – techniques to make paper look old I love craft materials with a vintage and aged look especially paper. Waiting until paper gets to look old on its own can take a very...
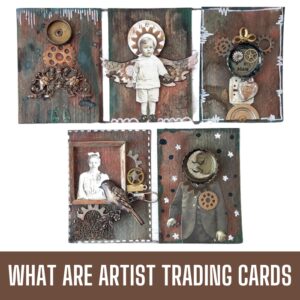
Inside: what are artist trading cards and how to make them look amazing Artist trading cards (ATCs) is a conceptual art project initiated by the Swiss artist M. Vänçi Stirnemann in 1997. Artist trading cards are 2.5 by...
Inside: how to make a configuration box with 3D objects and little found treasures I have a confession to make… I’m a hoarder. My house is not full of stuff but I do have A LOT of metal...
Sign up for a crafty creative newsletter. Tips, inspiration, updates, exclusive sales and much more!
Tags
Copyright
The designs, pictures and instructions listed on this blog are provided here for personal use only and may not be sold, reproduced or used for commercial or submission purposes in any form without my written permission.
Welcome to the new and fresh website!
Hi visitors and members, we updated the website with a new design.
All members still have access to the content you had previously.
If you have any questions or issues please contact me by email: kessler054@gmail.com