Inside: 5 ways to frame photos on scrapbook pages
Photos are the main element on a scrapbook page that tells the story and sets the mood for the design. So the photo needs to pop out and be the most visible element on the page. The way to make that is to frame it!
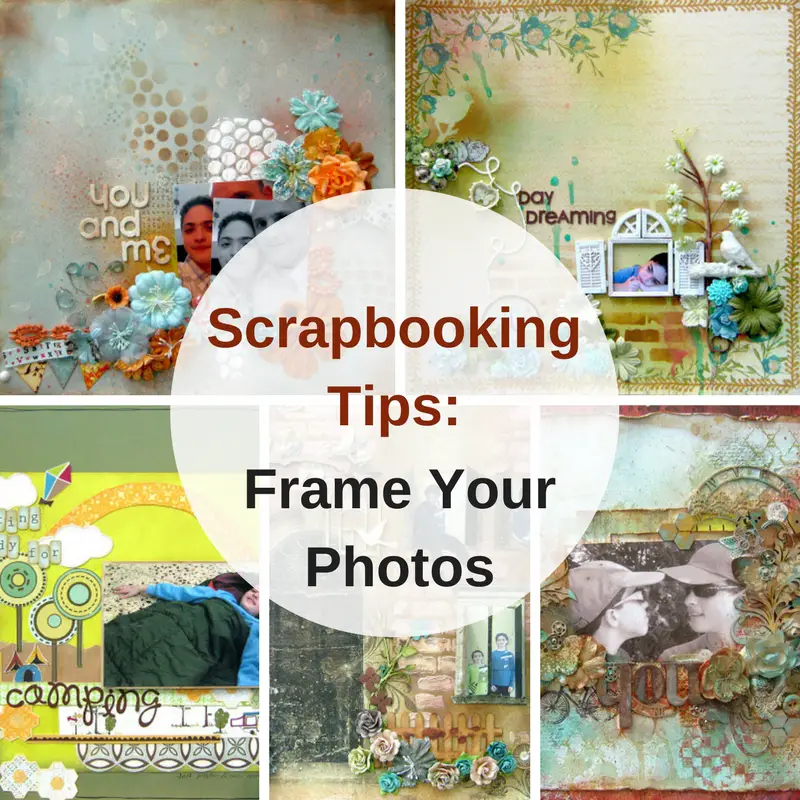
HOW TO FRAME PHOTOS IN SCRAPBOOKING
The most easy and well known method to make a frame for a photo is to create a mat around the photo but I have a few more ideas to frame your photos:
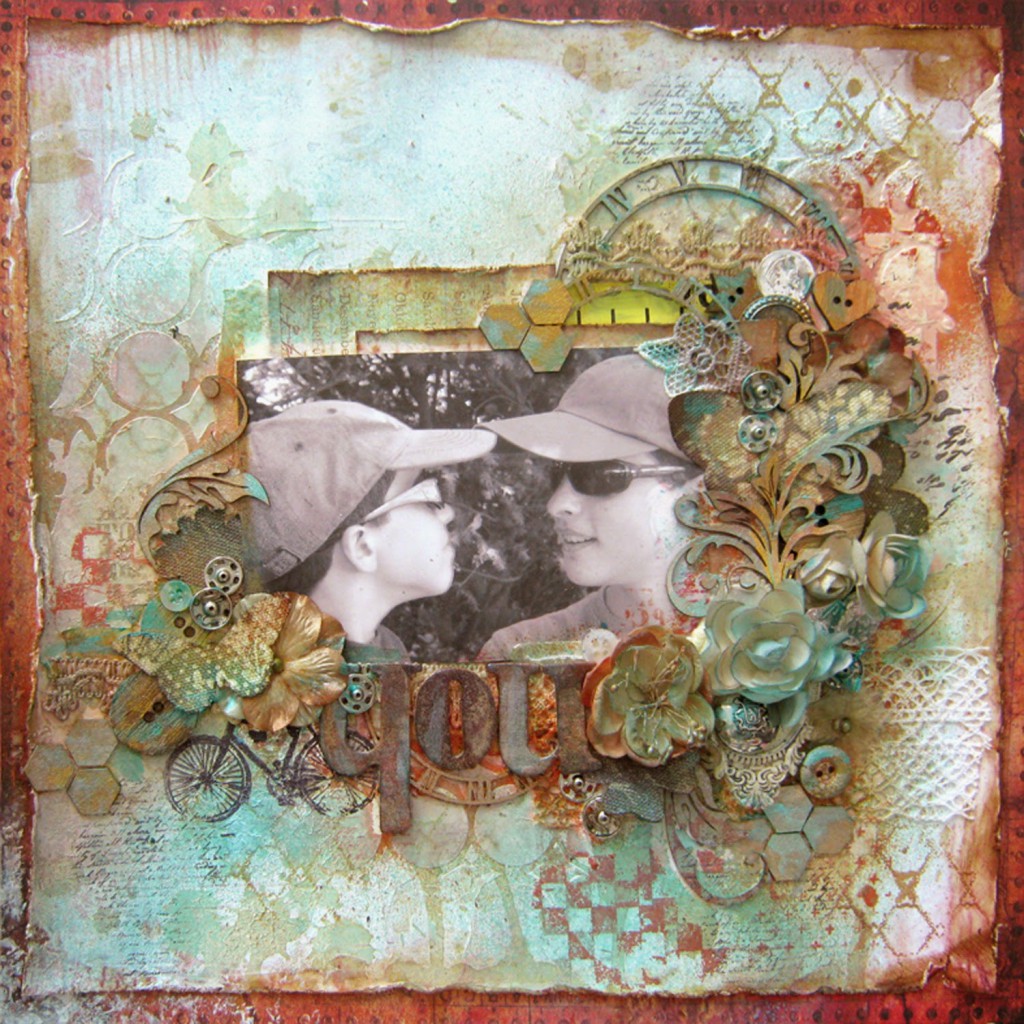
1. Arrange embellishments around the photo and create clusters that slightly overlap the edges of the photo. The embellishments will draw your eyes to the photo.
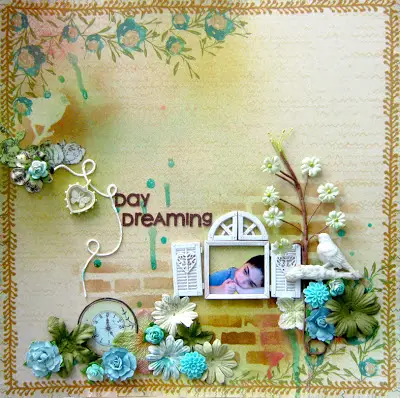
2. Use an embellishment like a window to frame the photo. This embellishment can be from wood, chipboard or resin as long as it has some height to it. The 3D effect will make you look at the photo first.
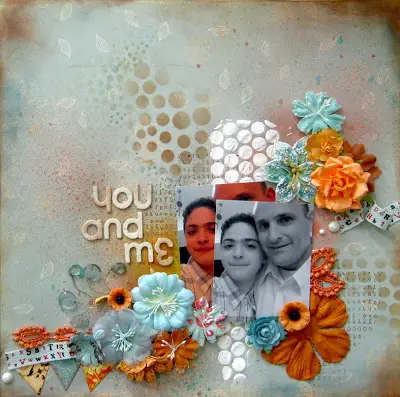
3. Add another photo in the background to make the top photo pop out. Use one black and white photo and add a colored photo under it to enhance the contrast between them. That will frame your photo and make it pop.
4. Add a large mat around the photo.Instead of matting the photo with a paper piece that is slightly larger than the photo mat it with a much larger pieceof paper and add embellishments as well.
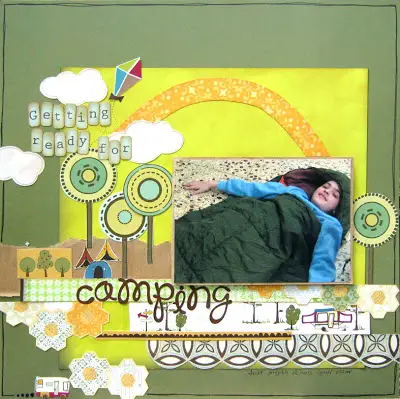
5. Use elements on the paper itself as frames for your photos. In this page I used the windows on the paper. I cut them to open to the sides like windows and added photos. Here's a tutorial on how to make this page.

Are you looking for some more amazing scrapbook page tutorials?
Check out the 45 Scrapbooking Page Ideas ebook, where you'll find inspiring, unique and easy to make scrapbook page ideas complete with a tutorial for each page and full written instructions.
Sharing is caring - PIN IT!

Have fun creating!


2 comments on “5 CREATIVE WAYS TO FRAME PHOTOS ON SCRAPBOOK PAGES”
Amazing
Thanks Pooja!