Inside: how to take photos to match any scrapbook or mini album and how to make sure your photos turn out the best!
I have been making scrapbook pages for a long time and lately I find myself "directing" the photo to match a scrapbook page I have envisioned in my mind. Instead of capturing the moment I create it... that doesn't feel right. After all the purpose of a scrapbook page is to document what's happening right?
TAKE THE BEST PHOTOS FOR SCRAPBOOK PAGES
Now a days with a camera in our phones and no film in it we take so many photos, but how many really capture the moment and the story we want to tell? How do we make sure we take good photos that document what we want but will also look good on a scrapbook page?
HOW TO TAKE PHOTOS FOR SCRAPBOOK PAGES
We are not professional photographers and we don't have a fancy camera with a huge lens. We use our phones and just click the button so what do we need to do to not "direct the situation on one hand but have a great photo on the other. I gathered a few tips to help you with that.
TAKE PHOTOS UP CLOSE AND PERSONAL
Take the photo from a close distance to eliminate as many disruptions in the background as possible.
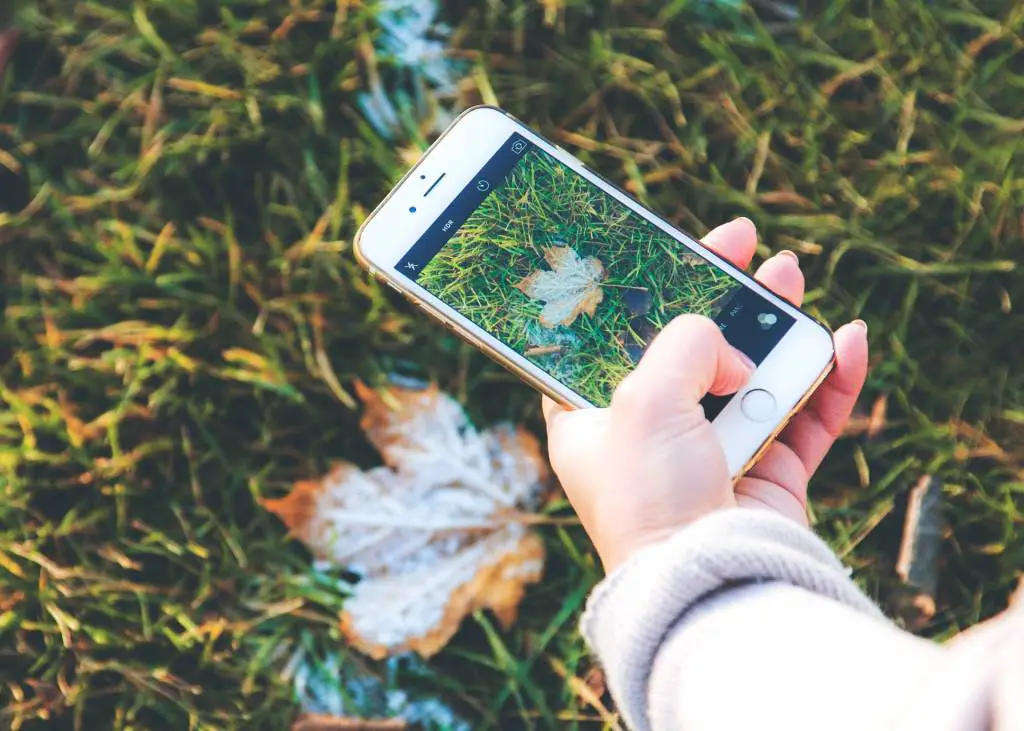
Move closer to your subject if you can to show more details and better sharpness.
THE RIGHT ANGLE
Find the angle that will help you tell the story in the photo. This story in this page is about building a tower, so I got down on my knees and shot the photo looking up at my boy. This way I could enhance the height of the tower.

TAKE PHOTOS OF THE PROCESS
Take a series of photos from the beginning to the end of the story. In the above page I captured the whole building and destroying process.
CHANGE YOUR POSITION
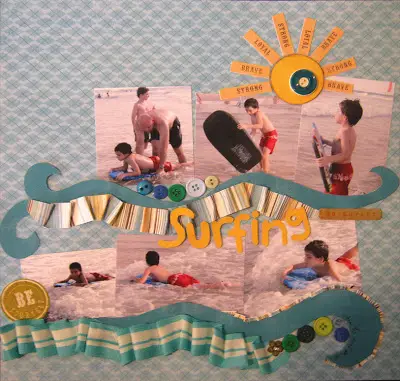
The subject you are taking pictures of is not always standing in one place. You have to follow your subject to capture all the different aspects of what they are doing. In this page I took photos of my son surfing for the first time. I started with a photo of my husband explaining and continued with photos of his different trials. I kept changing my position to capture the best photo and also to avoid the sun.
TAKE PHOTOS FROM UNEXPECTED DIRECTION OR SITUATION
Wait until you see your subject do something interesting, go behind them and take a picture with their back to you. It sounds counter intuitive but back side photos work best when your subject is doing something. In these situations they probably won’t pay attention to you and you can sneak behind them.
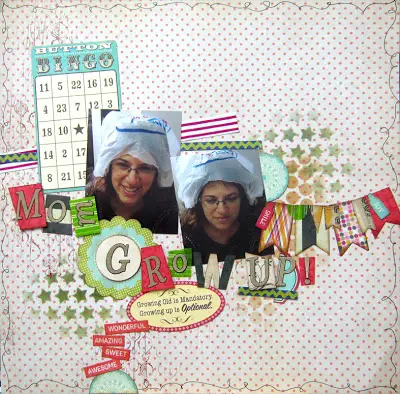
We always take nice proper photos with a nice background or a captivating close up. We make sure they are interesting, beautiful and of course scrapbook suitable! How about taking some funny photos? Photos that are silly, not so pretty and maybe a little messy. These are the photos on this page. I have to say it was not my idea, it was my kids’. They took their phone and started having fun by putting a plastic bag over my head and taking pictures.
USE GRID LINES
Grid lines are a great way to easily find balance in every shot. Imagine a series of 4 lines dividing the shot into 9 sections also known as the “rule of thirds” in photography. According to this rule, when taking a picture place the subjects of interest on these lines or on their meeting point.
TAKE PHOTOS IN GOOD LIGHT
We all despise that nasty yellow light that seems murky and grainy on our phones. This usually occurs in low-light situations or when we're shooting indoors. Here's how to fix this;
- Take photos in natural light - take your subject outside or use a large window in your house. Not an option? Fake it with strong lights like.
- Edit your photos on your computer or in an app and use the temperature or color option to cool down the image.
TAKE PHOTOS WITH YOUR PHONE
Most people nowadays don't even have a camera why would they? They carry their camera everywhere and are always ready to shoot when a photo opp comes along.
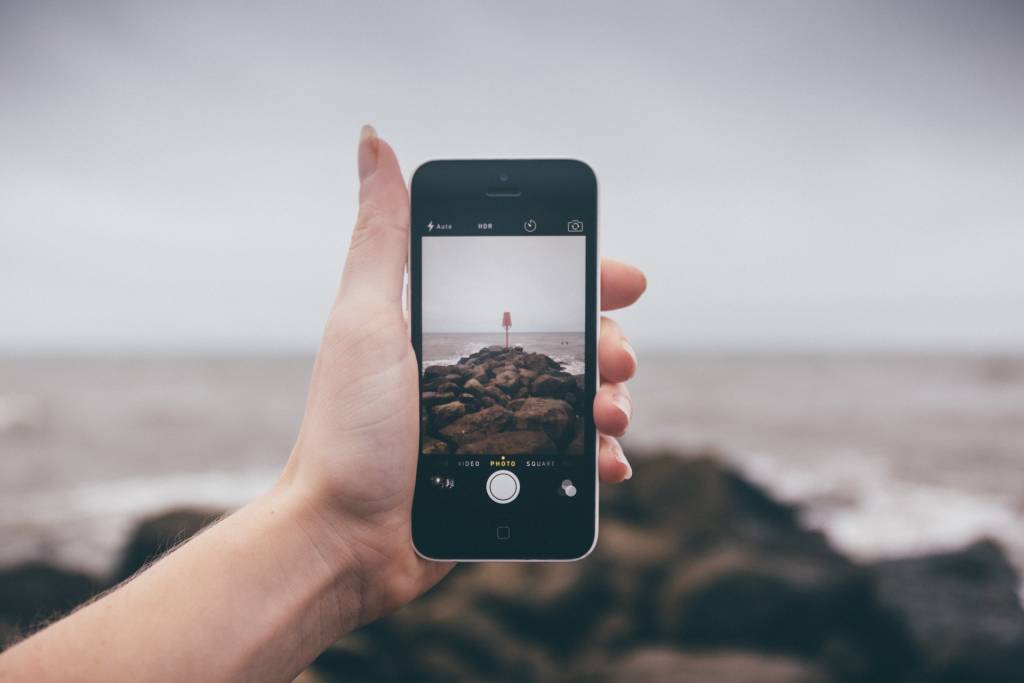
The previous tips apply to phones too but here are a few tips on making your phone a better camera:
- Phones aren’t particularly heavy, but you will get much better results by holding your phone with 2 hands, and letting your elbows rest on your chest when taking a photo. This will make your photos more clear, because there will be no shaking! Also make sure to stand still while taking the photo!
- Smartphone cameras aren’t perfect and it is very easy for a picture to become distorted or pixelated when using the zoom feature. If you want something to be bigger in the frame, get closer to it! If that is impossible, take the photo as is and crop the image to your liking later when you are editing.
- Shoot a ton of images now and go through them later. One of the many benefits of taking photos with your smartphone is that you have a camera that is always easily accessible. Don’t worry about taking too many pictures and don’t listen to what anyone says about shooting a certain amount! Take tons of frames now or else you may regret it later. You never know when something unexpected will happen and you sure don’t want to miss it.
- Don't use the flash! I have never seen a good photo that was taken with a smartphone while using the flash. If the lighting wasn't ideal you can always edit your photo later and use the "exposure" tool.
DO SOMETHING WITH THE PHOTOS
Ever since we stopped taking photos with cameras and started using our phones something also changed in the way we actually use the photos. Before if we wanted to see the photos we had to develop the film so we had tangible photos to hold and look at. Nowadays our photos are stored on the phone or computer and be honest... do you really look at them?

I call them the lost photos. Because we kind of missing the point of taking a photo. The photo captures a moment in time but if we don't look at it and enjoy it what's the point of taking it in the first place?
In order to enjoy your photos do this:
- Pick the best photos of a certain event, place or person
- Print them and then:
- Create a scrapbook page or a mini album - get started with these 45 scrapbook page ideas
- Attach to a canvas and display on the wall - here are two tutorials
- Put in a frame and make a photo wall - check out how to make an amazing 3D frame
- Insert to a digital photo display
Just don't keep your photos hidden!
SAVE it for later - PIN IT!
Have fun creating!


2 comments on “HOW TO TAKE THE BEST PHOTOS FOR SCRAPBOOK PAGES”
Great article Einat. Thank you.
Thank you Nancy!