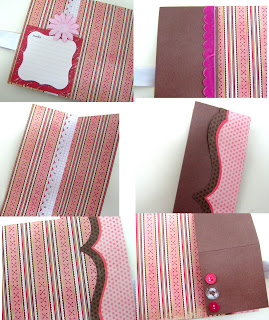
You know I love creating project from only one sheet of paper! Here is another fun and easy tutorial for The Robin’s Nest DT. This is a great way to create a project without using too many materials or money. All you need is: one sheet of cardstock, two ribbons and a few embellishments! You can visit The Robin’s Nest blog and website
1. Fold a double sided cardstock in four. Open all folds.
2. Start working on the upper right square. Cut the cardstock on the vertical fold line from the edge to the center. Widen the cut a little bit.
3. Cut the cardstock on the horizontal fold line half way from the center towards the right.
4. Fold the upper right square in half to the right.
5. Cut the cardstock on the new fold line from the center half way to the top.
6. Fold upward.
7. Fold again to the right.
8. Fold downward on the center fold line.
9. Continue working on the upper left square. Cut the cardstock on the center fold line from the center half way towards the left. Fold to the left.
10. Fold downward on the center fold line.
11. Close the two sides of the mini album.
12. Embellish the cover:
· Adhere a ribbon around the mini album when closed.
· Add a tag and another ribbon.
· Cut flags from scraps of paper and adhere.
· Add flower and buttons.
13. Embellish the inside of the mini album but remember to leave room for photos.
Have fun creating!
Einat


3 comments on “One Sheet of Paper Tutorial: Mini Album”
did u use 12×12 paper?
tnx for tutorial, i will try it myself.
מיני מקסים. תודה על ההדרכה. שמרתי אצלי במועדפים.
your project turned out beautiful!