Inside: how to add photos to your scrapbook page in the correct way
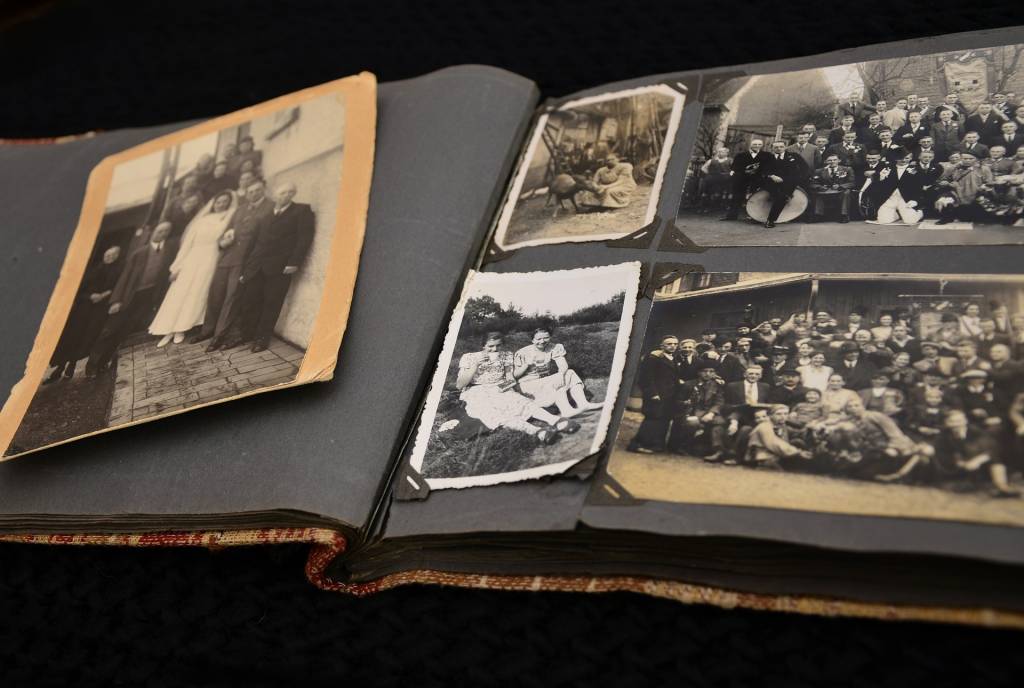
Did you know there is a right way and a wrong way to add photos to your scrapbook page? I wish I knew that when I started scrapbooking because today I have some old layouts that I need to fix. Some of the photos have become loose and some just fell completely and some are still on the page it’s just that I don’t like how the page looks…

WHAT IS THE CORRECT WAY TO ADD PHOTOS TO YOUR LAYOUT
It’s important to know how to adhere photos correctly and what glue to use, otherwise, within a few months the photos might become loose or have dark spots from using the wrong kind of glue. You’ll agree with me that this could be really annoying after all the hard work you put into your scrapbook page.
5 TIPS FOR ADDING PHOTOS
USE THE RIGHT GLUE
When choosing the right glue to use to add photos to your page you need to consider a few important issues:
- GLUE STICKS
Inexpensive glue sticks tend to leave little bumps under pictures if the glue doesn’t adhere to the back of the photos smoothly. Over time, the glue can become brittle and begin to flake.
- THE ACID FREE QUESTION
Acid free glue is a controversial issue. Some people say that the acid free consideration is an invention made by the glue companies so they’ll sell more glue. If you agree with that or not the best thing is to use a strong gentle glue that is not likely to transfer to the photo or make it yellow. I use Tacky Glue, it’s not acid free but until now I had no problems.
- WET OR DRY GLUE
When using wet glue to attach the photo to the page might cause the page to curl if the paper is thin or you use too much glue. An easy way to avoid that is use dry glue like a double sided tape.
Find more tips on what is the right glue to use HERE
USE PHOTO TABS
The best thing to use are photo tabs! Not just because it’s easy and clean but because it’ll be easier to remove the photos. You might not think that’ll be necessary but when I had to take out photos for my son’s heritage school work, it was not easy!
Photo tabs come as a role of double-sided square tabs housed in a scrapbook making cardboard box dispenser. When using photo tabs, place one tab at each corner of the photo, rather than just one tab in the center. Photo tabs cost a little more than regular tape or glue sticks, but they won’t damage your photos.
TEMPORARY HOLDERS
For some of your scrapbook projects, you’ll want to be able to secure a photo, but only temporarily. For example, you want to place a photo and see if you like the position and the embellishments that will go around it. Today you can find many types of temporary adhesive that you can use without damaging the photos or the paper.
AVOID RUBBER CEMENT
As beginners we were told this is the best glue to use. It dries clear and you can get off any leftover glue on your page. However with time this glue turns yellow, dries up and the photo simply falls off the page. So don’t use it!
ADD DIMENSION TO YOUR PHOTOS
WHY ADD DIMENSION TO PHOTOS
- Adding dimension to your photos makes the page look much better and more interesting because the dimension adds depth to the page.
- You can enhance the story in the photo by making it pop off the page.
- It makes it easier to add multiple photos to the page by partially overlapping the photos and giving them different heights.
- Allows layering embellishments and papers under the photos.
To add dimension to your photos use double sided foam tape or small squares of chipboard.
Foam tape comes in a long strip you can cut or in squares. It has adhesive on both sides so it’s easier to add it to the back of the photo.
Using chipboard to add dimension is good for larger surfaces because you can cut any size of chipboard you want. It’s also easier to stack pieces of chipboard to create extra height.
Sharing is caring – PIN IT!
Have fun creating!