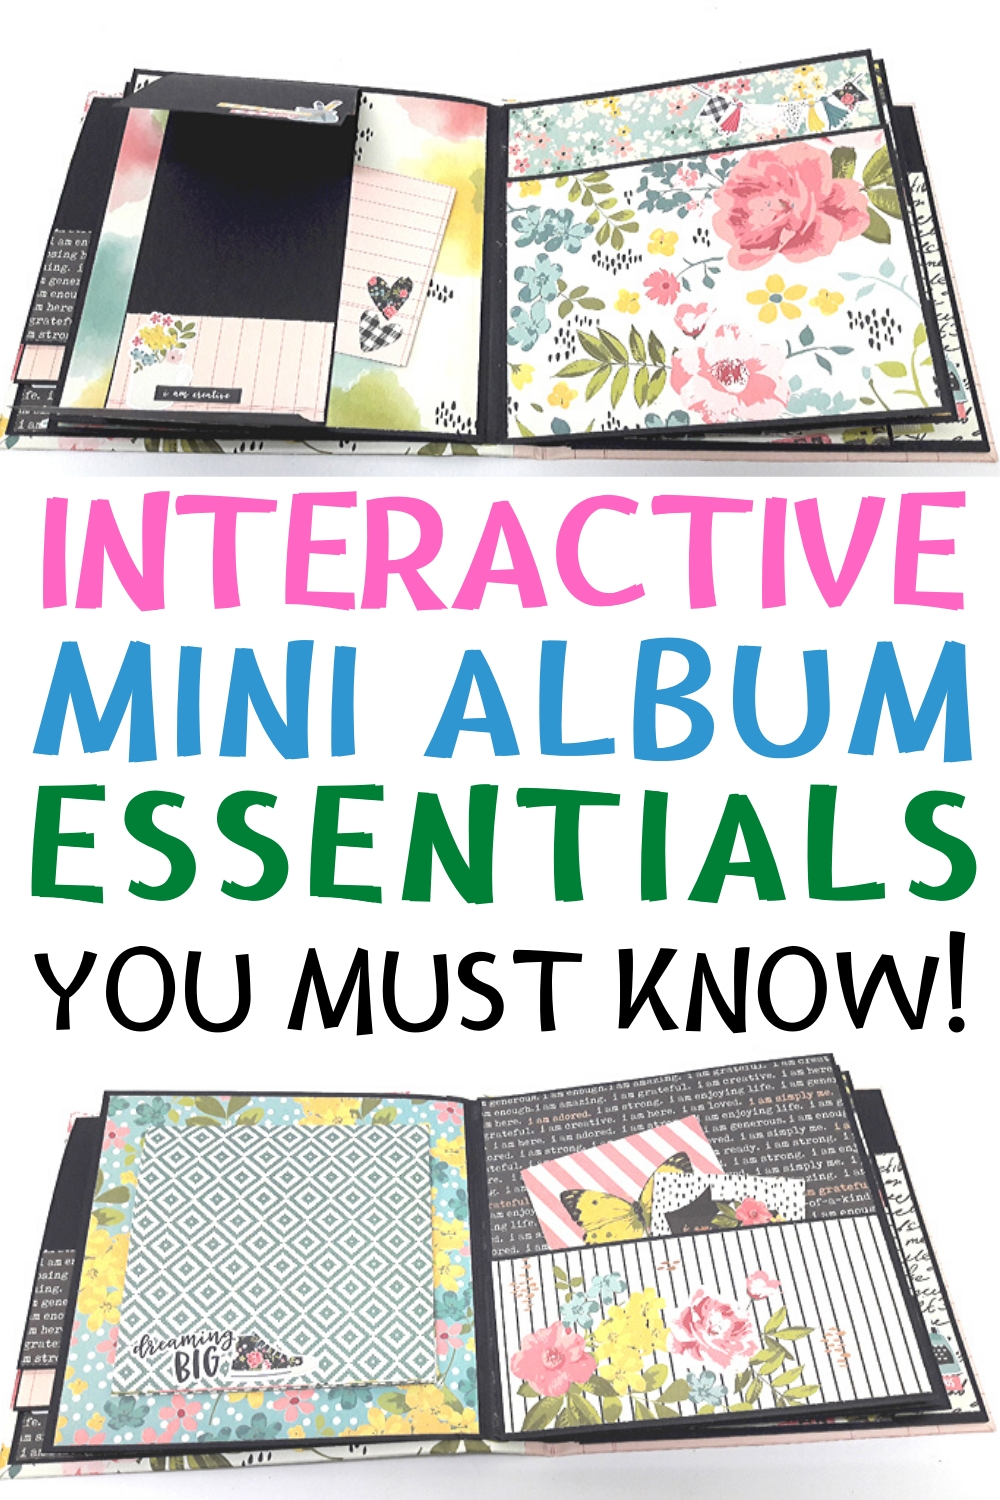
Inside: the basic elements you need to know to make amazing interactive mini albums
Remember the line from the movie Forest Gump? "Life is like a box of chocolate...you never know what you're gonna get" I think it should apply to mini albums too. It's much more fun and interesting to look through a mini album when you don't know what you're going to get or see. The element of surprise is best achieved with interactive moving parts like flaps, windows, pockets and other unexpected mechanisms to surprise you.
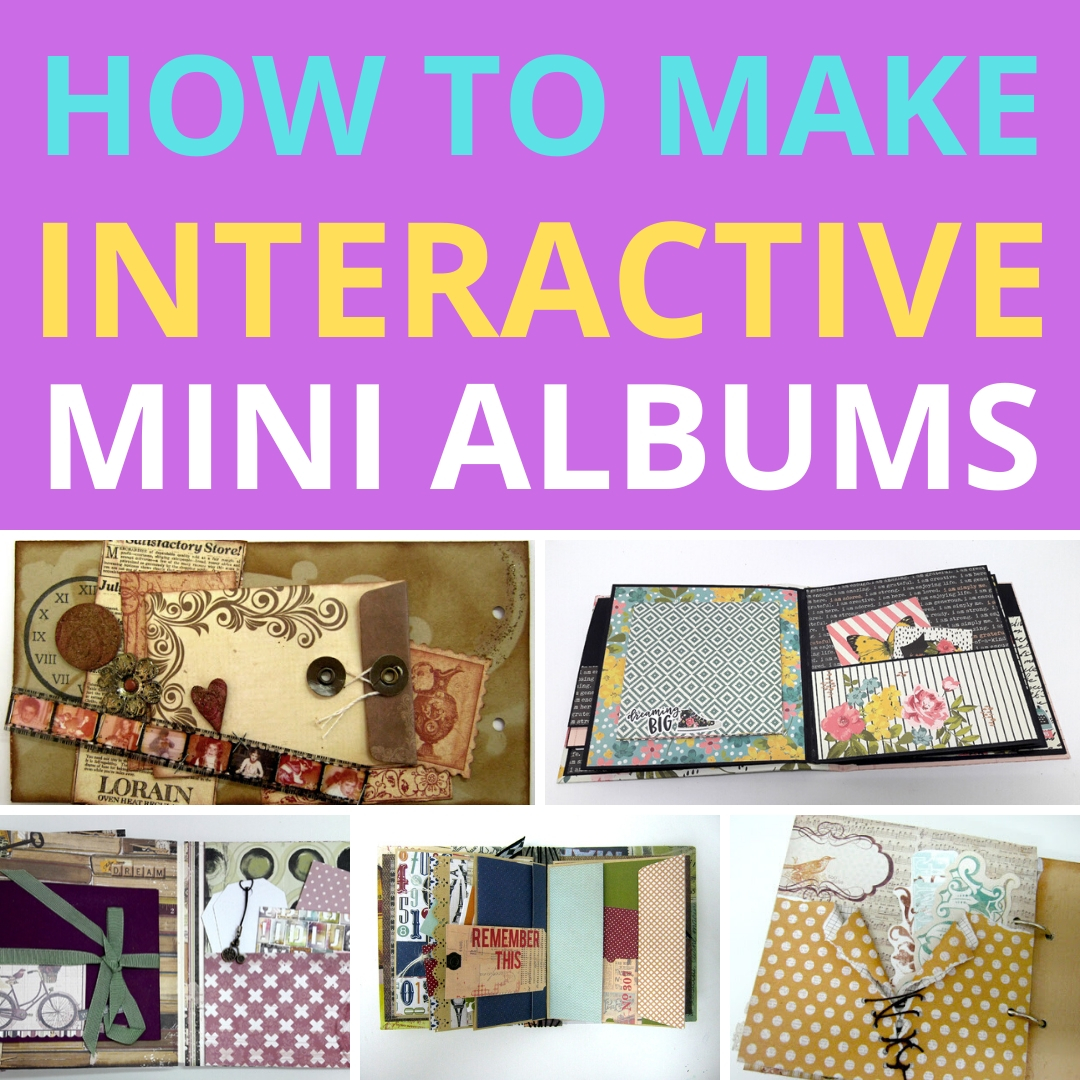
WHAT IS AN INTERACTIVE MINI ALBUM?
Interactive mini album is a mini album that has active mechanisms inside, such as pockets, flaps and tags. The viewer is not just looking at pages and photos but has to be actively participating by opening, pulling, sliding parts on the page. That makes the mini album experience much more interesting, fun and exciting!
WHY MAKE INTERACTIVE MINI ALBUMS?
The benefits of making mini albums are already known to all mini album fans but interactive mini albums have even more benefits:
MORE SPACE
A mini album with moving mechanisms has more space for photographs in a compact-size album, because all those tags, flaps and pockets allow you to add more photos and journaling in the same size page. You can double and even triple the "size" of the page just by adding more interactive mechanisms.
TECHNIQUE FUN
If you love paper engineering and techniques making interactive mechanisms is just for you! You can design your own mechanism combinations and come up with your own pockets, flaps and other moving parts.
PROFESSIONAL LOOK
Interactive mini albums have an amazing effect and look very professional. Making a mini album like this will make you look like an accomplished master crafter, which you are! People will be looking at the mini album over and over again and wondering how you did you create it.
VERSATILE DESIGN
If you are a mini album enthusiast interactive design is the next step that will take your mini albums to the next level. It will give you a new versatile set of option to add to your mini albums to make them interesting, unique and different.
THE FUN ELEMENT
Interactive techniques will be a new injection of fun to your craft night with friends, crops or gifts! It's just so much fun to make these elements and come up with new ways to surprise yourself and every one who will be looking through this mini album.
If you are a beginner and you want to learn the basics of making interactive mini albums or you're advanced and you want to know how to make more complex interactive mechanisms and combination check out the inter-ACTIVES - Moving Mini Albums online class!


3 PRINCIPLES OF INTERACTIVE DESIGN
Interactive design can look really complicated to make but it's easier than you think. First, start by following these important principles:
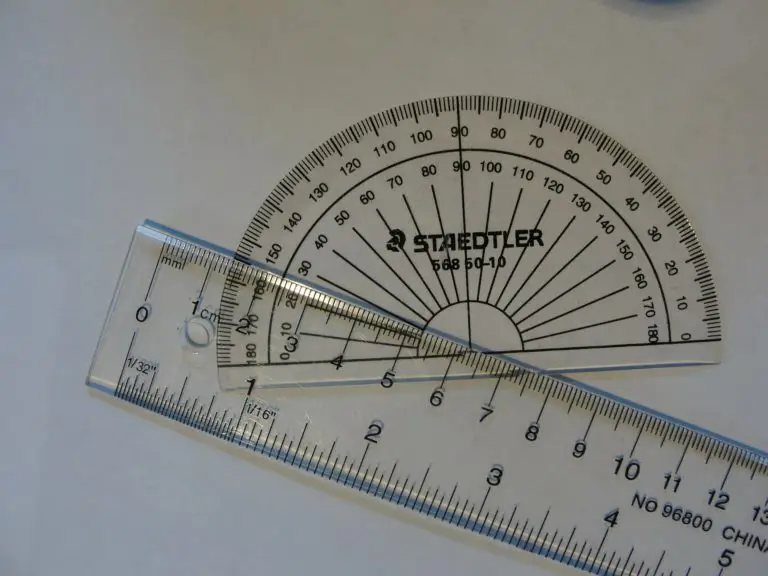
MEASURE
Interactive design is first of all a very accurate technique. It’s even called paper engineering in some cases, which is another way of saying it’s based on measuring and calculating. When you create a paper mechanism it’s like creating a little machine that needs to move without any problem. So the first principle is measure, measure and then measure again. There is nothing more frustrating that building something and then finding out it doesn’t work because you measured wrong. Unlike art, here you can’t eyeball anything! Everything has to be accurate so all the parts will fit together. You'll need a good ruler, pencil and patience and always double check your measurements.
DO A TRIAL RUN
Never build your mechanisms on the pretty double sided cardstock you got especially for the project you’re creating especially if this is your first time or you’re creating a new mechanism. You first have to make sure it turns out exactly like you want it to. I like to try all my mechanisms on a white cardstock. I measure, cut and build the mechanism and see if it works. Make sure to write down all the measurements so you won’t forget. This way if it works it’ll be easy to recreate it with a beautiful cardstock and if it doesn’t you can go back to the drawing board and make changes.
START WITH THE BASICS
Two basic models are the basis of all interactive mechanisms: flaps and pockets. All the complicated designs you see are variations of those two and more advanced implementation to the same building techniques and rules. If you master these basic techniques you'll be able to create any interactive mini album!
BASIC ELEMENTS OF INTERACTIVE MINI ALBUMS
There are three basic elements every interactive mini album must have:
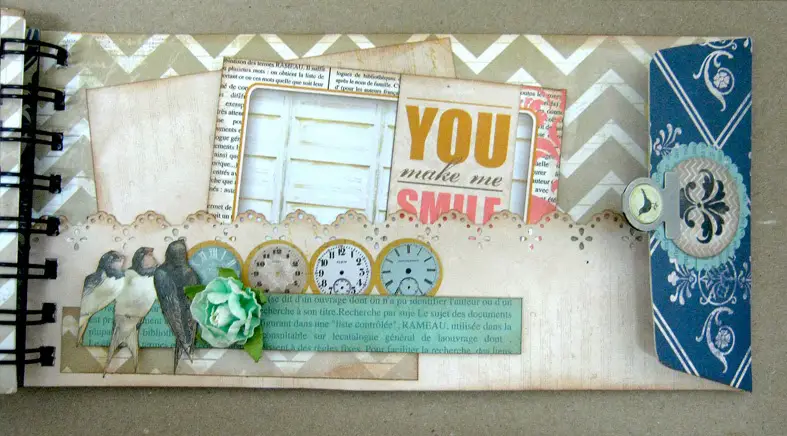
FLAPS
A flap is a piece of paper that is not attached to the page or project and can be opened and closed. The flap can be open sideways or up and down. It can be straight or folded on it’s own or attached to other mechanisms. The basic flap is a square folded in half. You apply glue on the bottom of paper and attach to the project. the top folded part is not glued and is free to move. You can create many combinations with multiple flaps to create a more complex mechanism.


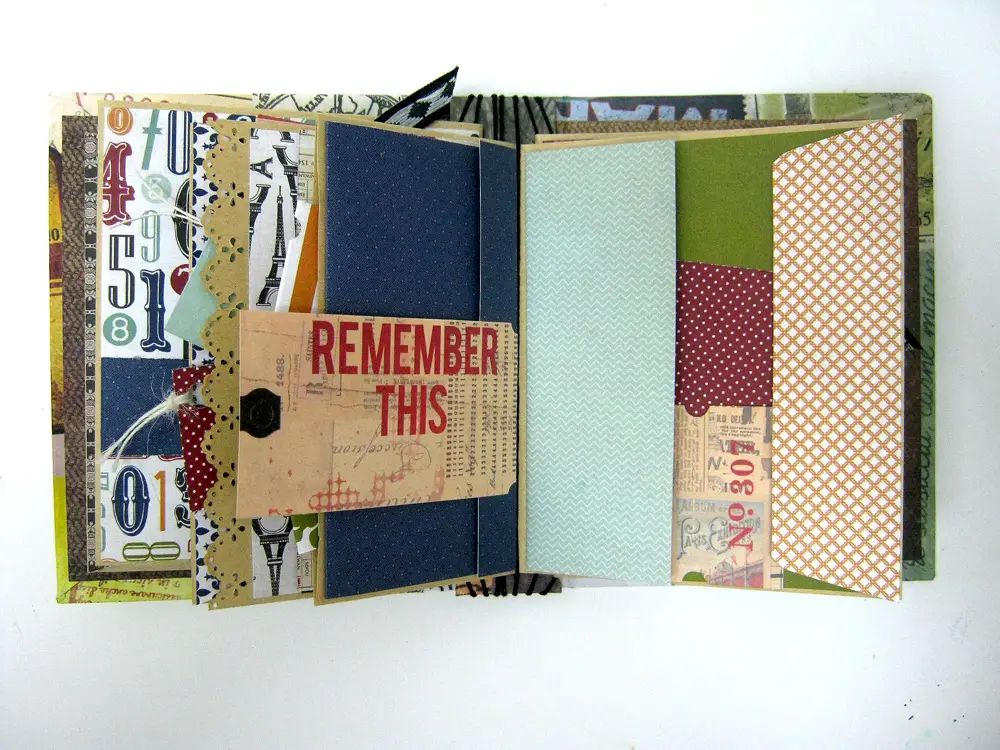
POCKETS
A pocket is a shape closed from three sides. The one opened side enables inserting photos, inserts and more. The pocket opening can face any direction and can be in any size. The easiest way to create a pocket is to add glue to three sides of a square. I recommend using a double sided tape. If you want to create a larger volume pocket use foam tape instead.
Another type of pocket is a partial pocket or a belly band. It's a strip of paper attached on both its sides to allow inserts underneath it. for more complex pockets create different sizes of pockets layered on each other, diagonal pockets and pockets combined with belly bands. Pockets can also be an entire page in a mini album when you attach two pages together leaving one side open.


INSERTS
Whatever you put in a pocket is an insert. However inserts can be interactive mechanisms too. The only difference is that these mechanisms are not attached to a page. Flaps, little mini albums, envelopes and journaling cards can all be inserts. If you want to learn how to make more than 30 different designs of inserts check out The Ultimate Mini Album Inserts Series!
Here's what you'll learn:
- Master the skills for measuring and cutting different pieces of cardstock and chipboard
- Find out how to build interactive inserts that can fit any size pocket
- Discover how to increase space for photos and journaling in your mini albums
- Learn how to assemble flaps, accordions, pockets, tags and moving inserts
- Build inserts that can be cards or mini albums
- Make more than 30 different insert desings!
- Construct a box to store all the inserts
- Assemble a live interactive insert catalog for all your future mini album and scrapbook projects
Need some interactive mini album ideas? Check out these video tutorials
Interactive mini album in a box
One page interactive mini album
Steampunk mini album part 1 Part 2
SHARING IS CARING - PIN IT!
Have fun creating!


4 comments on “HOW TO MAKE AMAZING INTERACTIVE MINI ALBUMS”
Thanks for sharing this. I needed some inspiration and you’ve just provided it!
Some look like pages are thick and sturdy definitely not just reg paper..so is it layered cardstock or 80g thick cardstock with thin decor paper on it or water color or chip board??
I love this its exactly what i been looking for . your great! You should make your guides for all sorts of thinngs like art journals…junk journals..fabric journals…altered books handmade books….etc
I use regular cardstock but sometimes I use a base cardstock for the pages and mechanisms and then cover it so it’s thicker. I do have tutorials for everything you said in my YouTube channel – Einat Kessler as well as in the VIP Room – a membership monthly club
Pockets and flaps are my favorite elements of mini books