Inside: how to make a pop up book!
Pop up books always fascinated me with the beautiful 3D images and shapes standing on the book's pages. How to make a pop up book seemed like a mystery to me and I thought they are impossible to make. I was determined to solve this mystery and find out how I can make such a book.
WHAT IS A POP UP BOOK
A pop-up book is any book with three-dimensional pages. Design and creation of such books in arts is also known as "paper engineering" and you need thick and siff cardstock, cutting, folding and the use of glue to make them.
BASICS OF POP UP PAGE DESIGN
Making a pop up book is not as complicated as it looks. There are really only two things you need to know to build a pop up page:
- How to build the pop up mechanism, which is the image that stands up when you open the page
- How to build the muscles which are the moving parts that allows the image to stand up.
Each page of the book is built on these two principles and every other pop up book too.

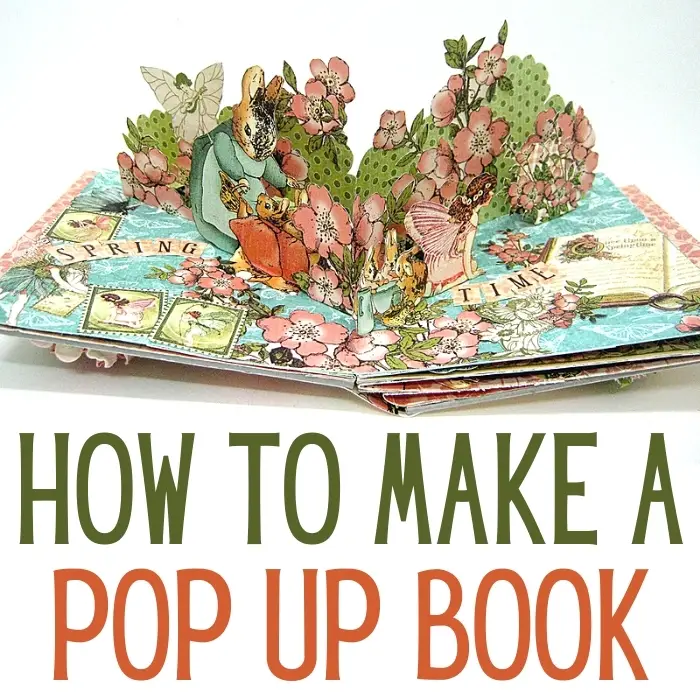
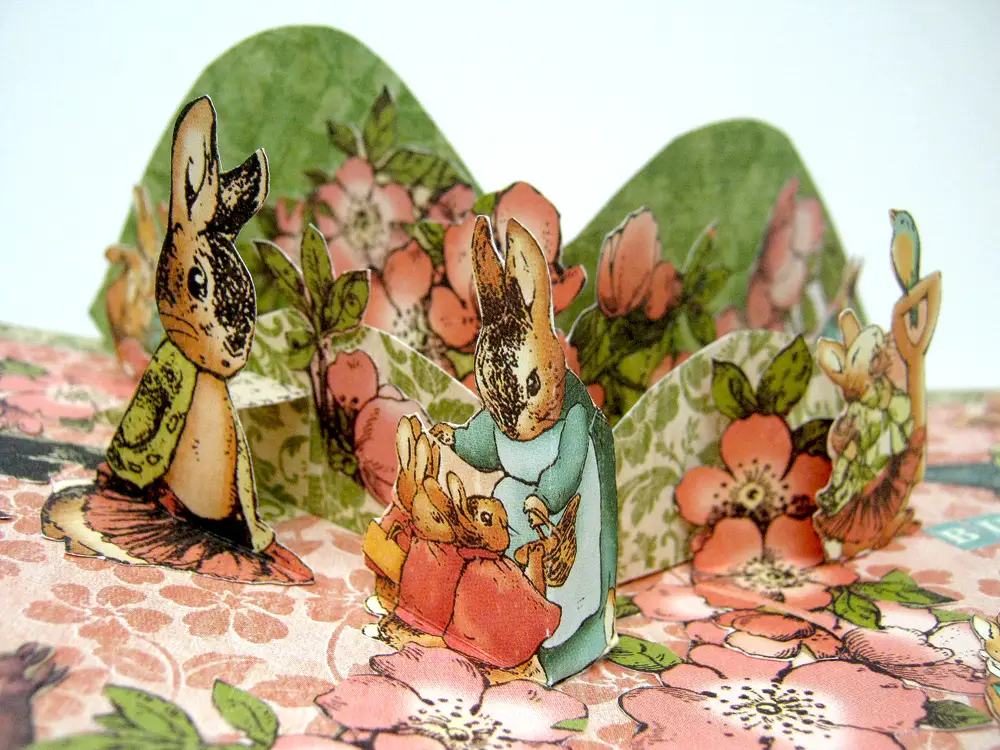
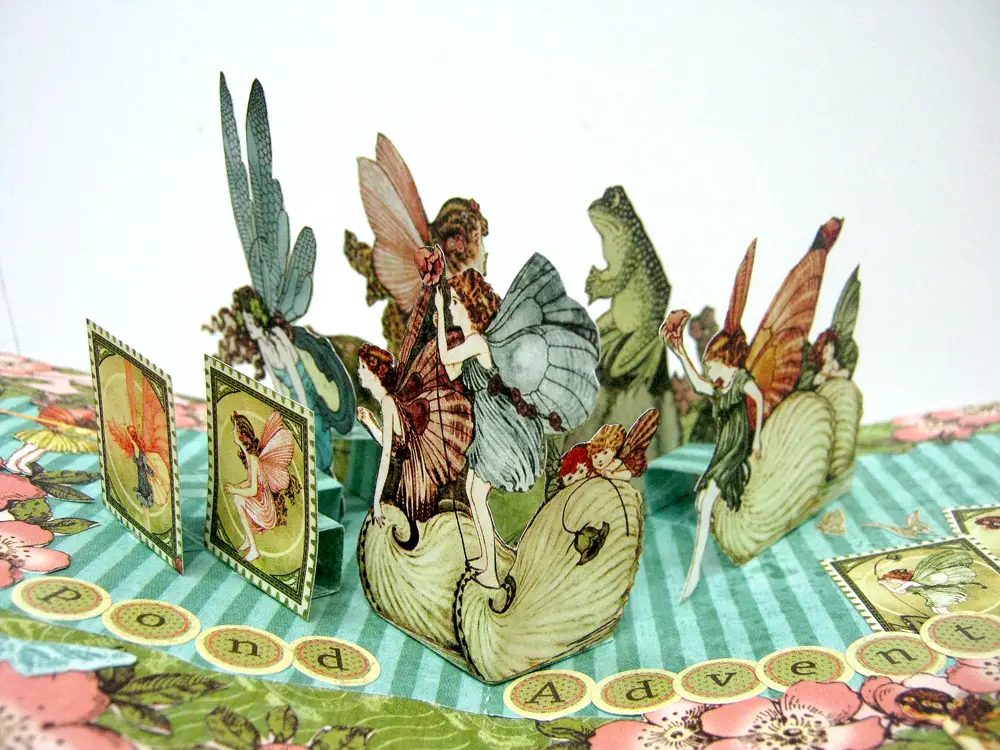
This book is full of magical spring scenes that are not only pretty they actually pop right out of the page in 3D! The book has three spreads, each one is different with enchanting images from the Graphic 45 collection: Once Upon a Springtime. There are bunnies and fairies and lots of flowers and a general feeling of spring and fun.
If you're passionate about creating captivating 3D art and you want to showcase your skills, consider exploring these 3D art design opportunities. You can master this technique and make it professionally.
DIY POP UP BOOK
- Decide on the size of the book and then make the pages by folding each page in half. Make sure to crease the fold well to allow smooth movement of the book.
- Make the muscels for each page. Fold a paper in half and make two flaps that will attach to the page in an angle. This will be the part that will hold the images and make them stand.
- Cut the images for the soty in the book. I used images cut from a patterned paper but if you don't like fussy cutting you can use cut out or stickers that are covered with cardstock to eliminate their stickiness.
- Glue the images to the muscle with small folded squares that will both make the images pop up and create depth on the page.
- Attach the pages to each other by gluing them back to back with spacers in between them.
- Attach a chipboard piece to the front and back of the book to create the cover.
- Add paper to wrap the spine and cover the chipboard. The spine of the book is unglued to the cover which allows it to move freely and open the pages to a flat horizontal position needed to have the full effect of the pop up.
HOW TO MAKE IT
The step by step video tutorial shows all the stages of building the pop up book and the cover, including how to create the mechanism and muscles. Don't forget you can watch it as many times as you want.
Building a pop up book takes a little practice. sometimes the first try doesn't turned out exactly how you want, but don't despair with a little practice you can have amazing results. Just create more pages and you'll see that each page is better than the one before.
If you are a pop-up art fan and you want to learn more about how to make this type of art I have a special FREE guide I made for you! In this guide you'll find links to 5 pop-up project tutorials that you can make at your own pace.
Sharing is caring - PIN IT!
Have fun creating!




22 comments on “HOW TO MAKE A POP UP BOOK”
I used this for a scool project at it helps so much !! thank you for posting this tut
This video is wonderfully easy to follow, I cannot wait to try my own book out. Thank you for such a great tutorial! A very talented tutor indeed!
I just have to say yu are a fantastic teacher! Your book is wonderful,
Thank you so much for the tutorial. It’s so beautiful and I am making one for my granddaughter’s 5th birthday and she likes Paw Patrol…it will amaze her.
Thank you again and hope to see more of your tutorials
Muchísimas gracias. Estoy recién iniciándome en el Pop Up, tratando de aprender todo lo posible. Eres muy generosa al entregar tus conocimientos y experiencia. Las explicaciones del tutorial son muy claras y creo que podre hacerlo. Nuevamente, muchas gracias. Me acabo de suscribir a tu página así es que espero estar siempre en contacto.
Einat, I am getting back into your site and loving what you have. Watched some old favorites again and love the new look. Your one page albums are terrific. But this pop up card is probably my favorite. I go back to it again and again. I love what you do. Thanks for sharing your wonderful talents with us. I look forward to more of your great art.
Thank you Diana!
Wow! Thanx soooo much for this. I’ve wanted to make one for so long and never found a tut that could break it down so well. I’m a visual learner and you helped me tremendously. Now I can make my dad a Christmas pop up!!! I really really want to say Thank you!!! You made my month!!!!!!
Thank you Andrea!!
Wow! Such a beautiful book!! I’m in awe of your talent, totally amazing! Thank you for sharing 🙂
Thanks Trisha!
Your pop up book is sooo awesome
Thanks Barbara!
reat tutorial, Einat, Thanks!
Thank you Tammy!
Lovely pop up book! Thank you for sharing your techniques and ideas. I am amazed at your ability to cut straight with scissors. Sounds simple but not for all. 🙂 Best wishes with your application to Graphic 45.
WOW EINAT THIS IS AMAZING! YOU HAVE DONE AN EXCELLENT JOB! I CAN NOT WAIT TO TRY THIS. YOU ARE SO INSPIRATIONAL TO US. WE LOVE YOU!
Congrats on making the team! I look forward to working together on the team this year.
HI. This pop up book is awesome!! Good luck!!!
איזה יופי
.מקסים. מקסים. מקסים . נהדר. יפהפה .
Such a great video. I love your soothing voice as you clearly explain each step needed to create something we will be proud of. Also, congratulations on making the team! I look forward to seeing what else you have in store for us.