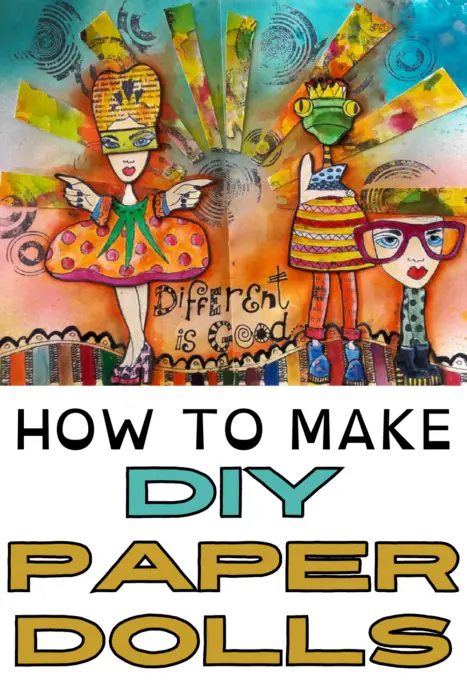
Inside: how to make whimsical DIY paper dolls for paper crafts
Remember when we were kids (the older ladies among us) and paper dolls were a big hit? Well, they are now popular in crafts more than ever and they are being made in different styles and sizes. From altered paper dolls to mixed media, moving and stamped in art journaling, scrapbooking, cards and more.
Paper dolls or paper piecing dolls are figures cut out of paper or thin card, sometimes with separate clothes, also made of paper, that are usually held onto the dolls by paper folding tabs. They may be a figure of a person, animal or inanimate object and they have been inexpensive children’s toys for almost two hundred years. Today, many artists are turning paper dolls into an art form.
The basic technique for making paper dolls is assembling the doll’s body parts to create a new look or use an entire image. When making a this type of image or figure you can decide how much you want to add and what you want to leave complete. You can use any materials and any style to assemble your image.
Use recycled materials to create the different body parts to assemble the image. You can mix and match materials and techniques with the paper to create the doll and it can be flat or 3D.
Here are some examples:
You can make DIY paper dolls with moving parts by not attaching their body parts with glue. Instead attach the hands, legs and head with brads to allow movement of these parts. You can even make arms and legs with moving joints by cutting two parts for each arm and leg. This technique is making paper dolls without glue so if this is something you are concerned about using brads is a great solution.
One of the more popular styles is the vintage style or the shabby chic style. Here you can find these images assembles from old photos, printed ephemera images and old book pages or magazines. They will have a retro look and usually muted colors or even black and white color scheme.
There are many crafts you can use your finished paper dolls:
There are so many techniques and materials you can use to make your paper doll. One thing people are afraid of is that they’ll need to draw the parts needed to assemble the image and they don’t know how to draw. I don’t know how to draw either so I have three shortcuts for making my paper piecing dolls. All you need are some fussy cutting skills.
Find the parts you want online and print them out on paper. Now it’s just a matter of cutting them out and assemble. It’s best to decide what you want to use them for so you can find the right size, colors, style and design of the parts of the paper doll.
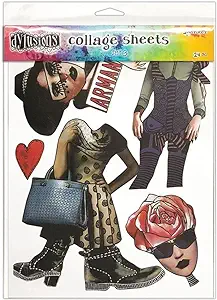
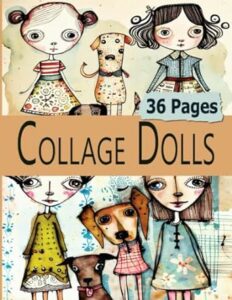
You can find products that already offer DIY paper dolls to assemble in different styles. Here are some online options:

Another simple technique is going over some magazines and cut out the parts you want. You can go crazy with different size parts like large head with small legs or different legs and hand. You can even add different eyes and mouth or accesorize with hats, shoes etc.
One of my favorite tecniques is using stamps. You can use separate body part stamps or use complete image stamps and then disassemble them to later re-assemble them anyway you want.
Check out what are the best black inks to use for stamping
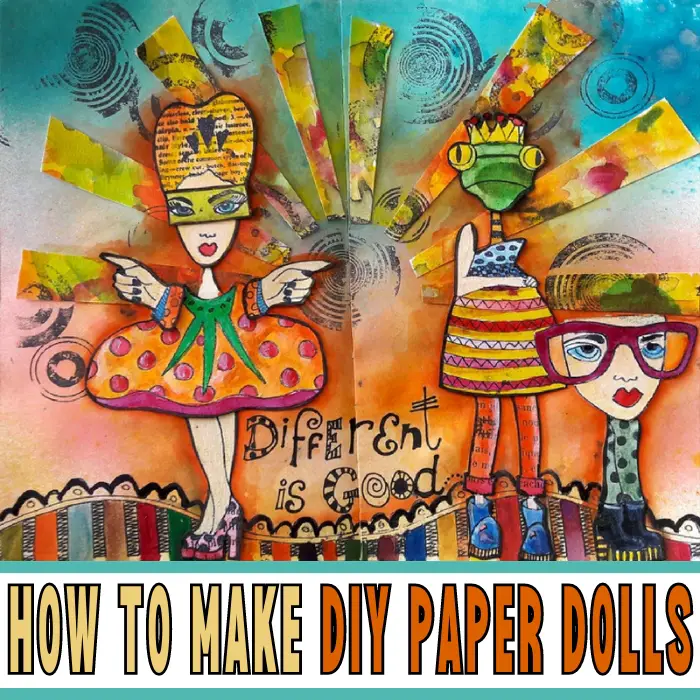
Here’s a step by step tutorial on how I made this art journal page with paper dolls.
Step 1: I stamped a heavy watercolor paper with black permanent ink. Using a permanent ink is important so the lines won’t bleed when coloring the stamps and adding the details.
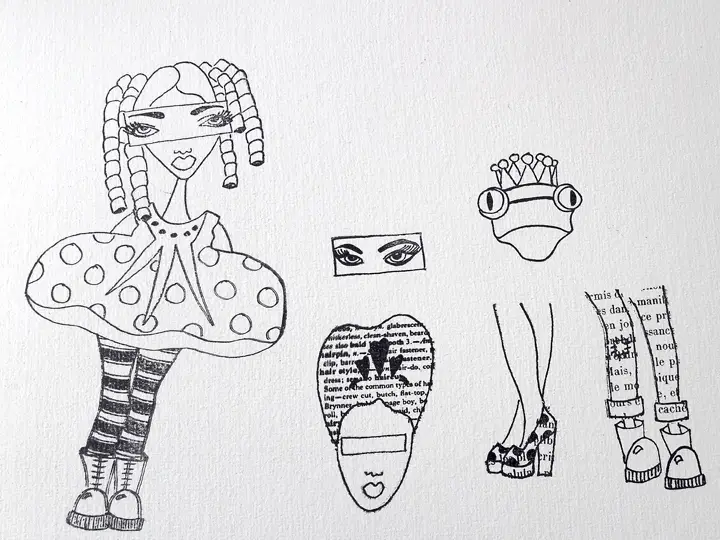
Step 2: I colored the stamps with watercolors, of course you can use any color you have and feel comfortable with. This step is optional because you can color the stamps with any medium you like or just leave them as they are.
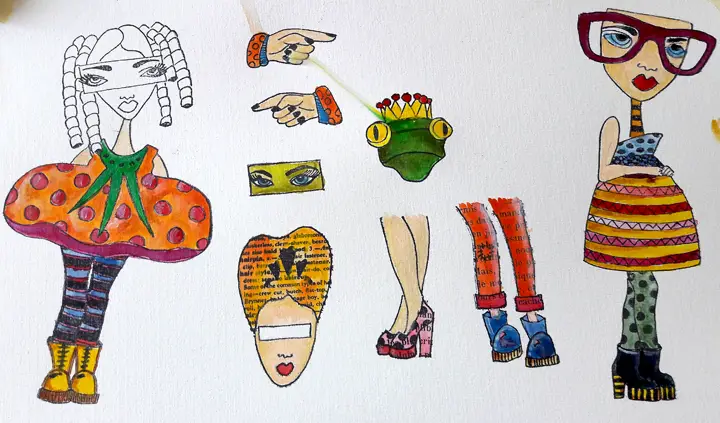
Step 3: Cut the ladies into parts: heads, legs and bodies. This way you’ll be able to reassemble them in any way you want even if it’s a little weird or whimsical. I decided to go really crazy and replace one girl’s head with a frog’s head and add eyes in a rectangle.
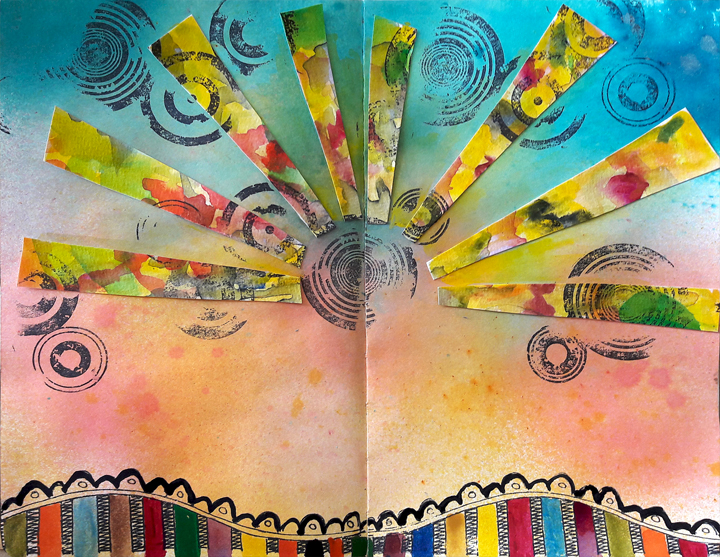
Step 4: Create the background of the art journal page. First I sprayed the page with some sprays and then cut the scrap paper I cleaned my water brush on into strips. I attached the strips to the page and stamped the page with some circles. Then I added a swirly border on the bottom and added some colored strips with different watercolors.
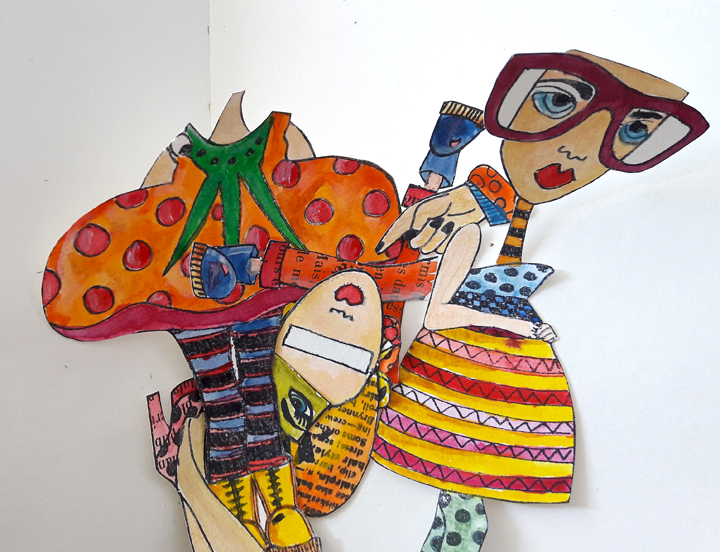
Step 5: Assemble the ladies on the page. I assembled three ladies: one with a complete body, another one with a frog’s head and the third with only a head and legs. Finally I added the title that is in a funky and quirky style like the rest of the page.

Check out these examples for making paper dolls and using them in crafts and art journaling
Sharing is caring – PIN IT!
Have fun creating!


2 Responses
I love your technique and ideas will definitely try again. I have made two sets of paper towels so far on my own one was just regular not Grandma‘s paper dolls. The other were mermaids so much fun.
Thankyou Einat I love this .