Inside: how to use chipboard in your craft projects. Even use the negative leftovers!
If you're like me you probably have lots of different types of chipboard.
Are you really using them in your craft projects or are you just buying them and let them sit around collecting dust?
Have you ever tried to buy them online but weren't sure what you needed?
If those questions sound familiar then I'm here to help you be a master of chipboard!
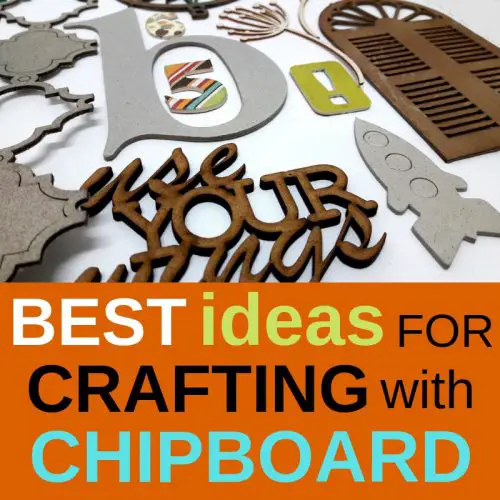
WHAT IS CHIPBOARD?
Chipboard is a pressed paperboard (non-corrugated cardboard). It's made by gluing fragments and layers of recycled paper together. The adhesive is applied using pressure and heat and ends up being smooth and rigid. The thickness varies from very thick to very thin, but it is always heavier than cardstock. Chipboard is popular for scrapbooking, card making, rubber stamp projects and more. It can be painted, inked, distressed, cut and glued. You can also buy chipboard shapes that are pre-cut.
WHAT ABOUT THE THICKNESS?
Unlike many other paper stocks that are categorized on a weight basis, chipboard is unique in that it’s categorized on its thickness. The thickness is measured by a point system. Each point is 1/1,000 of an inch. Light chipboard is 20 points or 1/42 of an inch. XL thickness is 32 points or 1/32 of an inch. Extra heavy ranges from 50 to 52 points and is as thick as a penny. The thickest 2X is 85 points or 3/32 of one inch, similar to the thickness of two dimes. Sometimes you'll see the measurement in inches or caliber but it's basically all the same.
To summarize: 22 point = 0.022 caliper = 0.022’’ they are all the same thickness just said in different ways.
THE RIGHT TYPE FOR YOUR PROJECT
Now that you know what thickness the chipboard is, how do you know what thickness you want? Here are a few thicknesses to help you get an idea of what you want for your craft project:
- LIGHT: 20 - 22 points or 0.022’’ thick – This is the thickness of a standard cereal box. It is thin and flimsy but cuts like butter with any cutting tool. It's great for embellishments and letters but without a lot of volume or height.
- XL: 32 points or 0.032’’ thick – This is about the thickness of a credit card. It has more rigidness to it than a cereal box but still is fairly bendable and will cut easily. Can be used to add texture to a scrapbook page or mixed media canvas and is easily cut with a knife or a die cut machine.
- EXTRA HEAVY: 50 points or 0.05’’ thick – This is about the thickness of a penny. It is thicker chipboard and a popular thickness for mini album pages and covers. It is fairly stiff though still bendable. It will require multiple passes to cut with a knife and a thick die to cut with a machine.
- 2X: 68 points or 0.068’’ thick – This is about the thickness of a nickel. It is great for boxes, covers, bases of mixed media projects or 3D projects. If you want to use this thickness be prepared to do several passes and stick to simple shapes.
TYPES OF CHIPBOARD
All types are great for craft projects:
- KRAFT: most chipboard is brown with some speckles running through it.
- GREY: chipboard made out of newspaper.
- CLAY COATED: chipboard which is chipboard but with a thin white coating of clay over it.
Sometimes embellishments or letters made from thin wood are also referred to as chipboard however they are not made of paper.
CHIPBOARD FOR CRAFTS
It is so popular that today you can get almost any type of chipboard you need for your craft project. There is basically two styles you can choose: plain that can be painted or covered and pre decorated. Both styles come in all of these options:
- SHEETS: typically square shaped pieces that can be cut into shapes, used as scrapbook pages and album covers, cut into frames, made into boxes, and more.
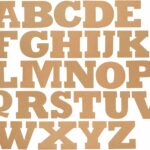
- LETTERS: come in many different sizes and every letter of the alphabet, so you can use them for many of your scrapbooking or home decor projects. They come pre decorated, as stickers, or plain to decorate yourself.
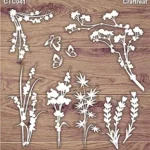
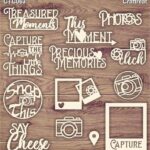
- SHAPES: almost any shape and size imaginable can be found in chipboard. Choose from laser cut 3D shapes, tags, flowers, and more.
- ALBUMS: lightweight and durable scrapbooking album covers.
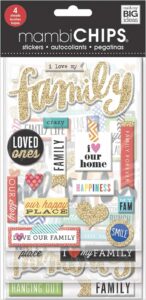
- STICKERS: shapes with an adhesive backing.
DIY FAUX CHIPBOARD
If you want to use chipboard in a project but you don't have the right shape or it's too thick to cut you can make your own faux chipboard from what you have in your stash.
Do this:
- Cut multiple shapes from cardstock. You can punch them, cut them with a die cutting machine or use scissors to cut the shapes. Pre cut shapes from cardstock will work great too as long as they are in the same size.
- Glue them together to create a thick shape.
- Paint or embellish.
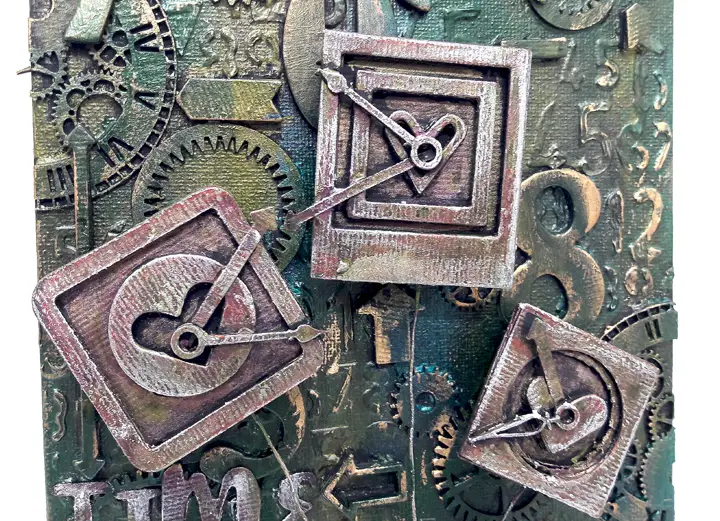
HOW TO EMBELLISH PLAIN CHIPBOARD
The best chipboard to buy is plain because you can customize it to any project you want with various techniques. It might take a while longer but you won't get stuck with embellishments you don't use and always have the right embellishments for your project. Here are a few ideas how to embellish plain chipboard piece:
-
PAINT
For most projects, you'll need to paint it prior to using. Inexpensive acrylic paint is available in a rainbow of colors at your local craft store and a few coats will transform your chipboard from plain to beautiful. You can also use metallic acrylic paints, oil paints and watercolors.
-
DRY COLOR
Covering chipboard with dry paints like colored pencils or crayons will give the it a rusty and grungy look like it's not completely covered..
-
BLING
Everything is better with bling! Use self-adhesive gems to add sparkle to any project. Use a few as an embellishment or cover the entire chipboard shape for added glitz.
-
GLITTER/ FLOCKING
To cover chipboard with glitter or flocking, do not paint it prior to using. Cover it with adhesive, sprinkle glitter/flocking generously over the entire piece, then use your finger to rub glitter/flocking over the surface. Tap off excess glitter/flocking and you're done.
-
OUTLINE
Once paint is thoroughly dry, use a pen to outline the shape of your chipboard. Specialty pens such as Posca or Signo work best - test your pen on a painted piece of scrap paper for best results.
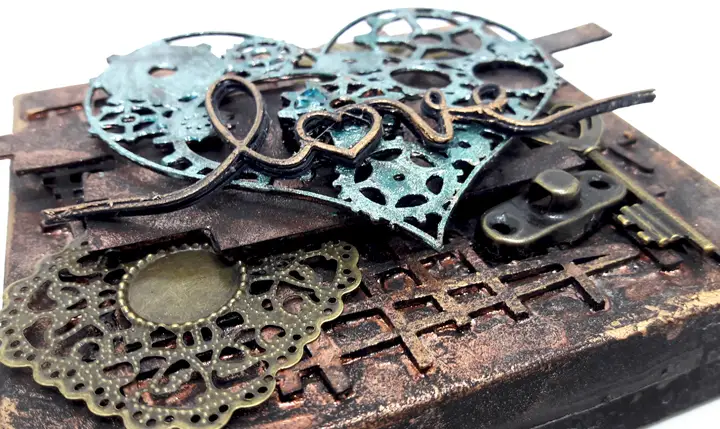
-
PAPER
Leftover scraps of patterned paper are perfect for adding a special touch to your chipboard. For best results do not paint it prior to using. Cover the top of your piece with adhesive, then place it upside down on the back of a piece of patterned paper. Using a craft knife, cut out around the chipboard, then use a piece of sandpaper to add a finishing touch to the edges. Another way is to trace the shape with a pencil and cut the paper with scissors.
-
GLOSS
Bring a little shine to your projects by using Diamond Glaze. A liquid, dimensional adhesive that dries to a clear, glass-like finish, Diamond Glaze is easily applied and dries quickly to add a polished look to any project.
-
RUB-ONS
Rub-ons come in a variety of sizes, shapes and colors, and allow you to personalize your chipboard with patterns or words. Once paint is completely dry, trim selected rub-ons from backing and apply.
-
SPRAY
Spraying is a great technique to add layers of color to the chipboard because the sprays are semi transparent and the different color layers can show through. Make sure to dry the layers in between spraying.
-
INK
Use Distress ink to add a shabby chic look or a more vibrant ink for bold color. Apply the ink with a sponge, a lending tool or directly with the ink pad.
-
EMBOSS
Cover the chipboard with embossing powders to add even more dimension to it. You can use painted or un-painted pieces depending if you want the color to show or not.
POSITIVE AND NEGATIVE CHIPBOARD
Most pre cut chipboards come in sheets with multiple shapes on the sheet. Using the different shapes on your projects is obvious but what do you do with the negative, the empty sheet that is left? Here are three ways you can use the negative chipboard:
- Use the leftover sheet to add height.
Here's how:
-
- Cut the leftover sheet to little pieces.
- Attach them under embellishments instead of foam tape.
- Layer a few pieces for extra height.
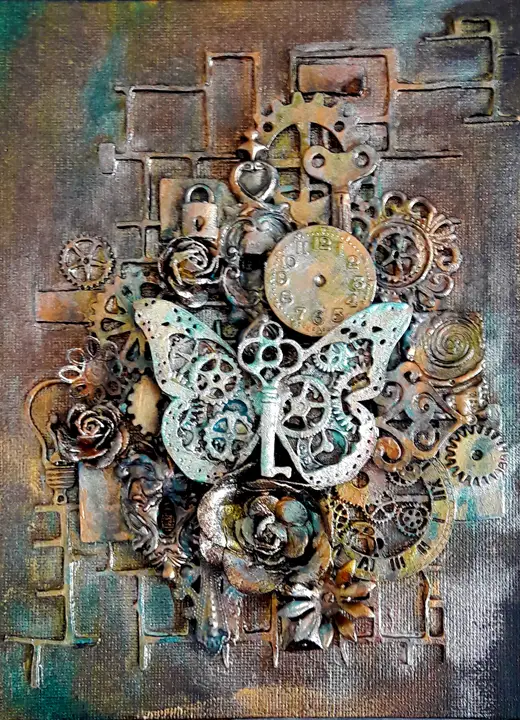
2. Add texture to a project.
Attach the negative chipboard to a canvas and then cover with gesso and paint.
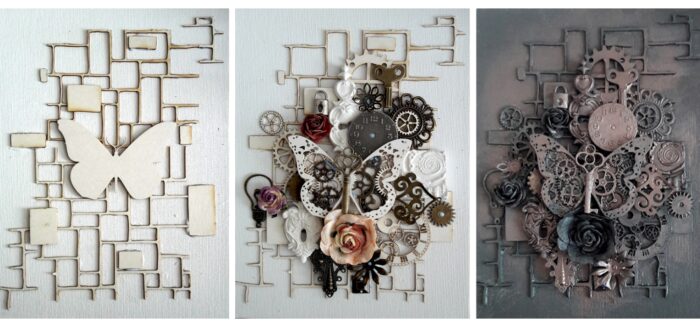
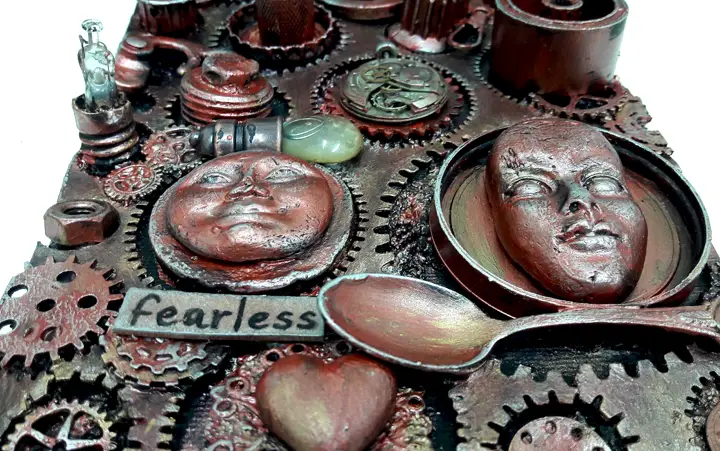
3. Make a feature in the project
Use the entire negative chipboard sheet as an element on the project. See a full step by step tutorial HERE
Looking for more ideas to create with chipboard? Check out these tutorials:
- Halloween mini album (the binding technique is good for every album)
- How to use chipboard
- Chipboard box
Leave me a comment letting me know how you use your chipboards?
SAVE it for later - PIN IT!
Have fun creating!




28 comments on “BEST IDEAS FOR CRAFTING WITH CHIPBOARD YOU NEED TO KNOW”
Does the chipboard have to be sealed before you paint it? I have lots of chip board cutouts that I don’t know what to do with. Thanks.
No, you don’t have to seal it
Were most of these done with a Cricut or similar ?
Most of these were bought but you can cut them with a die cut machine
Work best with Sizzix steel rule dies
Can I make gift boxes from it
Of course you can!
I want to make ornaments with scraps of cotton Christmas fabric. Can I use Mod Podge to stick the fabric to chipboard cut-outs? Will the chipboard show through the fabric?
You can use Mod Podge to glue the fabric to the chipboard. If the fabric is thin there is a choice the chipboard will show throgh. You will only be able to see it once the glue is completely dries
Where can I buy chipboard sheets with shapes already cut into the sheets…. I don’t know any places I can order from or shops I can buy from
Look for chipboard embellishments on amazon or scrapbook.com
I am a model railroader. Can I use chipboard to make miniature structures, like houses, factories?
Yes you can!
I have a Cricut Maker, and some chipboard, but have no idea what to make with it.
Chipboard is very versatile – you can cut embellishments, use it for mini album covers or add texture with it.
Aloha,
I wanted to make a touch and feel book prototype and I was thinking of using chipboard to do so — how would you reccomend going about this?
Mahalo nui loa,
Ashley
You use the chipboard as base for all the pages. For binding you can use rings, Bind-it-All or single page binding techniques.
Hi , I’m so new at this chipboard thing , but I ordered some to do some gesso, like put them on paper n scrape gesso over the top , iv not done it yet as I’m reading up n dont see anyone else doing that , are they ment for just sticking gluing to pa p st n going from there , or can I put the design down scrape the gesso over n around n then lift the chipboard cutout off the paper n let dry , but how do i clean the cutout , thanking you for any help alanna
You can do that! Why do you need to clean the cutout?
glad to know that I can use gesso over chipboard I have a whole tub not being used
I order two sheets of chipboard, different weights and now that I received them, I can’t remember why I even ordered them. I have a Cricut Air 2, not sure if that will even cut them. Now reading up on chipboard, I realize, I could use the cereal boxes. So, now what do I do with my chipboard???
Chipboard are great for making boxes of all shapes and sizes. I also use them as mats for mixed media projects. And of course for embellishments. try your Cricut and see I know it cuts pretty heavy chipboards
Great read. Very informative!
Thanks Joyce!
Thank you for the great explanation! Very informative.
Thanks Dee!
A great and enlightening post! Thanks, Einat 🙂
Thanks Tammy!