Inside: 8 tutorials for one page projects you must try!
I make paper projects for a long time and I have to admit sometimes it gets boring. Doing the same projects even if they are with different papers again and again is not fun for me. So I try to make my life a little harder, creatively, by coming up with ways to create projects. You might think I'm crazy limiting myself like that but for me it works! When I challenge myself to come up with a project made from just one sheet of paper I get really good ideas 🙂 How about you try it too?
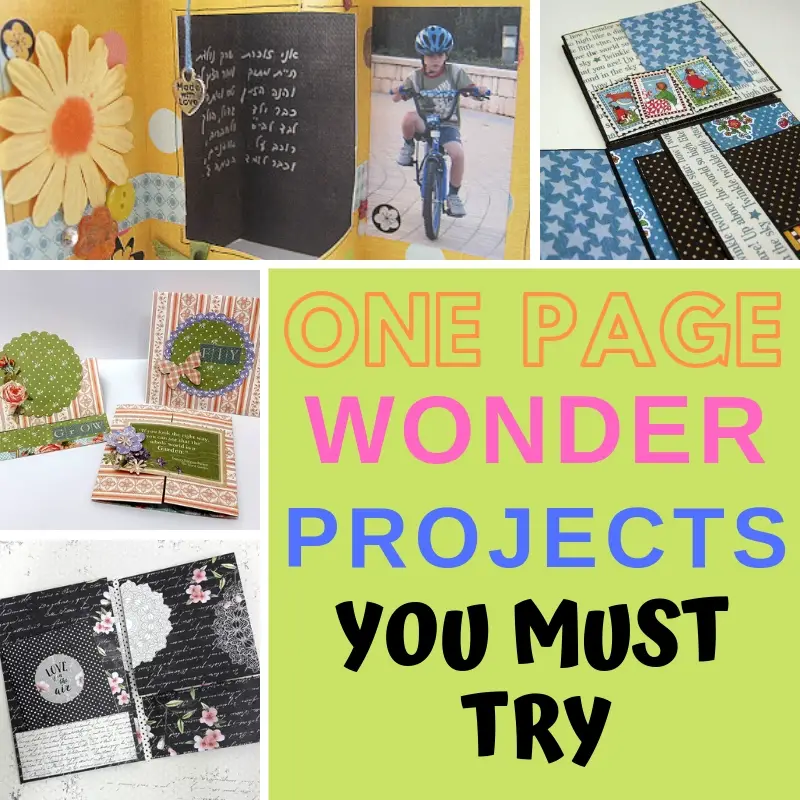
WHAT ARE ONE PAGE PROJECTS?
One page projects are paper crafts made from a single sheet of paper. The type of project you can create from one sheet of paper is versatile and can be a mini album, card, box or a combination of them. To create the project you need to utilize the entire surface of the paper to be able to add the different elements like pockets or 3D options.
WHAT TYPE OF PAPER TO USE FOR ONE PAGE PROJECTS
To successfully create a project from a single sheet of paper you need to make sure you have the right paper.
- Its size can vary but usually a 12x12 or 8.5x11 papers are used because they are large enough to allow for interactive or 3D projects.
- The weight of the paper needs to be heavy enough to hold all the folding you need to make to complete your project. Cardstock is the best weight.
- One page projects are visible from both sides of the paper so you should use a double sided cardstock.
WHY MAKE ONE PAGE PROJECTS?
I love to challenge myself to come up with new designs for one page wonder projects and here's why:
- You only need one page to create them so you don't need to use a lot of materials.
- Making a one page project is fast and quick and can be completed in one afternoon.
- They're perfect for crops or vacation because you don't need to carry a lot of paper, which is heavy and you can start and finish a project.
- No special skill or knowledge is required other then cutting and folding.
- It's fun to make them!
- They look really clever and make you look smart and talented.
IDEAS FOR ONE PAGE PROJECTS
TOP OPENED BOX
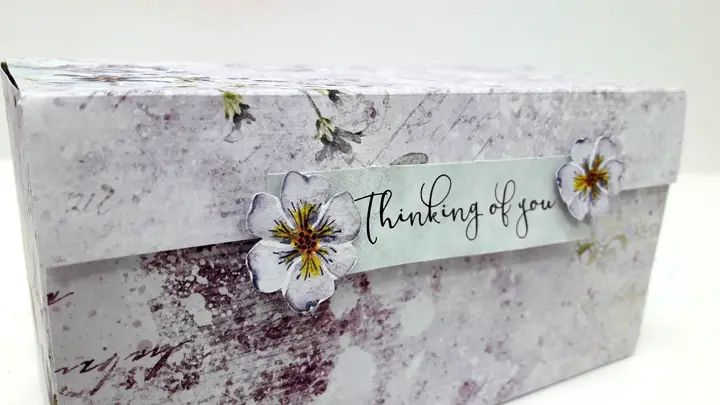
Do this:
- Score a 12x12 double sided cardstock at 3" and 9". Turn the page quarter of a turn and score at 3", 5 1/2", 8 1/2" and 11"
- While the four score lines are horizontal cut out top left and right corners from the edge until the second score line.
- Cut along side the four corner squares from the edge to the score lines to create the four binding flaps.
- Fold all score lines. Attach flap squares to inside walls of the box.
See the full step by step photo tutorial here
TRIPLE PAGE MINI ALBUM
The base of the album including the pockets is made from one sheet of 12x12 paper. If you want to add inserts that are not photos you'll need to use some more paper or tags.
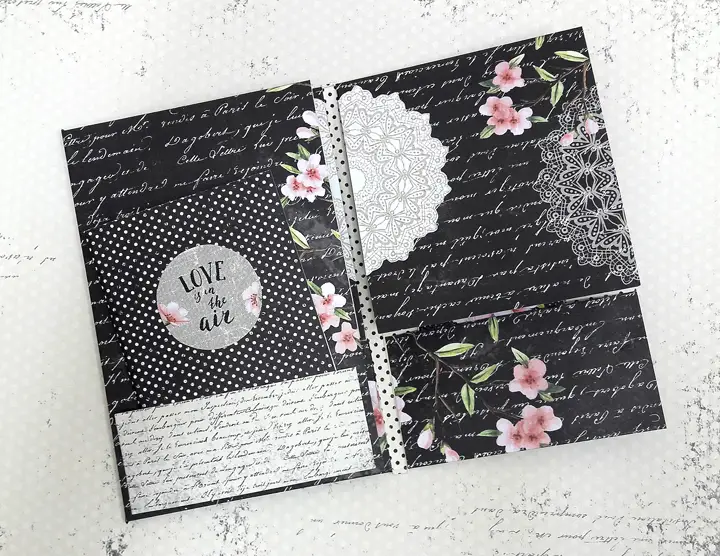
Follow these instructions to create your mini album
ACCORDION MINI ALBUM
This is a project you can complete in 10 minutes!
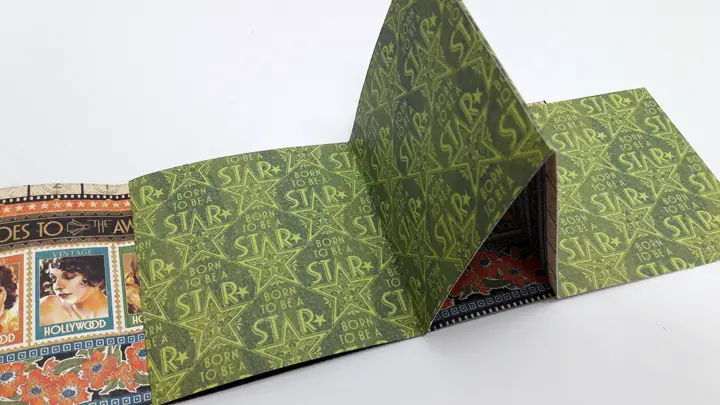
Here's how:
- Cut a 12x12 double sided cardstock to 3 pieces of 4" x 12".
- Score two pieces at 4" and 8" and fold to an accordion.
- Score third piece at: 3 3/4", 3 7/8", 8 1/8" and 8 1/4" and fold into an envelope.
- Attach the two accordions into one.
- Attach accordion to the center of envelope.
ONE PAGE: THREE CARDS
Make three different styles of cards from only one sheet of paper. Great when you have no time but need a card for an event.
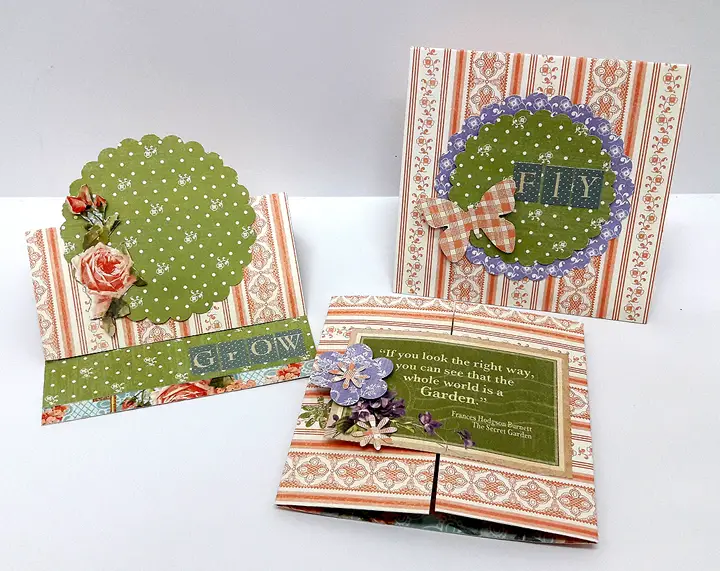
You'll need to:
- Cut 12x12 double sided cardstock into three pieces of 4" x 8".
Easel Card
- Score at 2" and 4" and fold.
- Attach 1" x 4" paper strip to front of card as a stop for easel.
Flap Card
- Fold piece in half
Gate Fold Card
- Score paper at 2" and 6" and fold.
Embellish all cards with shapes punched from remaining paper and other embellishments.
8.5 x 11 MINI ALBUM
Create a mini album with pockets from a 8.5 x 11 cardstock.

Do this:
- Score paper at 2 3/4", 5 1/2" and 8 1/4" and fold.
- Fold other side in half.
- Cut paper on center fold line from first fold line to last.
- Fold into a + shape.
- Attach four corner squares.
WINDOW MINI ALBUM
Four page mini album with a special place to add journaling.
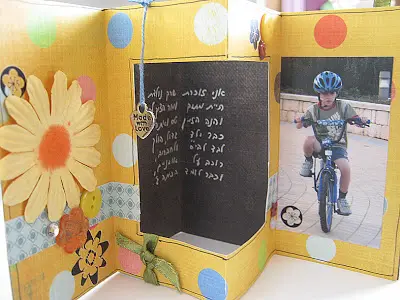
Here's how to make it:
- Cut 4 pieces 4″ by 8″.
- Fold them in half.
- Cut out a 2 1/2″ by 3″ window from the center of two folder paper.
- Fold edges of papers towards the tcentero make an accordion.
- Attach two papers (the un-cut ones) back to back.
- Attach the two window papers to pages. Apply glue on both edges of the accordion.
- Add photos and embellishments.
INTERACTIVE INSERT/MINI ALBUM
This fun project cab stand as a mini album or it can be an insert in a larger album or page. It has flaps and many pockets for extra space.
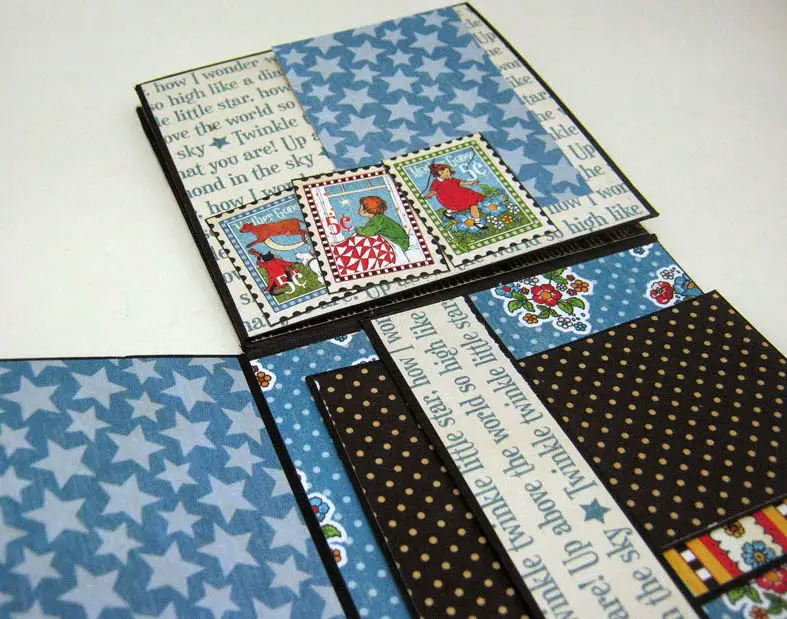
Do this:

- Cut and fold the 12x12 paper according to the sketch.
- Create belly bands or pockets on some of the flaps.
- Embellish cover and pages.
A video step by step tutorial is available here
WHAT SIZE PHOTOS TO PUT IN A ONE PAGE PROJECT?
When creating a one page mini album the pages will be small so you'll need to resize your photos.
Recommended sizes start from 2x3 to 3 1/2 x 5. You can resize your photos in the photo lab or online. In any case make sure to first measure the size of the page before your resize the photo.
WHAT TO DO WITH ONE PAGE PROJECTS?
since one page projects are made from one piece of paper they are usually quite small. While you can use them for large photos or to scrap long vacations you can use them for this:
- Brag books
- Gift mini albums
- Greeting cards that require long text
- Idea books
- Party favors
- Holiday treats
One page projects are easy to make, fast to complete and very fun to give and receive. One page projects are a big hit right now because they are unique in their look and concept and always amazing in how they turn out.
SAVE it for later - PIN IT!
Have fun creating!


