Inside: how to make DIY custom chipboard for any craft project
Chipboards are amazing and easy to use and they come in all shapes and sizes but there is always this one time where you need a certain chipboard that you just don’t have! I hate it when that happens because it can make or break the project I’m working on. So I came up with a way to make my own chipboards! This way I always have what I need and I also save some money!
Making your own craft supplies can take time BUT when you consider the benefits it’s definitely worth it!
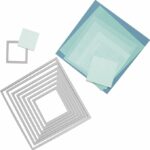
Chipboard is basically layers of thinner paper glued to one another with special glue and pressure. You don’t need any special machines or glue to create your own custom designed chipboard. All you need is a die of your favorite shape or a punch and some strong liquid glue.
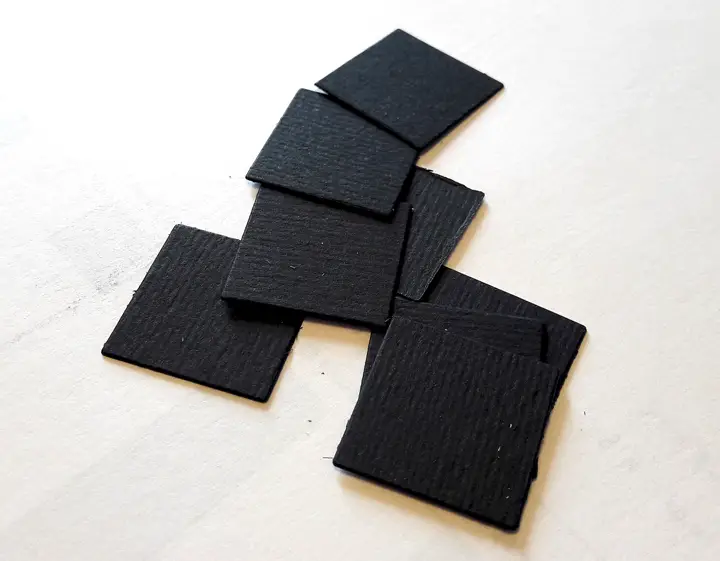
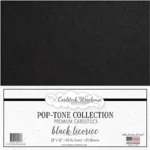
Die cut or punch out the shape you want from a cardstock at least seven times. For the puepose of this tutorial i’m using a square but this will work with any shape.
.
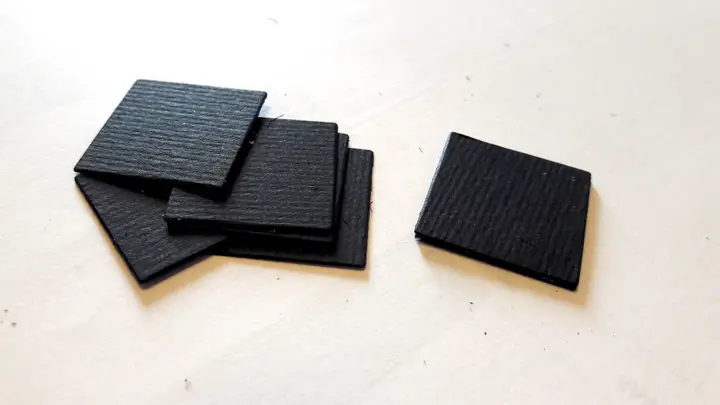
Attach the cardstock shapes together in layers. Make sure to align the edges and glue each layer exactly on top of the previous one. Use a strong liquid glue and spread it around the surface or each shapes going all the way to the edges.
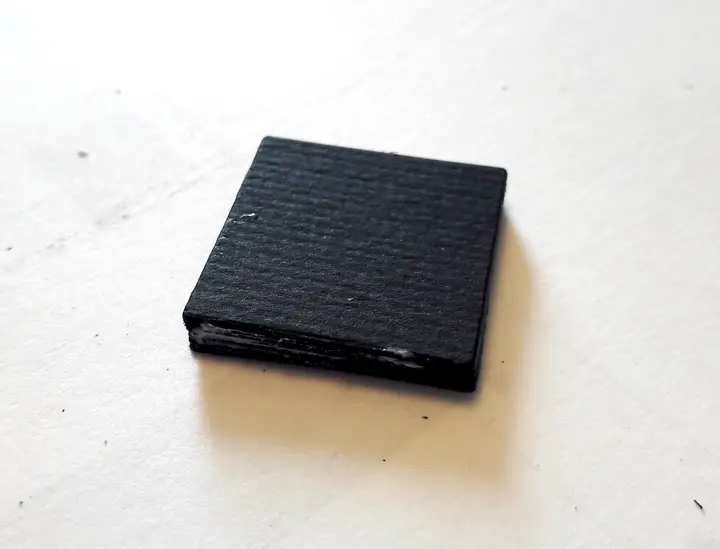
When it’s all dry you have your own chipboard to use in any project you want!
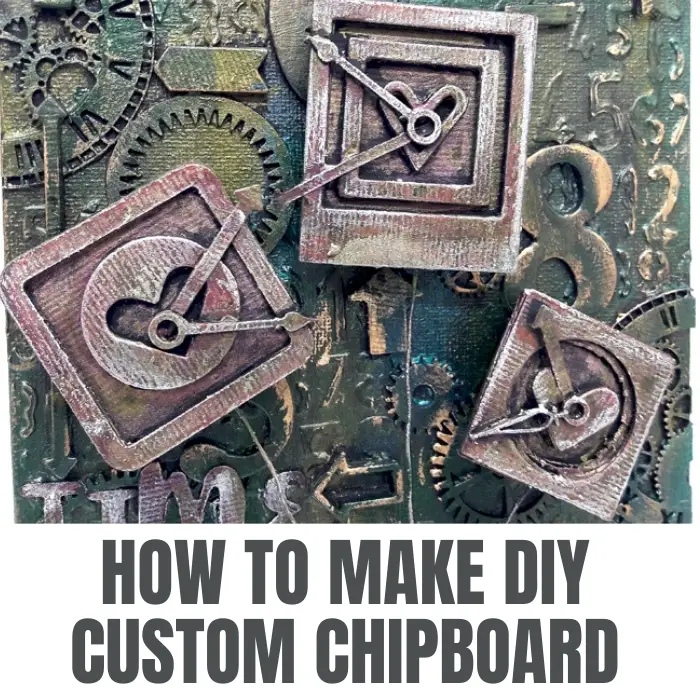
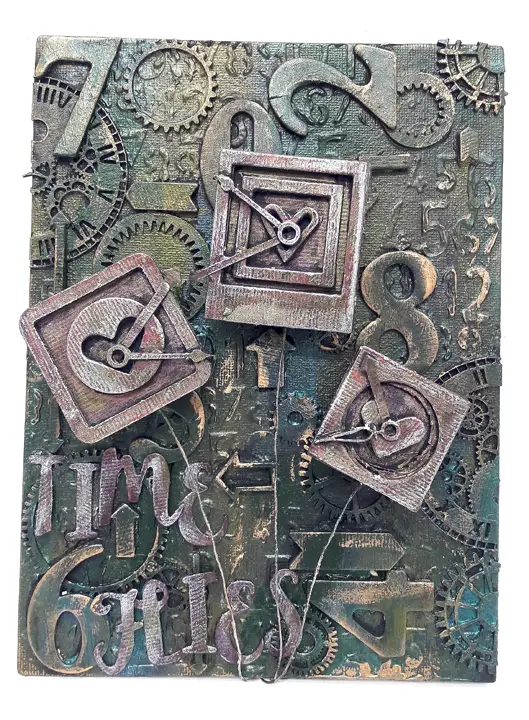
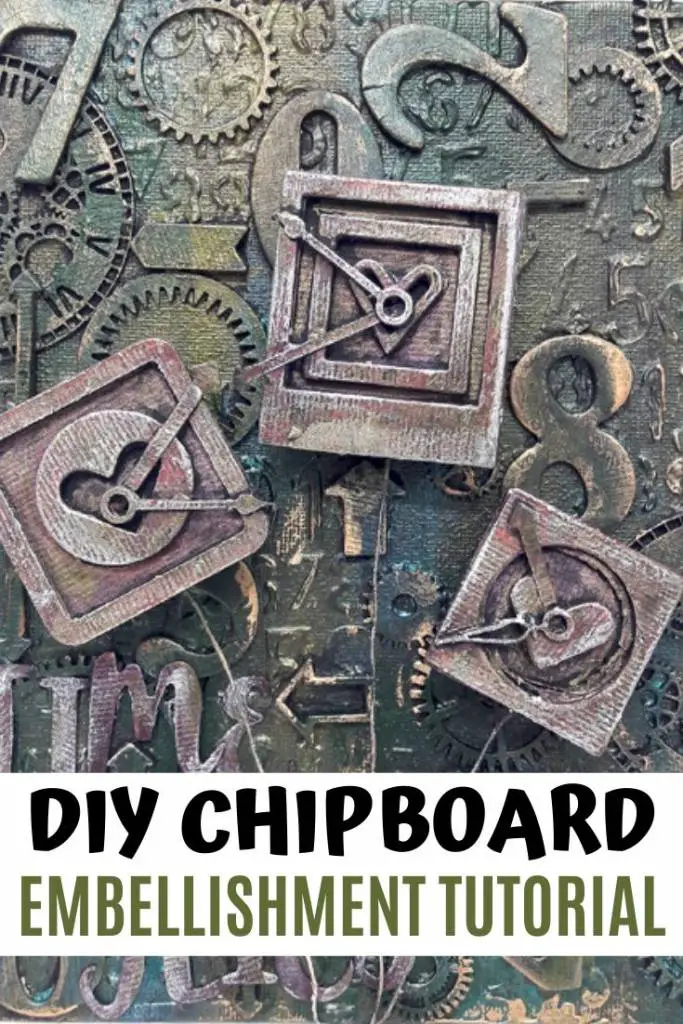
I used this technique to make the three chipbaord in the center of this mixed media canvas.
For an indepth information about chipboard and how to use it in crafts check out the Best Ideas for Crafting with Chipboard.
Here’s the materials I used for making the chipboard on this mixed media canvas
Sharing is caring – PIN IT!
Have fun creating!