Inside: how to make layers on art journal pages
I have a secret...you'll be amazed by it and surprised and you'll wonder how come you never knew it before! The secret to making beautiful art journal pages is not having lots of supplies or knowing many techniques. Making amazing art journal pages is all about the LAYERS! Yes! If you make lots of layers, even simple ones, on your page it will look great every single time!
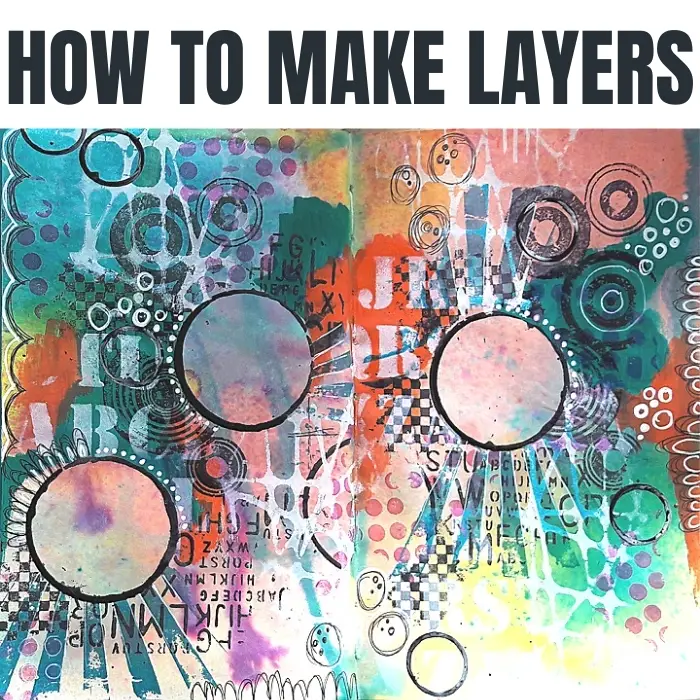
HOW TO MAKE LAYERS ON ART JOURNAL PAGES
Making layers on art journal pages is easy as long as you remember a few simple rules:
- Add colors and patterns gradually and not at once.
- Keep your color scheme to 3-4 colors.
- Start with large patterns and then add smaller ones.
- Keep the layers in the background and only after you finish add a focal point and text.
Learn more about how to make art journal page, art journaling techniques and get a lot of art journal page ideas HERE
LAYERS ON ART JOURNAL PAGE TUTORIAL
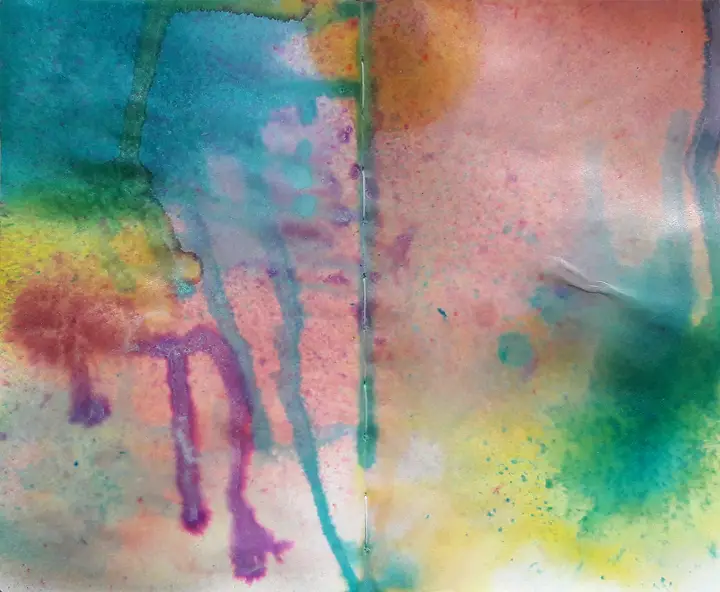
THE FIRST LAYER
The most difficult step is to make the first layer but the best way to overcome that is simply start! My favorite way to start is to add color to the page first.
- Spray the page with a few colors
- Paint the page or part of it with acrylic paints
- Stencil the page with paints or inks
- Glue paper pieces on the page
SECOND LAYER
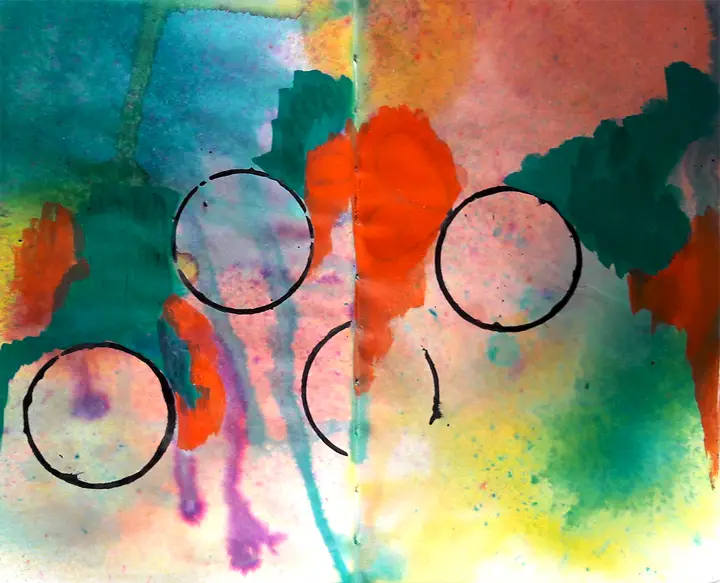
The next step is to add pattern to the color base you created. There are many ways to add patterns because basically any image or shape you add to the page is a pattern.
- Stamp shapes on the page like geometric shapes or even letters that are shapes as well.
- Attach stickers, paper pieces or washi tape in an organized pattern or just as a collage.
- Add shapes with a stencil.
When you add a second layer it needs to be bold enough to be seen against the background but it needs to let the first layer be seen as well. For example, if you add paper pieces on a colored background don't cover the page completely so the colored background will disappear. Or if you add a stenciled pattern use a bold color like black so it'll be a contrast to the colors in the background.
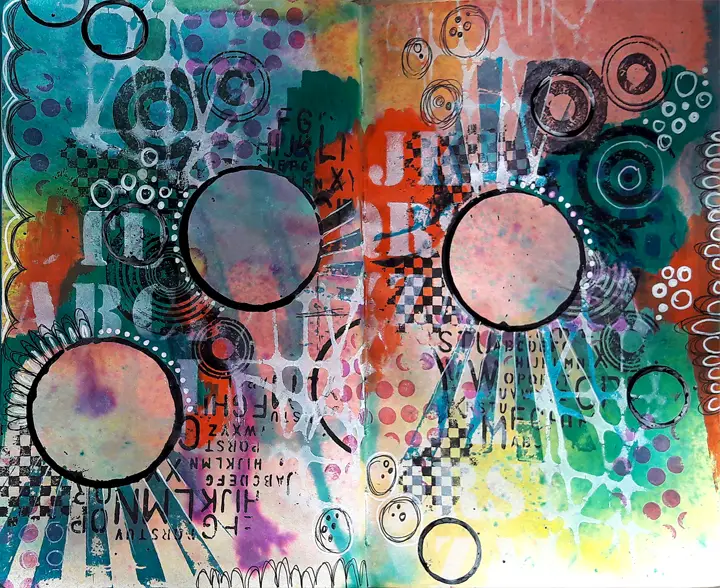
I stamped circles with black acrylic paints and tp rolls.
THIRD LAYER
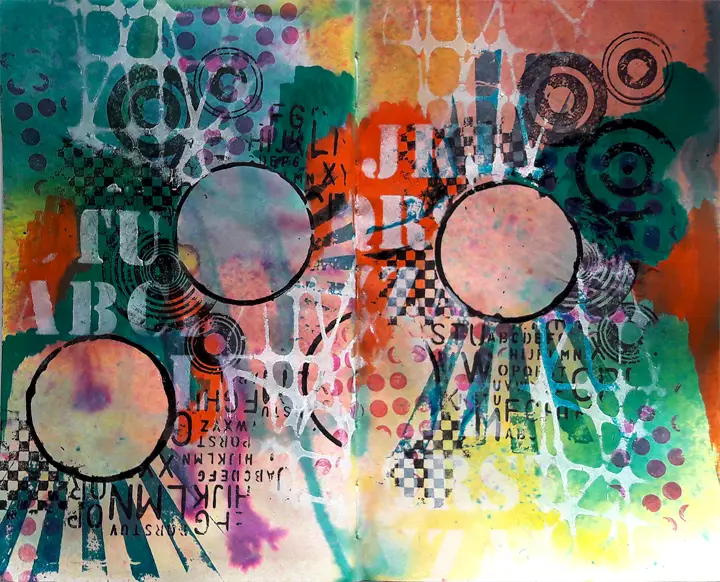
Add another layer from the layer ideas we introduced previously. Here's what you need to remember when adding layers:
- Always make sure the previous layers are visible
- Create contrast between the current layer and the previous layers
On my page I added lots of patterns around the circles while leavingthem empty. I used a round piece of paper to cover the inside of the circles and started to stamp and stencil around them. The patterns around the circles are all in contrasting colors and youcan still see the backround and previous layers.
FOURTH LAYER
The last layer on this page are small details I added with black and white pens. The last layer on a page should be a small addition of doodles, text, title or accents. This should be the finishing touches of a page that is almost complete.
TIPS AND TRICKS FOR ADDING LAYERS TO ART JOURNAL PAGES
- There is no right or wrong number of layers on art journal pages, you can add as many layers as you want and untill you're happy with your page.
- You don't have to add a layer of text or journaling.
- Know when to stop adding layers and have a balanced page where it's interesting but not too busy.
Check out these art journal page ideas and how to add layers:
How to add layers to make colorful shapes
Sharing is caring - PIN IT!
Have fun creating!


One comment on “HOW TO MAKE LAYERS ON ART JOURNAL PAGES”
I found this so helpful, thank you so much