Inside: how to organize your craft papers in 3 easy steps!
If you are like me and you have been making paper crafts, scrapbook pages and cards for the past few years then you, like me, have way too many papers. If you are one of the lucky ones and you are fortunate to be an organized person then your paper stash is probably organized but again. if you are like me then your papers are in a mess!
The problem is not just that your craft papers are not organized it's that organizing them seems like an impossible task so you avoid it, at least I do. But over time the problem grows and I find myself spending more time looking for papers instead of actually creating something with them!
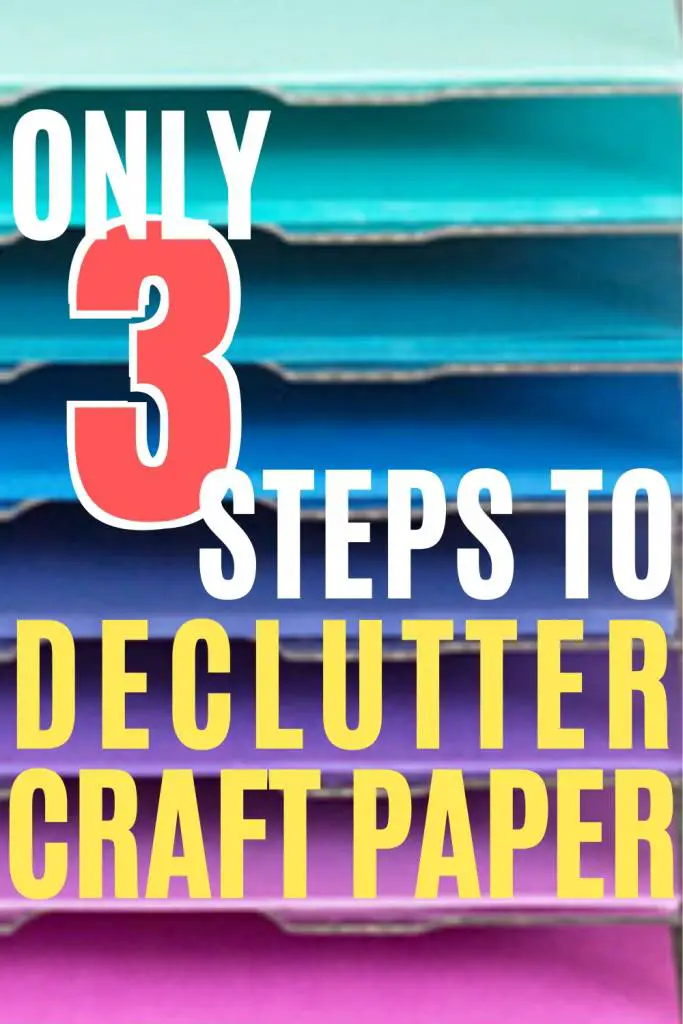
MY FOOLPROOF METHOD TO ORGANIZE CRAFT PAPERS
Organizing craft paper can be an overwhelming task but if you follow the TRIPLE S or the 3S method it's a task you can successfully complete!
What is the 3S method?
The Triple S method has three easy steps (all beginning with the letter s so it's easier to remember: Select, Sort and Store. All of the steps are easy to complete if you follow the logical and necessary tasks along the process.
ORGANIZE CRAFT PAPERS: SELECT
The first thing to do before starting to organize craft papers is to accept that we have too many papers and we need to purge and reduce our stash.
WHY PURGE YOUR PAPER STASH
If you're not convinced that you need to reduce the amount of papers here are some issues to think about:
- A large paper stash prevents you from buying new and more exciting papers because you feel guilty about the pile of papers you already have.
- Instead of spending time creating you spend it on searching for the right paper in your huge stash.
- You feel guilty about the money you spent buying all those papers.
- You have no room for new papers.
If you need more convincing about why purge your paper stash read what happened when I organized my craft paper stash
DECIDING WHICH PAPERS TO KEEP
The problem is how do we decide what papers to keep and what not to keep. In order to make the decision process easier you need to review your entire paper collection. For each paper in your stash you need to answer YES to at least one of these questions:
- Am I REALLY going to use this paper in the near future?
- Does this paper have a special meaning to me? ( for example: it was a gift, I made it myself,it's one of a kind etc.)
- Is the paper in usable condition?
- Are there too many papers of the same design?
- Do I like this paper? (Or am I keeping it because I spent money on it and feel bad getting rid of it)
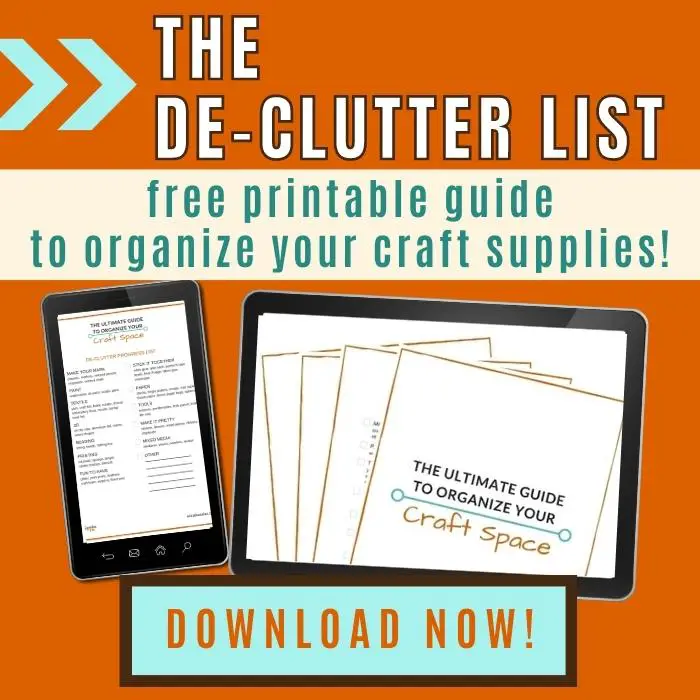
Make quick progress with this De-clutter list!
Get this FREE printableto help you de-clutter your papers. Click the link or the image below to download the list
All the papers you answered one yes about them are the papers you're going to keep. The rest of the papers are the ones you are going to part with.
WHAT TO DO WITH PAPERS YOU DON'T NEED
There are a few ways you can get rid of your unwanted papers:
- Donate them to schools, hospitals, old people homes, community centers etc.
- Sell them at garage sales or FB groups.
- Have a challenge or contest on your blog, website FB page or group and offer all papers as a prize.
- Do a giveaway and give them to a lucky winner.
- Throw them away (to a paper recycle bin) so they'll be turned into other paper product.
ORGANIZE CRAFT PAPERS: SORT
After selecting all the papers you want to keep the next step is to sort them according to logical system.
WHAT TO CONSIDER WHEN SORTING PAPERS
- It's important to sort the papers according to a system that makes sense to you.
- The sorting system needs to be compatible with the actual papers you have. For example, you can't arrange papers according to brands if you only have 3 brands but more than 150 papers for each brand. That will not make finding a certain paper easier or faster.
- The sorting system needs to match the storage space you have. If you only have 3 boxes and you want to sort the papers according to colors it might be difficult unless you add more boxes.
HOW TO SORT YOUR PAPERS
There are a few ways you can sort your papers:
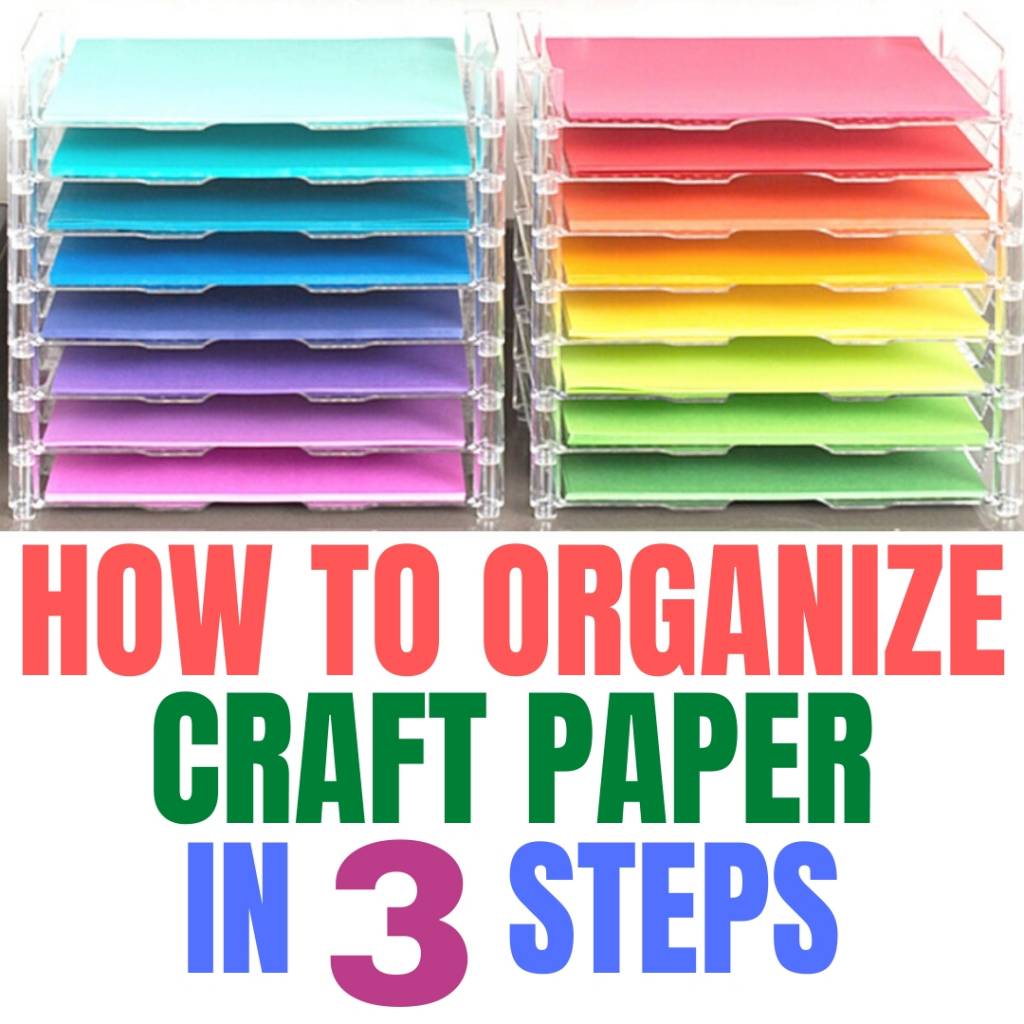
COLORS
Sort papers according to their color. This method is intuitive, easy and visually pretty.
- Start with the colors of the rainbow. Sort the first 7 basic colors: red, orange, yellow, green, light blue, dark blue and purple.
- Include shades of each color.
- Add a neutral section for white, black, grey, brown etc.
PROS:
- Fast and easy to complete
- Efficient for solid color papers
- Looks pretty to display
CONS:
- Doesn't work for stacks (you'll have to separate the papers).
- Difficult to sort if you have patterns or mixed colors.
CALENDAR
Sort your papers according to the events and important dates of the year. Following this system means you sort your papers according to the holidays, special events themed papers like birthdays, bar mitzva, weddings and seasons.
- Start with the seasons: winter, summer, spring and autumn.
- Inside each of the season's section sort the papers into holidays: Christmas, Halloween or any other religious or civil holidays.
- Add a section for events during the year like birthdays, weddings, births and graduations.
PROS:
- Good system if you have a lot of Holiday themed papers and event papers.
- Small enough categories to make searching fast and easy.
CONS:
- Difficult to sort papers that are not compatible with a yearly event or date like papers with general patterns, solid color papers or themed papers for places or people.
- Doesn't work with stacks (you'll have to separate the papers).
THEMES AND SENTIMENTS
Sort papers according to more general subjects and themes like: nature, holidays, people etc.
- First list all the sentiments you have on your papers or that the theme on the paper fits. For example: boys, vintage, floral, patterns or military.
- Sort your papers according to the list and make new categories as you progress.
PROS:
- Compatible with most papers.
CONS:
- Not relevant for solid color papers.
- Doesn't work with stacks (you'll have to separate the papers).
DATE OF PURCHASE
Sort papers according to when you bought them or when they were published. That means all papers are arranged according to when you got them and the emphasis here is to keep track of old and new papers and helps you decide what papers to use especially if you want to make sure you use older papers first.
PROS:
- Good system if you want to maximize paper usage.
- Doesn't require a fancy storage system - all papers can fit in one box without dividers.
CONS:
- Difficult to find specific papers.
- Works better with newer purchased papers that you can still remember when you got them and less with older papers.
MULTI SECTION SORTING
Sort papers using a combination of all or some sorting systems. Find a combination that fits the papers you have. For example if you have more solid color papers sort them according to colors and the other pattern papers sort according to themes or calendar.
You can create sub sections within your systems. For example: sort pattern papers according to themes and add sections within each theme. If you have a holiday section add specific sections for each holiday. Or if you have a nature patterns section sort that section according to seasons within the section.
Customize your sections according to what will make the papers the most accessible and easy to find.
ORGANIZE CRAFT PAPERS: STORE
The final step is to find how to store all your papers.
There are two ways to store your papers: horizontally or vertically. Deciding which way to store your papers depends on a few factors:
- Available space: storing papers vertically takes up less space then horizontal space.
- Accessibility: it's easier to flip through vertically arranged papers then through a horizontal pile of papers.
- If the papers don't fill the box there is a danger that single papers might bend when stored vertically because there is no weight to hold them in place.
I recommend the vertical storage solution and this is what I use to store my papers. I made my own DIY vertical storage boxes from empty shoe boxes.
Here's how I did it:
- close the shoe box with masking tape.
- Place the shoe box on its side so the long narrow side is facing up.
- Cut out the top long side that facing up to create an opening.
- Cover the box with bookbinding papers. They are stronger and more durable than regular cardstock which you can also use if you don't have bookbinding papers.
- Finally I added a piece of color cardstock to the front of the box to match the colors in my craft room.

ORGANIZE CRAFT PAPER CHALLENGES
- Specialty papers: special papers like vellum, glitter, canvas and others don't exactly fit any category. Create a separate section for all your specialty and different texture or material papers.
- Double sided papers: what do you do if a paper has two sides and each side fits a different category? Choose the side you like better and sort according to that.
- Paper pads: paper pads or stacks usually have multiple colors or patterns in them so how do you sort them? There are a few options:
- Take out all the papers from the pad and spread them among the relevant sections.
- Leave the paper pad complete if it has a common theme like Christmas or beach and then you can store them with the other relevant papers.
- If the paper pads don't fit any section store them as they are between the vertical storage boxes or in a drawer or a shelf.
- Paper collections: same solution as paper pads or stacks.
ORGANIZE CRAFT PAPER SCRAPS
A word about scraps... as creative scrappers we tend to accumulate many paper scraps. This issue deserve a separate post but I do want to leave you with a few advice on how to organize your scraps.
- You can organize your scraps by size or theme/color.
- Limit yourself to the size of scraps you keep. I try to limit the size of my scraps to a photo size of 4'' x 6'' and above.
- Store the scraps in little boxes, small page protectors or drawers.
NEED MORE ORGANIZING CRAFT SUPPLIES IDEAS?
Check out The Ultimate Guide to Organize Your Craft Space!
This is a complete guide to de-clutter and organize your craft supplies no matter the size or the mess!
In the guide you'll find:
- The way to organize ALL your craft supplies in just 3 steps!
- Printable check lists, labels and planning calendar
- Tips and tricks for easy storage solutions
- Step by step guides to organize - paper, fabric, embellishments, inks and more!
- DIY storage solutions complete with video tutorials!
GET YOUR GUIDE NOW!
Organizing your paper stash can be an overwhelming task but if you follow the Triple S system you can complete the task in no time. Start with a few papers each day and tackle a new pile of papers each day. You'll be finished before you know it!
Sharing is caring! - PIN IT!
Have fun creating!


37 comments on “HOW TO ORGANIZE CRAFT PAPERS IN 3 EASY STEPS”
You know Sam’s has all those empty boxes. I got the ones to hold my 12×12(All landury detergent box and Daisy cottage cheese box) 6×6, 4.5×6.5. These work great. The front was cut out. I just cut the top off s little.Just look and see. My husband thought I was crazy. 8
I like all the category suggestions. They are working well for me. I have also added a section for light weight cardstock & heavyweight cardstock by solid colors. I use the plastic paper holder boxes from the craft stores. I have one for patterned paper 1 for light weight cardstock & one for heavyweight cardstock I for Christmas holiday paper & 1for 2sided print paper. I used 12″ x 12″ scrapbook page protector pages in each plastic box to hold similar colors & paper. I chose to put the edge with the holes to the top & cut along 1side of the pocket just below the margin starting at the open edge of the pocket. Put your chosen paper in this envelope & add a peel & stick label to the top in-between the punched holes. Repeat these steps for each sub group or group of paper laying each customized scrapbook page protector into the box while staggering labels at top. When the box is full you will be able to locate what you want by labels. You can easily slide out the page protector from the others in the box. Then you van peel back the top right corner & open side to look through these papers &choose which ones you want. The paper can easily be placed in the envelope & put back in the same place in the plastic boxes by lining up the labels across the top inside of the box. Do this in each plastic paper box & label the outside of each box relative to its contents. I am very limited on space so these stack on top of each other on my book shelf. I use all about 2″ deep boxes. They do not get so heavy as the deaper ones. They paper stays clean & mangable& easily accessible
Thankyou Einat. You have given me the inspiration and motivation to finally organise my paper and card. I really do have too much so will donate the excess, great idea.
I’m so happy I could help!
So eine tolle Information, danke
I did not find how you actually change the paper colour so I and others would like to see a video. It is a brilliant idea but we oldies need help thanks, or could you send me a better description of the process. Lee
Can you explain what you mean?
Very detailed instructions which are very easy to follow. בהצלחה!
Great ideas!! I’m rethinking my storage. Hugs!
I store my Cardstock/Papers by colours whether plain or patterned, all my White and Cream Tones and Patterns, Black, Grey & Brown Tones & Patterns etc etc… after all, White is White and, Black is Black. Anyhow for storing, what works for me is, I store mine in Satchels. I find it a much better way of storing being as the Satchels are stackable (thus, still saving space) plus, there’s an added bonus of your Cardstock/Papers staying clean, they don’t collect dust when they’re all covered. I do have my Christmas stock stored separately though (only because, I have so much of it) but, it’s stored in the same way.
Not sure I understand the shoe box directions. My shoe boxes are from size 7 shoes. They don’t seem tall enough to hold up 12 x 12 inch paper
In my experience this size shoe box will fit a 12×12 paper in length and width.
Your posts make sense and easy to follow. I love reading them. You give me so many ideas for my crafts as well as organizing my craft room. Thank you for your help.
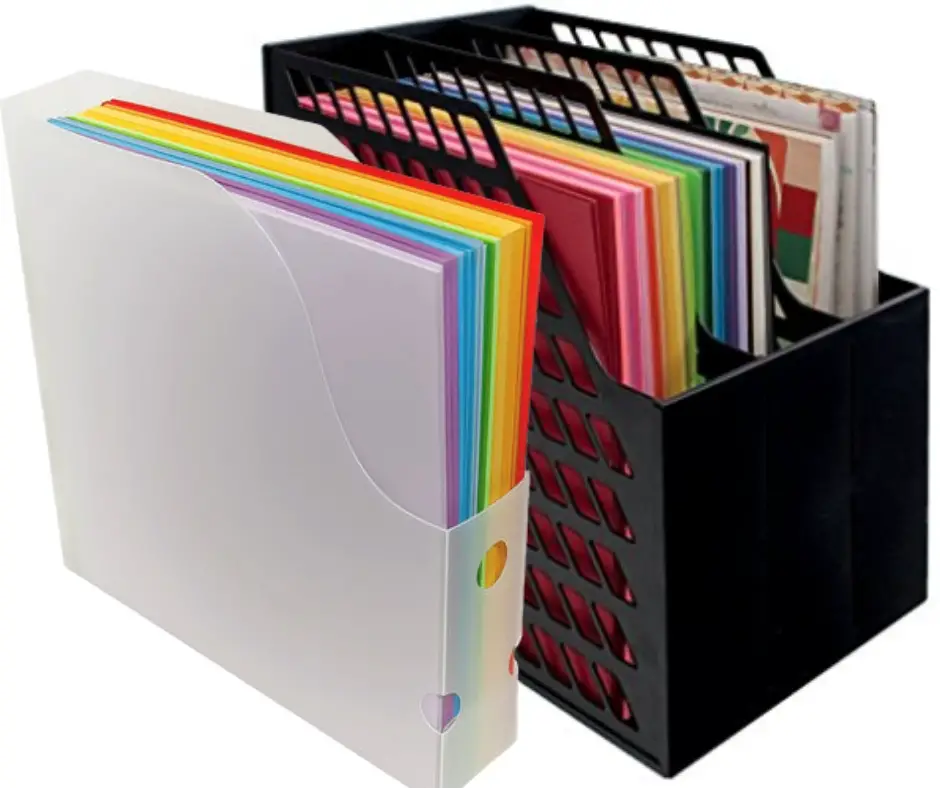
In your instructions you have a picture of a black crate like vertical storage. Where did you find this? Thanks for all the tips! This was just what I needed to get going.
I found it in my local craft store…it’s not branded.
It is from Storage Studios.
$25 ish on Amazon. They have dividers and pocket dividers too. Various places, various prices. But overall a decent system. The black grid box can lie on the side so it is easy to pull paper off the shelf instead of straight up. Mine is stored on a metal bakers shelf (Target, $80?) It’s been forever since I got it. But I have 4-5 of these bins in a shelf with all my paper by color, then solid colors, then themes. All visible and accessable.
My current system isn’t working! Thank you for inspiring me to reorganize my paper collection. I do store vertically so just need to decide how to categorize then do it,
Good luck!
Just found your blog and really appreciate the tips.
Is there a reason not to keep scraps with the paper itself, sorted per the chosen system? I worry I would cut a full sheet, when I had a large enough scrap? Of course one of a kind in a separate box makes sense to me.
You can do that if it makes sense to you!
I’m thinking about storing the scraps for each category in a large
Ziplock bag that I will store
…with each category. (Sorry, it’s early. Need more coffee. )
Good idea!
I have mine in pockets I built from large paper/poster board. Essentially 2 for each color, 1 pattern, 1 solids. Nice color coded sticker on the front corner so I can easily flip through and put paper in, or pull it out depending on the need. Really helps keep anything smaller than 6×6 well contained.
Great post, well organized, encouraging and so helpful. I loved the article and especially how to get rid of the papers you no longer want. Thank you again
Start a thin three ring binder with plastic sleeves for the scraps. Put the colors in order of your newly organized paper.
Great idea! Thanks
A great idea and method, getting started on this today.
Last year there was a post of FB where the person(can’t remember name) took her scraps and a punch using up scraps to punch out a figure, heart, circle, etc . I now only keep scraps and use them for stamping small figures or sentiments. a lot of space saved.
Smaller scraps than 4×6 are good for sentiments/punchouts
Great idea!
I like that idea of saving scraps that are smaller than 4×6 for sentiments/punchouts.
In my scrapping group, we use small plastic drawers(mine came from Walmart) for anything smaller than 4×6. The drawers are labeled by color. These are great for backing cropped photos or making small embellishments. Larger pieces are stored with the full sheets of paper. The drawers make it super easy to find The color you need. They are portable, too!
Thanks Einat
You are most welcome!
Good ideas!
Thank you Dorris!