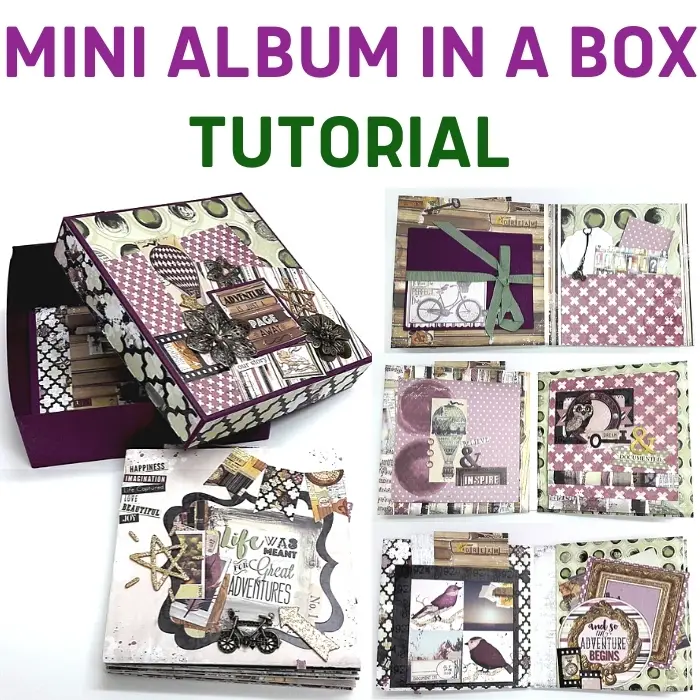
Inside: Learn how to make an interactive mini album in a box
I love making DIY gifts but I want to make them useful and not something that will be forgotten on a shelf or in its box. That's why a mini album in a box set is a great gift to make for someone because it's not only pretty it's also practical. But how do you make the box fit the mini album and how do you make the photo album inside? To answer these questions scroll down and check out the tutorial!
DIY MINI ALBUM AND PAPER BOX SET
When you go online you can get dizzy with all the options you can find. So let's try to see what is what...
There are two main types of mini albums in a box that you can make. Both are interactive, which means they are or have moving flaps, pockets and other mechanisms in them:
EXPLOSION BOX MINI ALBUM
This type is a combined scrapbook mini album that is made in a shape of a box with a lid. Its pages are the walls of the box and you can make it with layers to make more pages, or add pages on the existing walls.
Here's how to make an exploding box mini album with more than 30 pages!
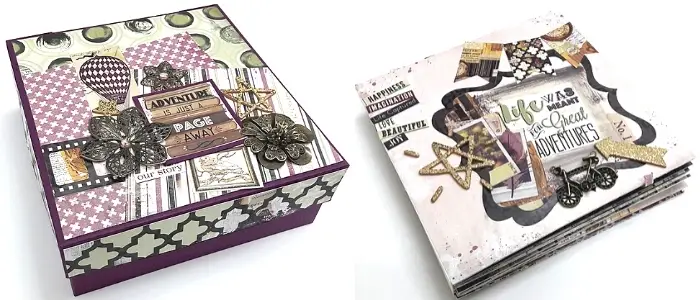
MINI ALBUM INSIDE A BOX
This is a scrapbook paper craft that is divided into two different projects: a mini album and a separate box. The two are compatible in size so the mini album will fit inside the box but they are separate.
Check out this accordion album inside a box tutorial
You can fit two different designs of mini albums inside a box:
- An accordion mini album which is a strip of paper folded in a concertina shape. You can attach a few strips together to make a long accordion and fit more photos inside your mini album.
- A book shape album that has a cover and bound pages. You can bind this type of mini album in different ways like:
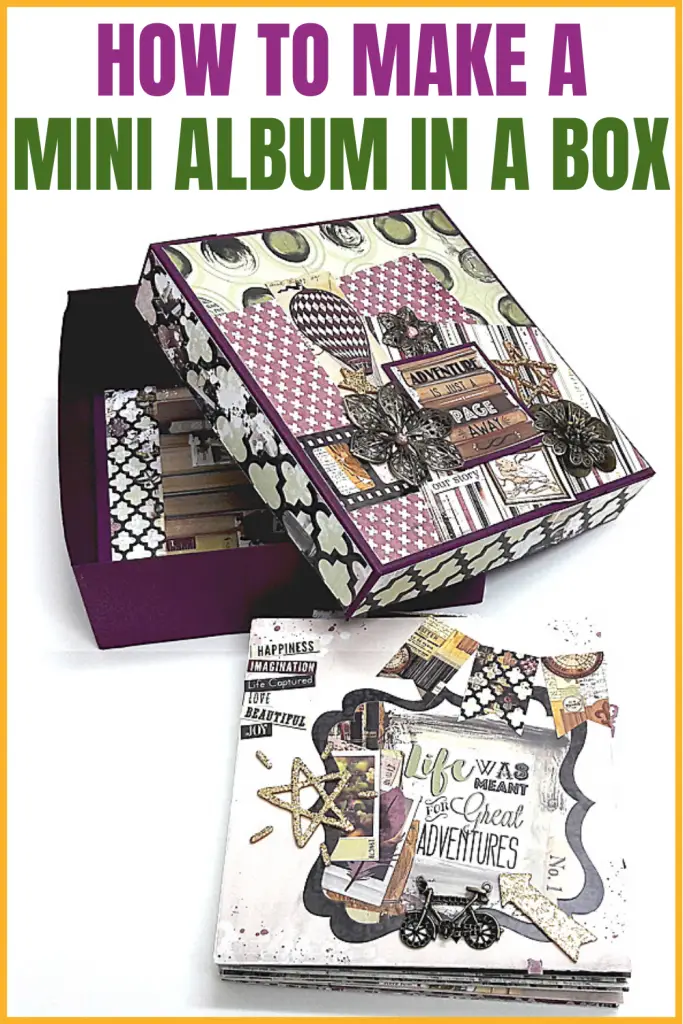
HOW TO MAKE A MINI ALBUM IN A BOX
You need to make this project in two separate steps: making the mini album first and then according to its measurements make the box.
DIY ALBUM
Wheather you make an interactive album or just a regular photo album the process is the same:
- Decide the size of the pages and cut them accordingly. You can make the pages from a solid color cardstock and later cover them with pattrn paper or you can make the pages from pattern papers.
- Pick the binding method for the mini album.
- Make the cover and bind the pages.
- Create the interactive mechanisms and embellish the pages.
MAKE THE BOX
You can make the box for the mini album from cardstock or chipboard depends on how sturdy you want it to be. In this tutorial I made a cardsock box for the mini album. If you want to make a chipboard box you'll have to follow the same steps but work with separate chipboard pieces and attach them with glue.
Here's how to make the box:
- Measure the mini album when it's closed on all sides. You'll need to know the width, length and height.
- Add about 1/2" to each measurement to create a big enough space to insert the mini album easily.
- For example if the measurements of your mini album are width: 4", length: 6" and height: 2".
- Then add 1/2" to the measurements.
- So now your measurements are width: 4 1/2", length: 6 1/2" and height: 2 1/2".
- Now "translate" these measurements to working measurements:
- Width of box: 4 1/2" x 2 1/2"
- Length of box: 6 1/2" x 2 1/2"
- Base of box: 4 1/2" x 6 1/2"
- The next step is to cut a cardstock piece to fit these measurements to build the box. To calculate that you'll need to add the base size and two widths and lengths one for each side. So the size of cardstock for out example box will be 11 1/2" x 9 1/2" (width: 4 1/2" + 2 1/2" + 2 1/2" and length: 6 1/2" + 2 1/2" + 2 1/2")
- To make the lid add a 1/4" to the box size because the lid needs ro be bigger to allow it to close the box comfortabely. The sides of the lid will be smaller than the height of the box, which is 2 1/2", so it will not cover the walls of the box completely. In our example I would make the height of the lid 1 1/2". So the cardstock piece for the lid will be 11 3/4" x 9 3/4".
A STEP BY STEP TUTORIAL
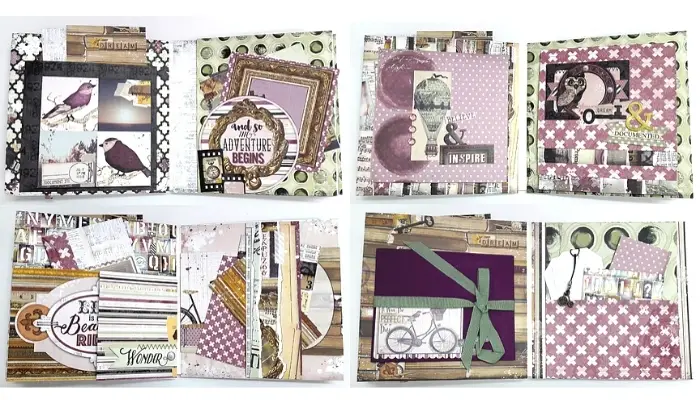
This mini album is full of interactive mechanisms that will increase the space for photos and journaling. I tried not to go over board with the interactive stuff, but you know me... sometimes I just can't help my self.
Check out the full step by step video tutorial! You'll be able to build this project on your own using the supplies that you have in your stash! The look and the embellishments are all up to you so you can change them according to the theme you want to give the project. You can also change the order of the mechanisms and make it your own!!
In order to make the box you need to do a little measuring and calculating but it's totally worth it especially if this mini album is going to be a gift. It is much more impressive and elegant to get a set like that. If making the box is too much work but you still want the mini album to be inside a box you can use a ready made box and build the mini album according to its measurements.
Sharing is caring - PIN IT!
Have fun creating!


6 comments on “THE BEST BOX AND MINI ALBUM SET GIFT IDEA TO MAKE”
Beautiful
Thank you Lori
You are always so clever with your varied use of mechanisms, Einat. I love that in an album. This is a very classy design! TFS
Thanks so much!
Love it so much! Wonderful mini album!
Thank you dear Ola!