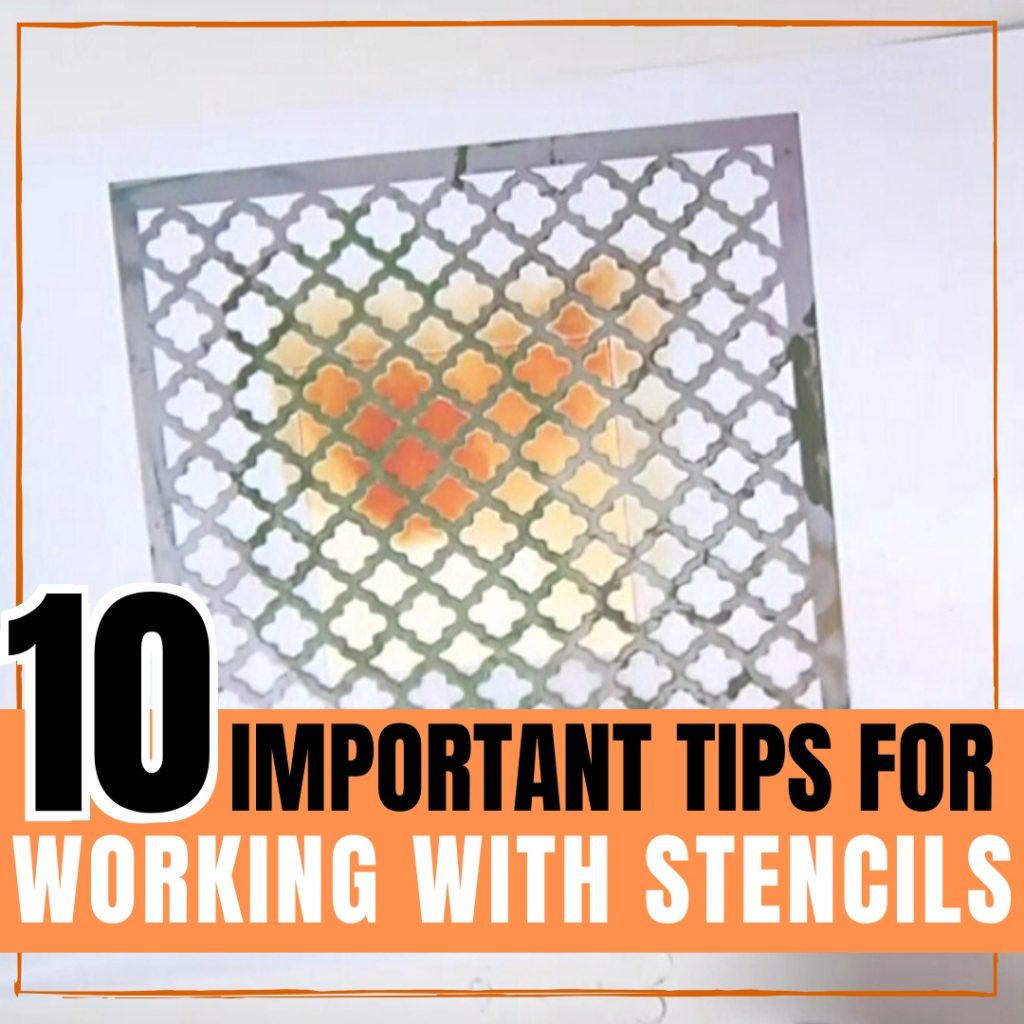
Inside: The best tips to working with stencils and getting amazing results
Stencils are one of the most common crafting tools, we use it in mixed media, art journaling, scrapbooking and card making. As a long time crafter you can be sure I’ve made every mistake possible using stencils and paint. So make sure to read through these tips I’ve figured out over the years before you use stencils in your next project.
Stencils are very versatile and can be used in many different ways. They allow you to create patterns and images on almost any surface. The end result depends on the material you use with the stencil. The most important thing to remember about this is that the drier the material you use the better the result!
The best way to make sure your stencil doesn’t move is to secure it with a low tack or removable adhesive. This will ensure that the surface you’re working on will not be damaged by the adhesive. You can also use a stencil adhesive that is designed especially for this purpose. FolkArt® Stencil Adhesive will hold your stencil in place over and over, as it’s reusable once applied to the stencil.
Before you start working make sure the surface you’re working on is flat and that the stencil is flat to avoid bleeding or areas that the pattern didn’t come out right.
Stenciling brushes are round with short, stiff bristles. Use them in a quick up-and-down movement to dab paint onto your stencil. This helps prevent paint from getting under the stencil’s edges. A sponge or small roller works well too. A sponge is perfect for larger less detailed areas and brushes are best for more detailed patterns and small lines.
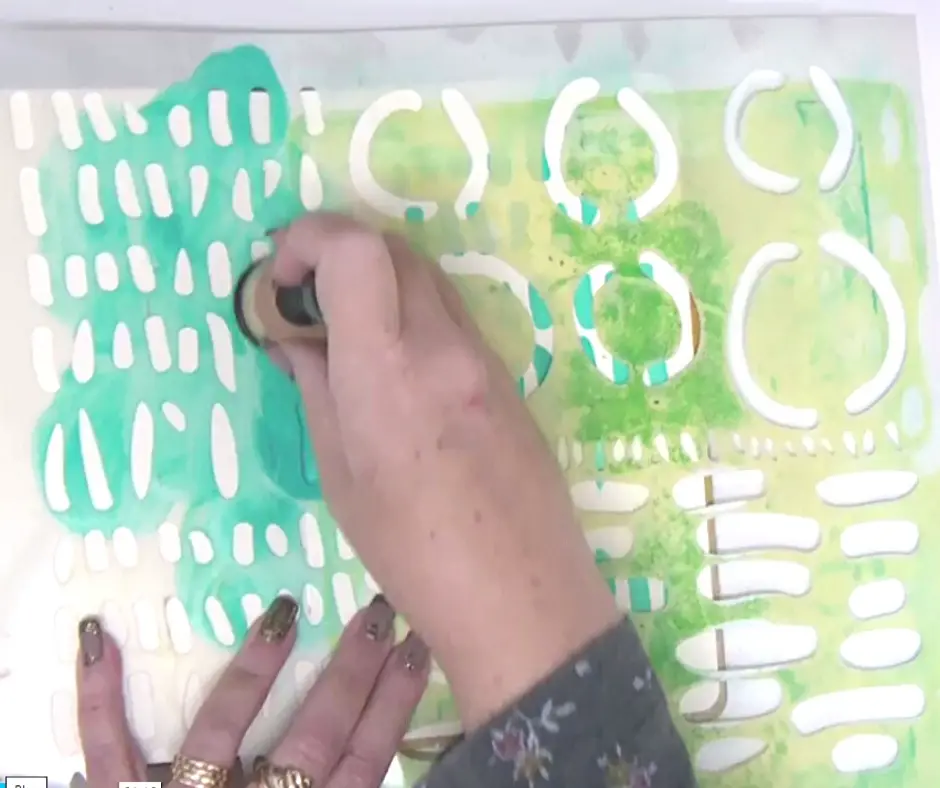
Always use a dry brush and don’t overload a brush with paint, as it’ll seep under the edges of the stencil. Load the brush lightly, so that the ends of the bristles are covered evenly; wipe off any excess on a piece of paper or cloth. You’ll get better results by applying two thin coats rather than one thick one. Wait for the first to dry before applying the second.
Apply clear Mod Podge over top of the stencil before you paint. The Mod Podge seals the edge of the stencil, creating a crisp line when the stencil is removed after you paint it with a different color on top. Dab Mod Podge onto the edges of the stencil with a stiff brush or your finger. Allow to dry. Then apply your favorite paint through the stencil. Peel away the stencil to reveal a crisp, clean edge to the stenciled design.
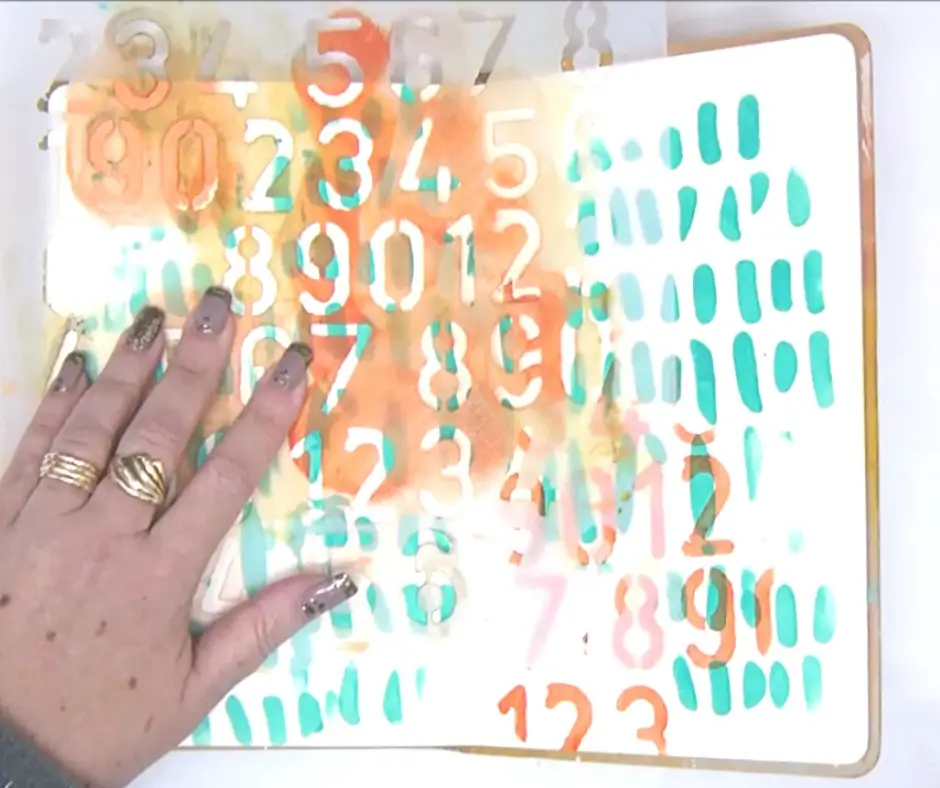
Instead of working from the center toward the edges start working from the outside of the stencil. This will prevent bleeding and you accidentally bump against the edge of the stencil.
When you are using stencils to make ‘hand-painted’ signs or titles, there may be some times you don’t want it to look like you used a stencil. Stencils have little connector lines that are a dead giveaway that you used a stencil. Sometimes these lines are so perfectly placed, it adds to the beauty of the finished product But sometimes you don’t want these lines to show. Use toothpicks with a little paint to complete the lines of the letters.
Certain surfaces need the use of specific paints:
Clean your stencils with soap and water or a wet wipe after using them. It’s very important to prevent dry paint accumulating in the corners of the stencil because that will damage the stencil and prevent you from getting a perfect crisp pattern.
To prevent stencils from bending it’s important to store them flat or against a hard surface.
Now that you mastered working with stencils, why not making your own! Learn how to make your own stencils with this FREE guide!
Get started with these four FREE stencil patterns, complete with a DIY stencil guide!

If the stencil is bent or has a curled corner there are a few things you can do:
You can use stencils in all kinds of projects. Here are some ideas:
Art journal page with modeling paste pattern
Sharing is caring! – PIN IT!
Have fun creating!


5 Responses
Thank you for explaining about stenciling. I’ve had prob l ems with bleeding, now I know why. Thank you!
So do you modge podge all of the stencil before you use it ? You only do this one time?
No, not all of the stencils. Just this time
Thanks for a well done and clear tutorial on how to use distress inks. I have some small ones, but they’ve been a bit of a mystery to me!
Liked it