Inside: how to make layers on your art journal page
When I started art journaling I made horrible pages but not because they were not pretty because they were wrong! I know I always say that there is no wrong and right in art journaling and it’s true BUT if you want to make an art journal page with an emphasis on the word art there is a very important thing you need to master – LAYERING.
Making layers on your art journal page is the basic and fundamental technique you need to make art journal pages and without it your pages will be in a journal but they won’t be art. Mastering the art of layering can be confusing but we’re going to unravel that mystery together!
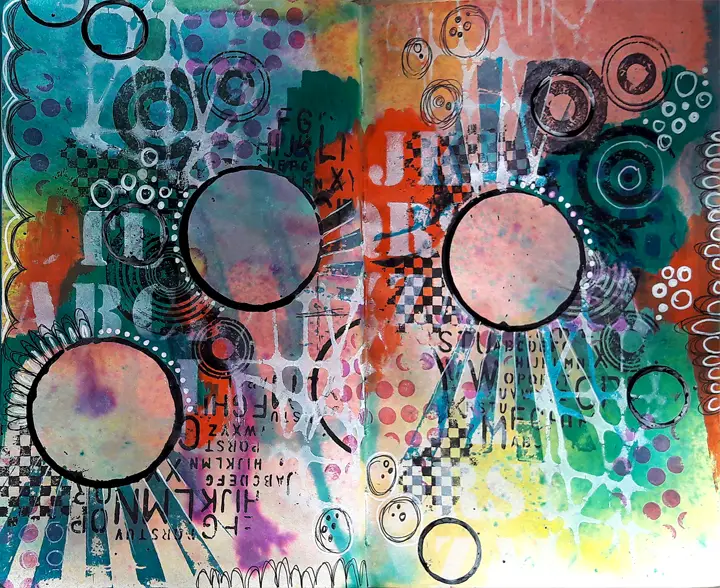
Layering is working in layers adding a layers of paint, texture or pattern one on top of the other. The techniques and tools of working in layers are versatile and you have to know the materials to achieve the look you want. Layers add interest and depth to your page and allow you to play with different elements and shapes while changing their opacity.
The way to master how to make layers on your art journal page starts with knowing your materials. You need to know what material to use for which layer and what to be aware of.
Properties: non-permanent, reactive with water, vibrant colors.
Use for: plain paper, foundation layers, backgrounds, blended layers, water effects.
Be aware of: will react with anything wet (paint, water, modeling paste).
You can try these 12 ways to use distress inks on your project
Properties: important for acrylic paint — over a gesso layer paint won’t soak into the paper and it will be the proper color and have proper spreading abilities.
Use for: foundation layer, top texture and any time you need white surface.
Properties: dries quickly, cleans up with water, acrylic paint is basically plastic.
Use for: add color! Backgrounds, middle, top layers.
Be aware of: can paint over anything, water-based. Doesn’t go great over oil. Paint opacity varies over colors and brands.
Check out my important painting tips you should know
Properties: will write on almost anything. Smooth, blendable, Opaque (generally)
Use for: top layers and resist techniques.
Be aware of: can’t write over oil, so oil needs to be one of your last layers. Will resist anything water- based. Hard to paint over.
Properties: will write on almost anything, water-soluble, Opaque.
Use for: add color! Backgrounds, middle, top layers. Drawing and writing over paint.
Be aware of: might be hard to write on if pigment is layered heavily. May show “stroke marks” on un-primed papers.
Properties: erasable, to a degree.
Use for: drawing, scribbling, doodling.
Be aware of: will give a light line on paint.
Properties: good black or white line for journaling. Permanent when ink is dry.
Be aware of: won’t write over oil or Neocolor. Can be tricky to write over textured layers.
Properties: sandable, paintable, flexible, non-cracking.
Use for: adding texture and dimension.
Be aware of: hard to write or stamp over.
Properties: oil-based dye ink. Permanent when dry.
Use for: stamping onto acrylic paint or colored backgrounds.
Properties: matte or glossy, depending on type. Dries flexible
Use for: collage, image transfers, add to acrylic paint to give it more body and texture, cover and seal layers.
Be aware of: don’t write on it until it’s completely dry. Will resist watery paint or ink to a degree, but can be painted over with heavy body or thick paint.
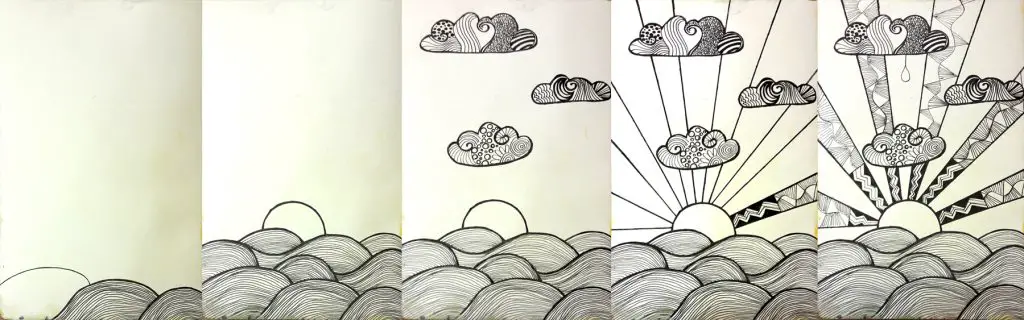
The process of working in layers has three main steps:
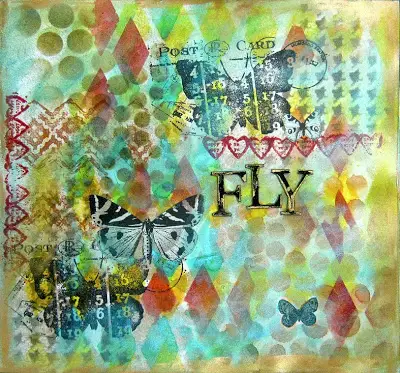
The process of creating a layered art journal page is intuitive and you probably have been doing that without realizing. When you paint a background and then glue a cut shape on it and write something you make layers.
You have your own ”layering tool kit” with all the techniques you know. When you want to add a new layer on your page search your tool kit for the next technique or material to use.
Here are some ideas:
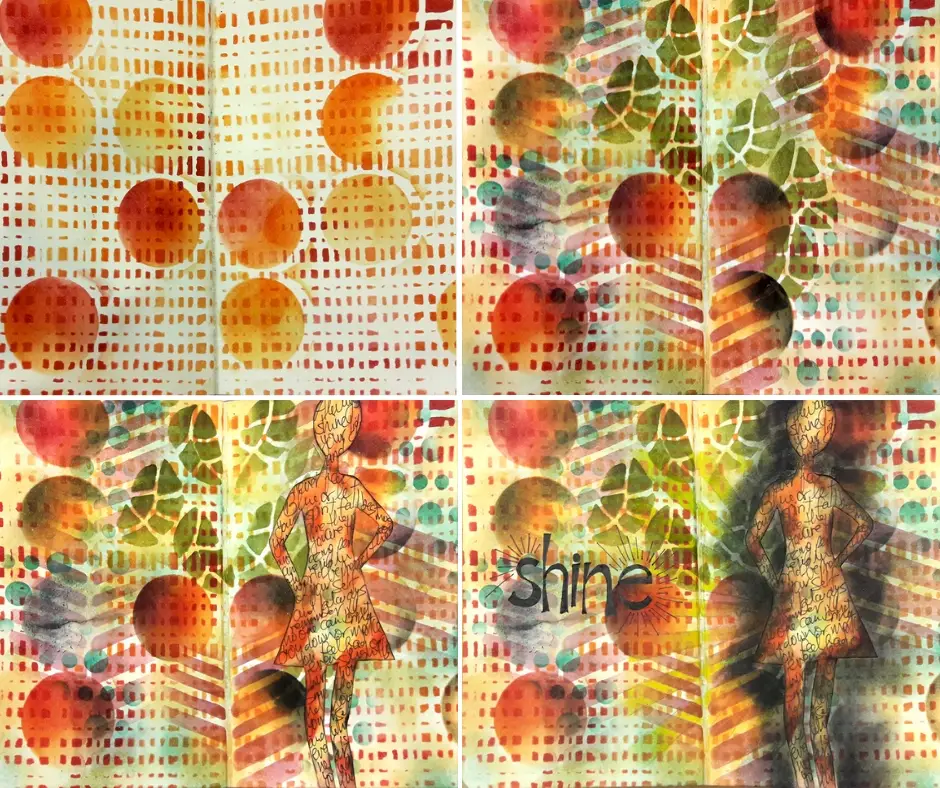
Here’s a step by step video tutoral that shows you how to make layers in your art journal page:
My favorite tools for creating layers are stencils because they are easy to use , versatile and can be applies with many materials and paints.
Need more ideas for making art journal pages and working with layering techniques? Check out the 30 Art Journal Tutorials eBook, where you’ll find step by step tutorias, detailed photos and instructions and lots of tips and tricks to make amazing pages!
Sharing is caring – PIN IT!
Have fun creating!


4 Responses
A wealth of information for a beginner. Thank youl
Thank you for sharing
Thanks Dell!