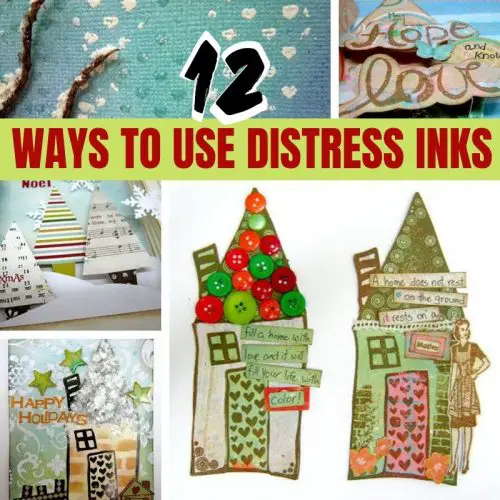
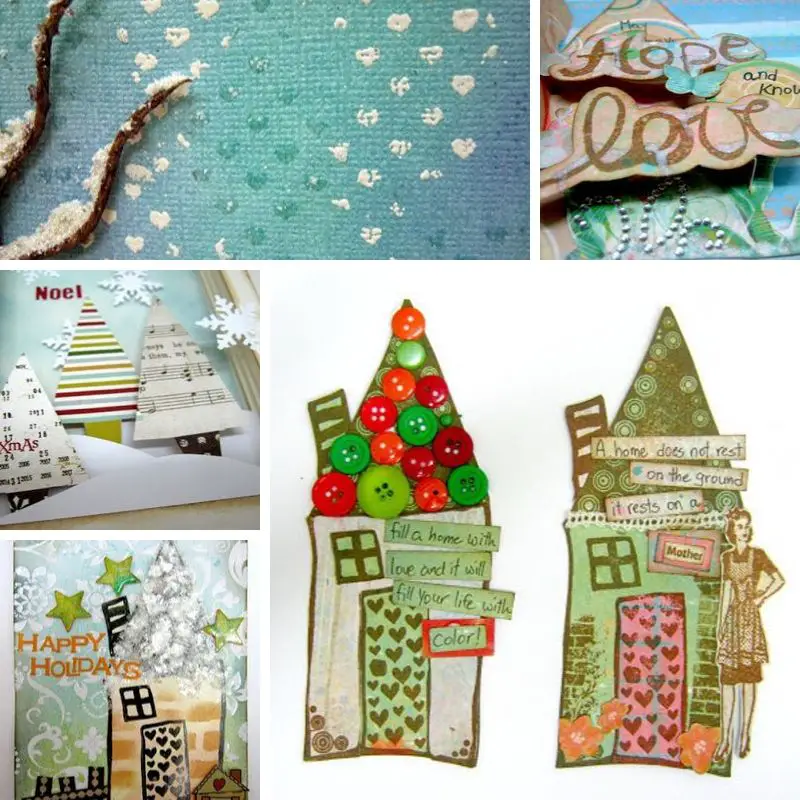
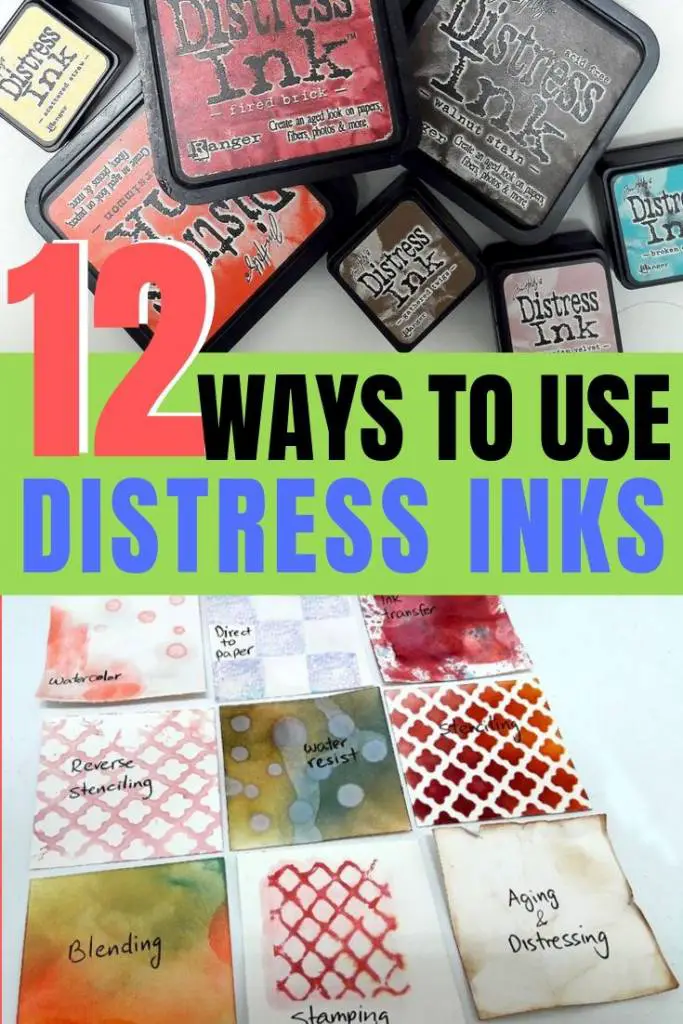
Inside: 12 ways to use distress inks in your craft projects
When I first tried Distress Inks all those years ago I didn’t really understand what was all the noise about. But that was not because they were a bad product it was because I didn’t understand their potential and how to use them properly. Today when I teach or create Distress inks almost always find their way to my project. But until this day I get a lot of questions on how to use them and what you can do with them and most importantly what they are better than regular inks.
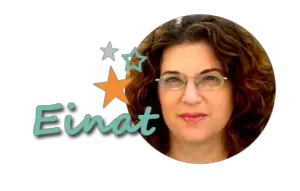
They are water-based dye inks that have incredible color stability. Unlike other inks, Distress Inks react to water. It means that water doesn’t break down the color. Water also allows the ink to move on the paper. They are perfect for traditional ink techniques but their unique qualities open a new set of possibilities.
The grungy shade of the ink is perfect for aging and distressing paper. This look is great for grunge, vintage and shabby-chic projects.
Here’s how to age or distress paper:
Unlike what you might think distress inks are great for stamping. Distress inks stamp well on porous surfaces and can be used with all kinds of stamps however the image stamped is slightly less sharp that other inks. A look which is great for a grungy, vintage, shabby chic projects.
Do this:
Distress Inks are perfect for blending techniques. Because this is a water based ink it stays wet longer and that allows the colors to mix on the surface.
Here’s how to blend:
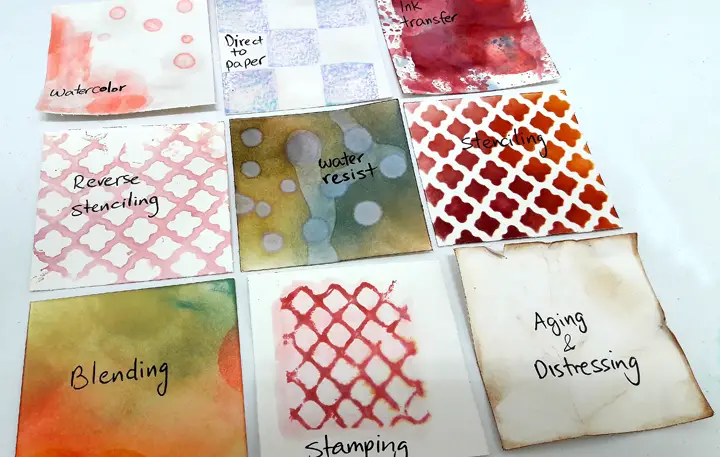
Distress inks are great for stenciling because of the possibility to blend and layer them.
Do this:
Reverse or direct stenciling is applying the ink to the stencil instead of on the paper and then press the stencil, ink down to the paper, creating a “negative” pattern of colored background and white shapes.
Here’s how to use this simple technique:
Since distress inks react with water you can create really pretty effects by combining the two. Water moves the ink around the surface, and by adding drops of water to an inked background, you will get beautiful water washed areas.
Do this:
As a water based ink, distress ink do not attach to a non porous surface like embossing ink. However you can create an embossing resist effect by combining embossing powder and distress inks.
Here’s how:
Ink transferring is applying ink to a non-porous surface, blending the ink with water and then transferring it to the project.
To apply this technique:
Direct-to-paper inking is so simple that you might not even want to call it a technique! You simply apply the ink from the pad directly onto the paper. After the ink is on the paper you can activate it with a water mister or a baby wipe. This will allow you to blend it, smudge the edges, create dripage and more.
You can use distress inks as watercolor paints on a project. The inks activated by the water will give a very light watercolor effect to the paper.
Here’s how to do it:
Distress Inks have been formulated to tint photos — both originals on glossy or matte photo paper and copies made with ink jet, toner or laser copiers. Pick up color with a brush, sponge or cotton swap and lightly apply the ink over the areas of the photo you want to add paint to.
This technique is a combination of direct to paper stamping and misting. It looks great on solid cardstocks or papers.
Do this:
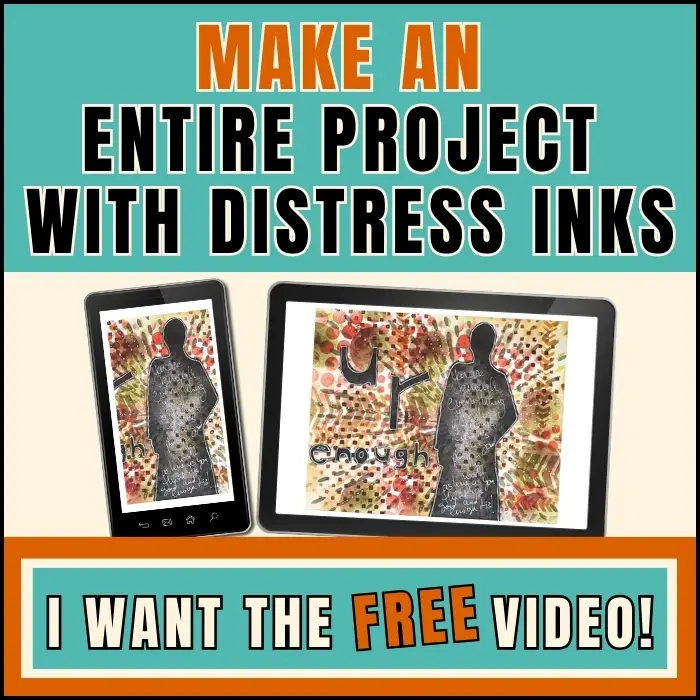
Now that you learned the techniques you can make an entire project with just Distress Inks. You can make a card, art journal page or a scrapbook page by following the steps in the video tutorial. This FREE video tutorial is easy to follow and will show you how to fully maximize your Distress Inks and use them for all the project making steps.
To access the video click the link or the image below!
The only important thing to remember is that even though the ink is on the paper it doesn’t mean it’s set. If it comes in contact with water or other water based materials like paint or gesso it will be activated and might smear or smudge. If you want to set it apply a fixative spray on it or a thin layer of gel medium. That will allow you to work on the ink with other materials and keep its original design on your project.
Distress inks are so much fun to play with and unlike permanent inks they come off your clothes when you wash them! Give them a try! Here’s an idea for an art journal page made with nothing but Distress inks and stencils.
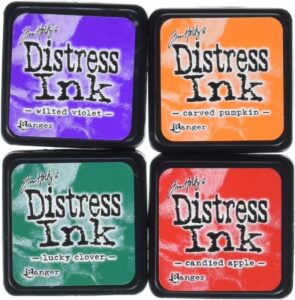
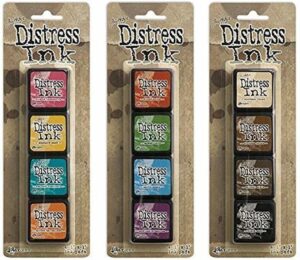
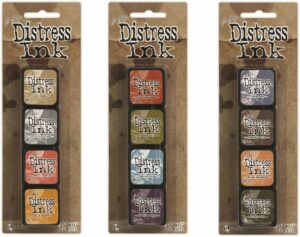
Here are some of my favorite Distress ink colors
Sharing is caring! SAVE it for later – PIN IT!

16 Responses
I absolutely loved this post! The ideas for using Distress Inks are so creative and inspiring. I can’t wait to try the blending technique on my next project. Thanks for sharing these fantastic tips!
I absolutely loved this post! The tips on using Distress Inks in different projects were so helpful and inspiring. I can’t wait to try out the ink-smooshing technique on my next card! Thanks for sharing these creative ideas!
I absolutely loved this post! The tips on using Distress Inks in different techniques were super helpful, especially the blending and layering suggestions. I can’t wait to try them out in my next project! Thanks for the inspiration!
Thank you for sharing your art journey with us who are overwhelmed with so many products out there today. Nice to have some clarity.
I haven’t heard of distress inks before, so I appreciate that you have taken the time to explain their use. I’m sure I need plenty of practice to get the best results. I love the way they are used to make miniature flowers.
Wow I am new to the distress ink world and your instructions were just what I was looking for. Thank you for making the methods so clear and easy to understand/
It’s really good technique. I learn it and enjoy❤. But i indian and leaving in Surat so where I can buy these color.
You can get it online – do a Google search
Wow! Awesome video on the distress inks …. Loved it!!
I am knew to all this craft stuff (Card Making). Sadly at 61, I’ve never really learnt or done any form of real crafting, just the usual mucking about with the kids when they were growing up. Our craft boxes consisted of the usual ‘kids corner craft’ stuff… like > paints, pencils, coloured paper pieces, cotton wool, wool strips, clue, sticky tape, stickers, toilet rolls etc…. but we made some great stuff with the little amounts that we had… 🙂
I’m so going to check out the rest of your videos, as they’re very good learning materials for me right now 🙂 I truly need to learn more about the differences in inks…. Distressed, Water, Powdered, Embossing etc Inks and for what their uses 🙂 .
Again Thank You, great videos 🙂
Cheers from Sydney Australia 🙂
off now to watch & learn some more 🙂
*** New to all this …. NOT knew 🙁 my bad
Welcome to the world of crafting!
I’m here for all your questions.
Hi! I am SO THRILLED to have found this post! I have been a scrapbook and card-maker for 30 years. Due to an accident, I can not remember the details of what I learned at that time. I just pulled out my Distress Inks. I remembered the very vivid colors. I just now laid some ink on to wet paper. I had forgotten the basics! You have them ALL right here! You are a lifesaver! Thank you so much for sharing these techniques so clearly!
He IS Able!
Traci Starkweather
Thanks and be stay safe!
So delighted to find someone so knowledgeable about many art materials! I’ve just signed up for your emails, and cannot wait to browse your archives a bit, too! Thanks for so generously sharing your knowledge and experience!
Your YouTube channel introduced me to Distress Inks by Tim Holtz, When I watched your video on Faux Leather toilet paper roll mini album…I was so amazed I made one myself
Love working with these! You listed some ideas I haven’t tried yet – thank you!!