Single Sheet of Paper Tutorial: Gift box

Just in time for your new year’s gifts, an easy, fun and inexpensive gift box you can make yourselves from only one sheet of cardstock! Here is a sketch with all the measurements: 1.       Cut a square 10 5/8″ by 7″ from one sheet of cardstock. 2.       Mark a divide line 5″ from the top. This line divides the square to two squares A and B. 3.       Cut 1/2″ from both sides of square A. This would make it smaller than square B. 4.       Make four fold lines 1″ from all three edges of square A and the divide line. 5.       Cut slits where lines marked red on the sketch. 6.       Make four fold lines on square B: three lines 1 1/2″ from the edges and 1″ from the divide line 7.       Cut slits where lines marked red on the sketch. 8.       Fold all lines. 9.       Fold slits inside and adhere to the walls to create a box from square …

Ins(paper)ation: a layout for my inspiration

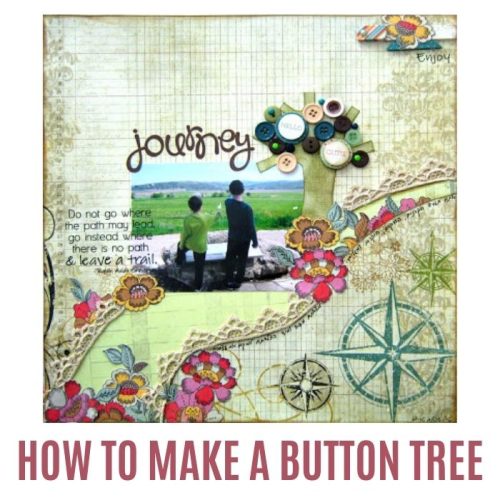
“He has the spirit of the sun, the moods of the moon, and the will of the wind.”  Julie Perkins Centrell. My first born is a constant inspiration for me. From the day he was born, he was special. Little did I know how true that would be. Years later he was diagnosed with PDD and we began a special, challenging and sometimes difficult journey. This journey has taught me so much about life, about love, about patients and about joy. This (not so little) guy has inspired me in so many ways and gave me strength to get up and WALK a journey of my own. Sometimes a story can be told in only a few words. This layout has the same logic. A simple layout for you my son, that tells a huge story. I wanted to make it a simple layout so the center of it will be you. No big embellishments or title, just an image …

Technique corner – Magic of Creation

This is another DT layout for My Punch’s Kit of the Month Club. I really like this layout because it has in it one of my favorite things in scrapbooking: a scene. The scene has a magical atmosphere about it, mainly because the image of the girl (me) blends effectively into the background and seems to be part of the paper. This look is very easy to achieve: 1.       Find a photo where the image has clean lines that will be easy to cut. In my case I had to find an image of a person sitting, because I wanted to use the bench on the layout. 2.       If you put the image on something, like in my case, a bench, make sure that the sizes fit. Cut the image. 3.       Build the scene. I stamped a street light and added grass from a blue ribbon and flowers. 4.       Add a title. The Hebrew journaling sais: when you have creativity …

101 Flowers Tutorial #10: flowers from the heart

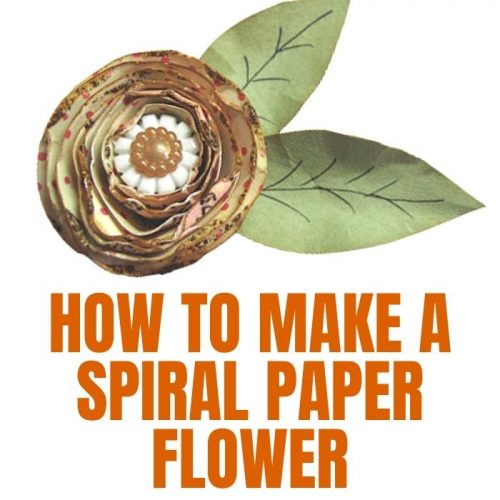
A holiday is a great opportunity to give someone you love flowers from your heart. It can be a wonderful bouquet of flowers or it can be flowers made from heart shaped punches. All you need to do is cut or punch different size hearts and assemble them in flowers shape. Use them to embellish a card or a gift and there you have it…flowers from your heart! Have fun creating! Einat

Published on Prima

I wanted to share with you my layout that was recently published on the Prima blog as part of the Build-A-Page contest. I wanted forever to send one of my layouts to the BAP contest, but I never had the time. Finally, last October I found the time to sit down and create a page according to the sketch. I guess they liked it over there at Prima. This is a layout I made with one of my son’s favorite photos. I don’t have a lot of photos of him smiling like that, so this photo is really precious. I didn’t forget our winners! The winner of Day 12 of the Blog party is…Candice! Our grand prize goes to…Salina! Congratulations! Please email me your details. Thanks again to everyone who participated in the blog party, it was really fun! Have fun creating! Einat

Why I love bikes layout

Everyone in my family loves bikes. Well..almost everyone. I’m not a big fan. I wanted to create a special layout with bikes photos, but I wanted it to be really special not just with a bicycle sticker or cutout. I decided to make a wheel layout, a layout that would turn like a wheel of a bicycle. This is a DT layout for My Punch’s Kit of the Month Club. It is made of two papers and a brad. I cut a window in the round scalloped paper and attached it with a brad to the center of the background paper. Then I adhered the photos to the paper. First the bottom photo, then I turned the wheel and added the second photo. I added embellishments and a title to finish the layout. BTY I didn’t have any bicycle sticker or cutout in the kit, so I ended up drawing it myself! Have fun creating! Einat

Technique Corner: Open a window

This is another LO I did for My Punch’s kit of the month club. The LO has a really fun and easy technique you can do in any layout or card, a window technique. The window has a double purpose, it frames the photo and draw your eye to it, as well as add interest and dimension to the LO. Here is how to do it: 1. Measure the photo you want to use. 2. Draw a photo size square on your paper. 3. Cut the square in three places: the top and bottom lines. 4. Open the paper to the sides and create your window! To enhance the window effect you can add a balloon like I did, or clouds, birds and even sun or snow. Have fun creating! Einat

1 2 3 6

Einat Kessler

Welcome!


Hello crafty friends!
I'm Einat: creative professional,mixed media artist, scrapbook and paper designer, altering enthusiast and class instructor.
Click here to learn more about me and my creative journey

Contact me:
kessler054@gmail.com


Social Links


Newsletter Signup


Craft and Hobby Association


Copyright Information

Copyright


The designs, pictures and instructions listed on this blog are provided here for personal use only and may not be sold, reproduced or used for commercial or submission purposes in any form without my written permission.


Blog Archive