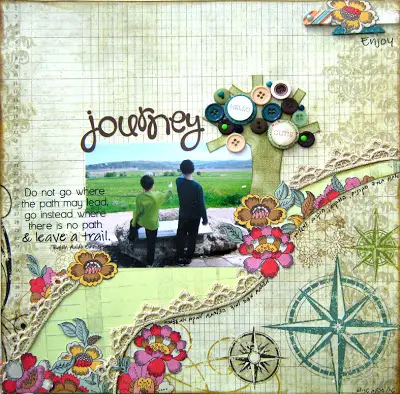
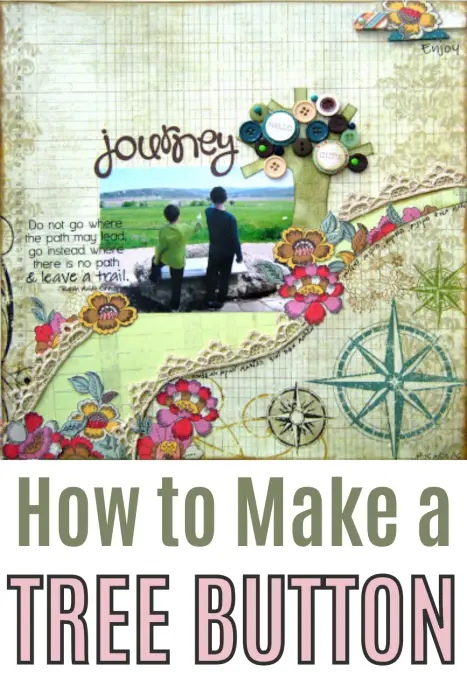
Inside: how to make your own button tree embellishment
When I sit down to create a page I usually have an idea and when I start working this idea takes shape. My idea for this photo was to create a scene around the photo. Since the boys were pointing at something in the distant view I wanted to complete the story by creating a near view of where they were standing.
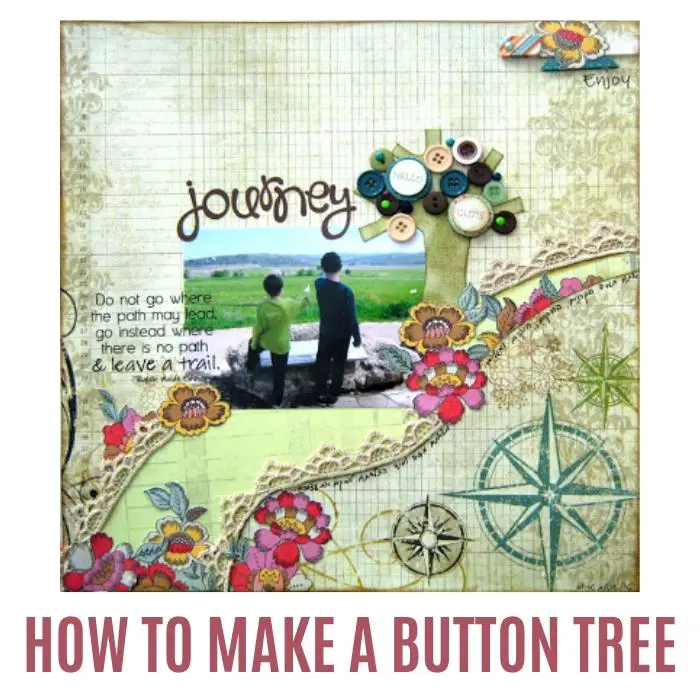
Making a scene is basically adding embellishments to complete a vision of a scene or a place. So instead of embellish a page with abstract or cluster embellishments you actually create a scene like you would in a painting.
The scene for this photo is a path with flowers and a tree shading the two boys.
One of my favorite things to do when I create a scrapbook page is to make my own embellishments.
Creating your own embellishments is not only fun, it;s frugal and smart because:
Here’s how you can create your own button tree:
1. Cut the shape of the tree from a cardstock.
2. Color it with ink, acrylic paint or any other medium you like.
3. Add different size and color buttons as leaves.


There are many ideas to make your own embellishments from supplies you already have:
Sharing is caring – PIN IT!
Have fun creating!


2 Responses
love this LO, the tree is great!
super cute, love the design.