Inside: you’ll find what is gel printing and the basics of gelli printing – materials, tools and techniques you need to know!
Although I have a room full of craft supplies I never seem to have the paper I need. I’m a control freak so I like to match my papers to the theme, mood, colors and basically everything.
So it drives me crazy if I don’t have the exact same paper I envision in my head.
The solution:
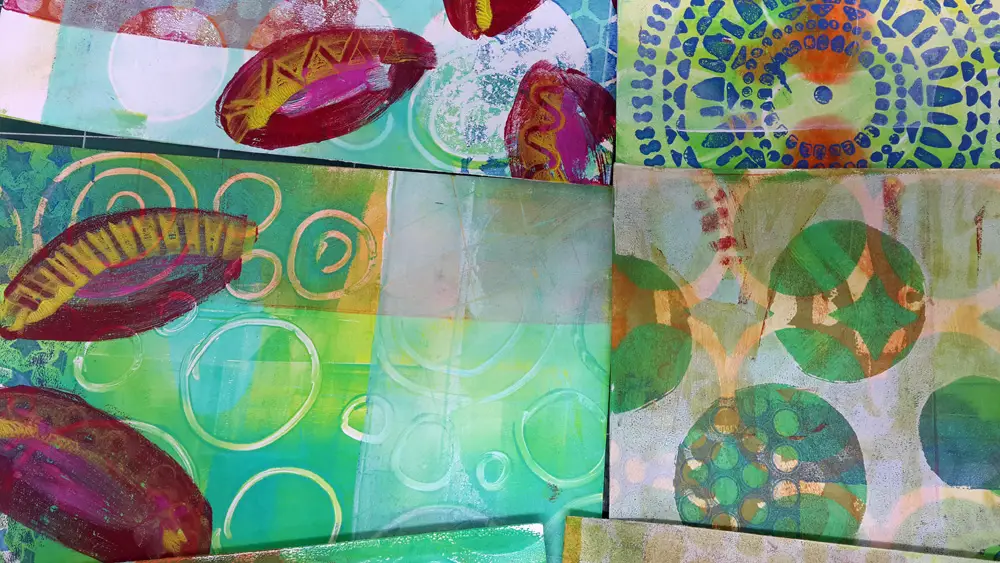
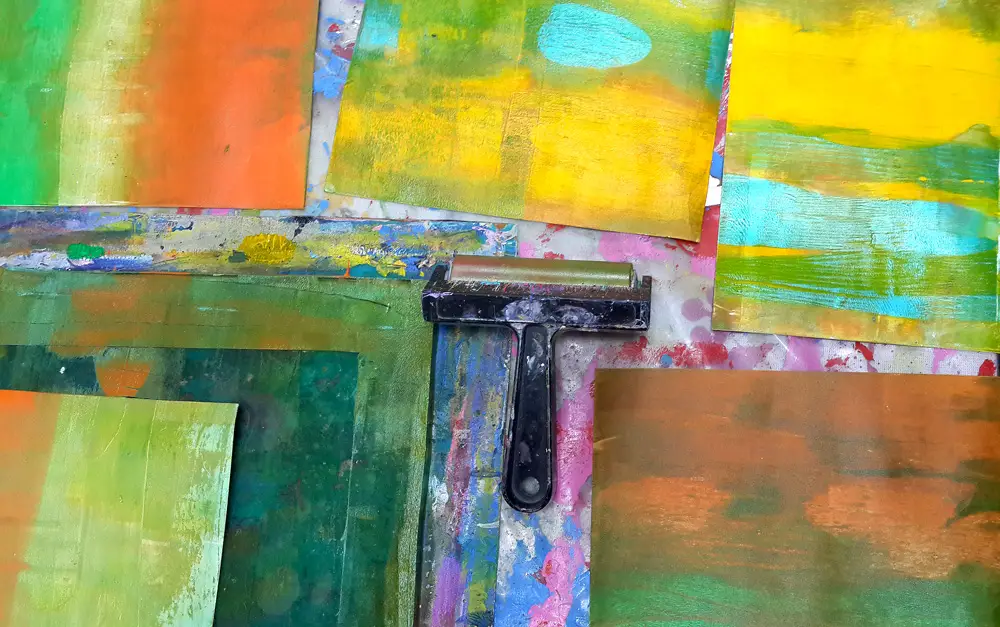
I decided to make my own papers and I found the most fun, easy and creative way to do it!
Gel printing or gelli printing is a form of art to make prints called monoprinting. Previously in order to make monoprints you had to have a press to transfer the paints from the plate to the paper or fabric. Today there is a new thing called a gelli plate, which is a soft silicone plate that allows you create beautiful prints without a press.
When I discovered this methods I was happy and thrilled on one hand and a little intimidated on the other hand.
While this looked like the best, most fun and creative print making technique I didn’t know how to even start. It took a lot of trial and error until I was satisfied with the prints I got.
There are a few basic materials and tools that you need to make gel prints.
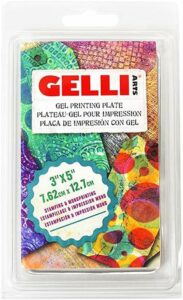
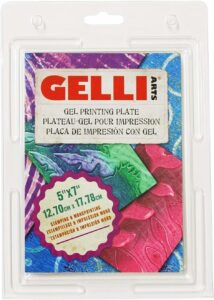
The first thing you need is a gelli plate. Gel printing plate is a soft surface that comes in a variety of sizes that is made with a mineral based glycerin which give the plate a flexible and moldable surface so that you can spread paints, add textures, and make many prints.
Gel plates come in different sizes and shapes. As a beginner I recommend starting with an 8.5″ x 11″ plate. This plate is large enough to experiment on and use other pattern making tools like stencils and stamps. If you want to start smaller you can always use a part of the plate with a smaller paper. However if you use a small gelli plate and want to make a larger print you’ll be limited by the size.
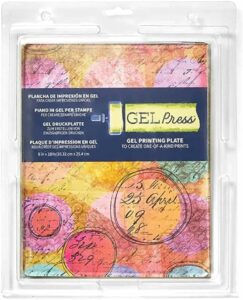
There are a few different manufacturers which make Gel Plates, the two leading companies being Gelli Arts and Gel Press.
Instead of purchasing a gel plate you can make one yourself! Here’s a great tutorial on how to create a DIY gel plate.
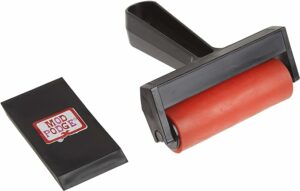
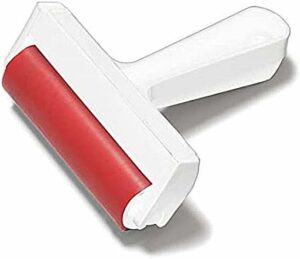
Although you can apply paint to the gel plate with other tools like a plastic card or brush the best tool to use is a brayer. It makes applying paint easier and more even across the plate and gives you more control on the amount of paint you apply.
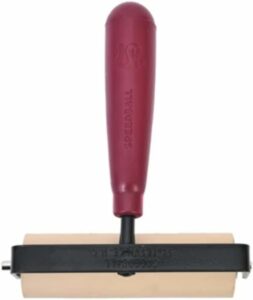
Brayers cone in different sizes and I love to use the Speedball Art brayer.
Acrylic paints are the main medium to use on the gelli plate.
You can use any type of paint you have however here are a few points to consider:
Using acrylic paints to make the prints is just the first part of gel pinting. The next stap is to add texture and pattern to the prints you’re making.
There are unlimited possibilities for different things you can use to create textures and patterns with your gel plate.
CRAFT & ART SUPPLIES
The main tools for adding patterns and textures to your prints are stencils and stamps. Any pattern will work, and any brand will work. You can use stencils, masks and stamps that has patterns or an image – experiment with what you have in your stash!
You can also make your stencils by punching out shapes or cutting them out with scissors and placing the punched paper on the plate. Create your own masks with the punched or cut shapes.
HOUSEHOLD ITEMS
You can also use items you have around the house. Here are a few ideas:
FREEHAND DRAWING
Another fun way to add patterns and textures is to draw in the paint with a pencil, popsicle stick or other tool. Just be careful not to damage the plate!
You can use any type of paper you want to print on but it also depends on what you want to make with your prints.
Here are some paper ideas to use:
Acrylic paint is not the only paint or color medium you can use on the gel plate.
Many materials will work and create great prints however they might stain the plate. However staining will not affect the quality of printing and usually can be cleaned.
Here are other materials you can use:
You probably ask yourself how do I use gelli prints and what do I do with them. True, these are fun to make but in the end what are they good for?
My favorite way is to use them for art journaling:
BUT there are many more things you can do with your gel prints.
So in order for you to not waste time making something you won’t use I created the complete list of what you can do with your gel prints.
Click here to get it sent to your email right away!
Here is the step by step process to print with a gel plate and make custom made papers and patterns.
The first step is to apply some paint to the gel plate. You can do this with a palette knife or just dab a few drops of paint onto the plate’s surface straight from the bottle. You can apply more than one color.
Once there is some paint on your plate, the next step is to take the brayer and roll it over the paint and spread it along the gel plate.
There are no rules for how you should do this or which direction you go so have fun and let yourself experiment! If you are using multiple colors, try to roll the brayer in one direction and lift it up when you reach the edge, rather than going back and forth. This can help prevent colors becoming muddy when mixing contrasting colors.
This is the part when you get to use stencils, masks, stamps and tools.
Here are a few ideas you can do and some different gel plate printing techniques:
Once you have your textures or patterns, you simply lay a piece of paper on top of the gel plate, press down with your hands to smooth it out – and then pull it off to reveal your design.
If there is still paint on your gel plate after the first print is pulled, you can always place a second piece of paper onto the plate and repeat the press and pull process. These are called “ghost prints” and sometimes the ghost prints can be just as every bit as beautiful and interesting as the original!
After the first print is dry you can do another print. Layering prints on the same paper will result in beautiful patterns and prints.
Gelli printing sometimes has an unpredictable aspect. When you apply the paint on the gelli plate you never really know how it will look on paper.
First of all it’s reverse and second you build layers that you don’t know how will look together once you are finished.
Some people are uncomfortable with this lack of control and never tried gelli printing because of that. But I love it! I think that this is part of what art is all about, use your imagination and accept whatever comes out.
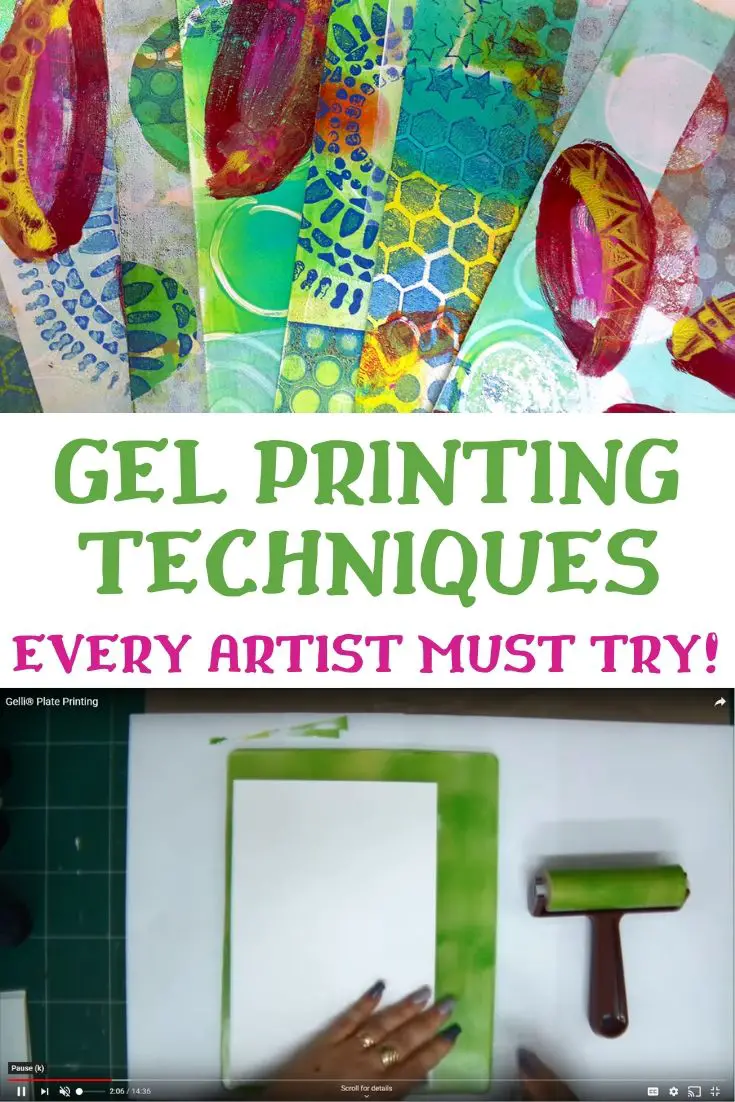
The basics of gel printing step by step video tutorial will help you overcome this uncertainty and embrace these surprises.
Start with the first step and go slowly with the video and before you’ll know it you will be a master in gelli printing and you won’t even remember what you were uncomfortable about… Keep play and experiment beyond the basics of gelli printing and try new found objects to create textures, try new color combination and use DIY stencils or stamps to create even more amazing gelli prints.
For best results and to keep your gel plate in perfect condition for many years make sure to avoid these gelli plate problems
The girlplate is very soft so any sharp object can cause marks, dents, scratches or holes that can’t be repaired! Take care when using any object to make prints to avoid damaging the gelli plate.
YOU DON’T! You can make gel prints with any tool, paint and try any idea or technique – this is what gel printing is about. Discover, experiment and be creative!
Part of gelli plate art is the surprise element and the unexpected result. There might be a learning curve but with time and practice you’ll be able to plan the result and control the process.
If you don’t like a print you made wait a few days and look at it again. If you still don’t like it cover part or most of it with white paint and make a new print.
Don’t be afraid to try and experiment after all it’s only paint and paper!
This is tricky because it depends on the paint you’re using. After making a few prints you will get the feeling of how much paint to use.
When you mix too many paints you are at risk of getting “mud” instead of a few clear separate colors. So instead of mixing many paints at once work in layers and create different prints one on top of the other.
Gel printing can be addictive, so once you start you’ll see you’ll create many prints. Organize a sorting and storage system for them so they’ll be accessible for any project you’ll want to make.
After organizing all your prints you now have custom made papers you can match to any project you need and you’ll always have the paper you need!
It’s time to use your gelli monoprints…
I’ve made a printable guide with 22 ideas you can use your gel prints.
Many artists are create their own art journal backrounds and even complete art journals with gel prints.
Here’s an art journal page I created using pieces of a gel prints to create the background. Click here to watch the video tutorial.
After using the gelli plate it’s important to clean it. You can use baby wipes or wash it with soap and water.
It’s also important to clean the brayer so it won’t accumulate dry paint that will interfere with rolling the paint. After using the brayer roll it on a scrap piece of paper or an art journal page. This way you won’t waste paint and create another background or a start of a new print. After that clean the brayer with water and soap.
Store your gel plate horizontaly and cover it with plain white papers on both sides.
Sharing is caring – PIN IT!
Have fun creating!


20 Responses
I love what you do. I have tried it but my papers get stuck on the plate, I read what you said… little paint?? I Will try again this afternoon.
Thanks for the information — can’t wait to “play.”
Do you ever use embossing folders and lay them down on the paint?
Thanks
Yes, it’s a great technique
What a wonderful tutorial and video. Thank you for sharing your knowledge and expertise. This technique makes for beautiful A2 cards in addition to die cuts.
Wow, beautiful! Thank you for sharing, I might have found a new art form to create some amazing art work. I have some paper that I made, and it has been siting in my craft bin for awhile, I might put it to use now that I found Gelli plate. Quick question, can we use newspapers or magazines photos or words on the geli plate and print on paper? Keep rocking your artwork!
Thank you for your help and time,
Ambrosia
YES! you can! Experiment with all kinds of materials just make sure not to damage the plate with any sharp objects
You show a book but where would I purchase one. I do not have a computer and really am technologically challenged. I need something in from of me. Help
The guide to the ideas is available for free when you click the link.
The full book is available at the VIP Room. You can join here: https://einatkessler.com/join-the-vip-room-2/
You video is very helpful. Thanks very much
Can this process be used with fabric to transfer paint?
Yes you can definitely print on fabric!
Really enjoyed my first introduction to gelli plate printing, now to buy the basics here in Surrey, UK. Thank you for making my day.
Would like to learn things to do with my gelli prints. Looking forward to joining you
Thanks I enjoyed the layering technique you demonstrated and will use this by printing on deli paper to use in mixed and collages.
That’s great!
Great Video Einat. I love making the monoprints with my gel plate. So much fun. I agree with you that the element of surprise is the best part. I know you said acrylic paint, but I have been having fun using water soluble markers and a damp brayer. It makes a little different look than the acrylic paint but it is fun too.Blessings.
Water soluble markers are great! Thanks for sharing
I am teaching myself to paint but will be taking classes soon. I live this technique. It looks easy and produces unexpected results.
How would I apply this on canvas!
Thanks Lesan! You can use the canvas directly on your Gelli plate but it will not have the same results. The best way is to make the prints on paper or tissue paper and apply them on your canvas. I’ll be making a tutorial on that soon!
I just watched Gelli Printing #1. I enjoyed watching the video for some new ideas when playing with the Gelli PLate. Thank you.