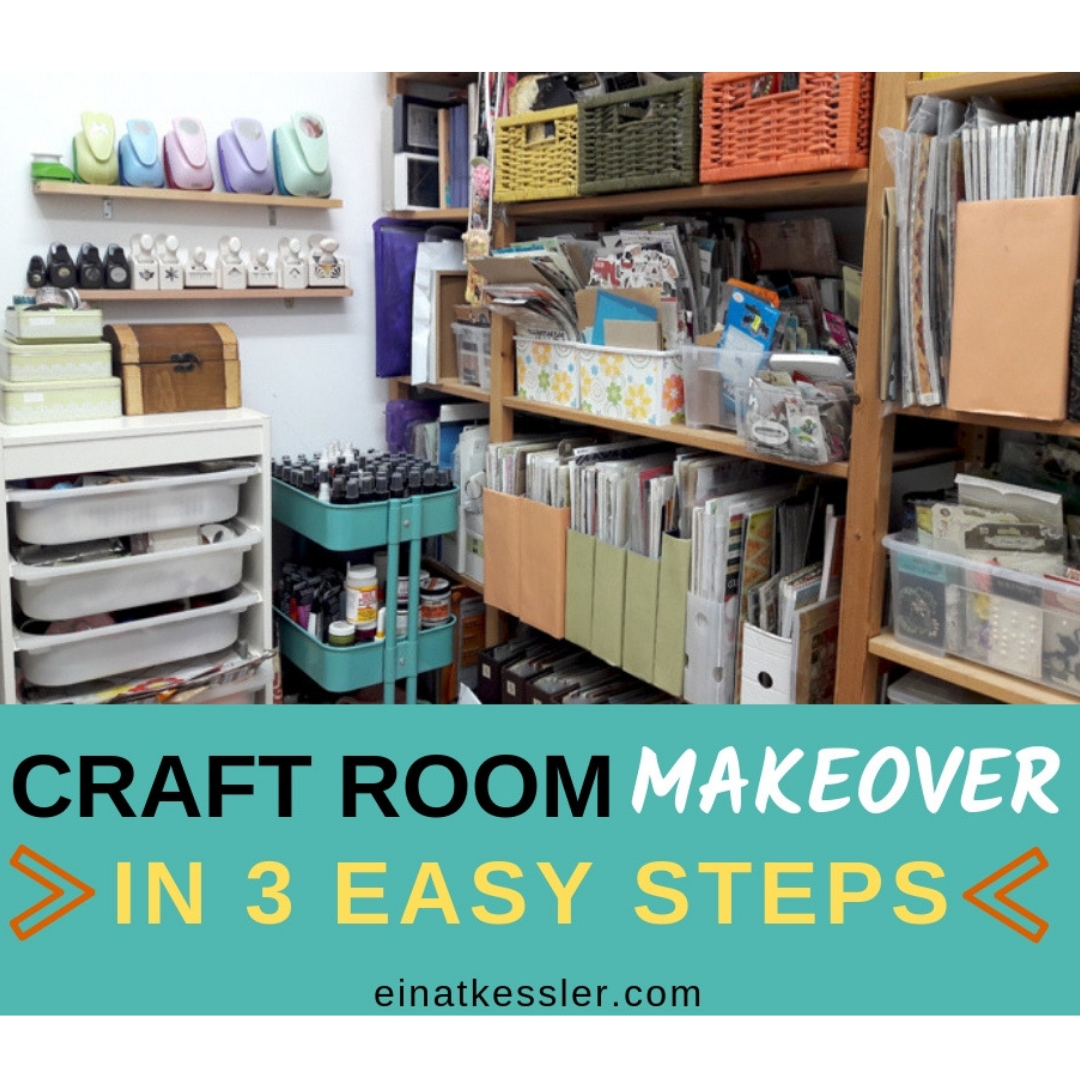
Inside: 3 easy steps to organize your craft room
Organizing our craft room is a daunting and usually unpleasant task. I don’t know but I try to avoid it as much as possible 🙂 The problem is that over time our craft space looks like a disaster zone and we can’t find anything. Today I want to share with you my 3 easy steps to organize your craft space and get rid of the clutter and mess once and for all!
Say what?! Getting rid of stuff?
Yes… you read right… getting rid of some of your supplies is the first necessary and sometimes painful thing to do.
If you answer yes to one of these questions then you definitely get rid of some of your supplies:
The process of deciding what craft supplies to keep and what not coincides with organizing your craft room.
Do this:
This is going to take time so don’t stress yourself and try to do it all in one day. Give yourself enough time to really think about what you want to keep and what not.
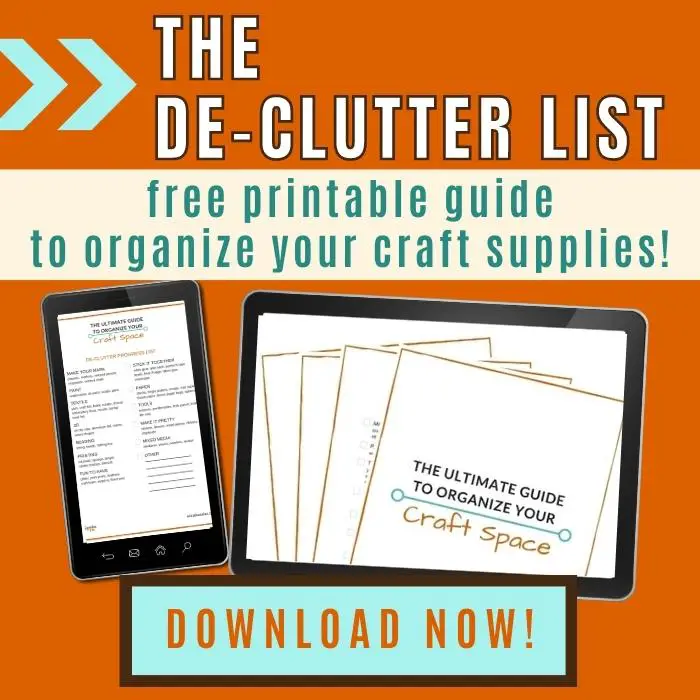
Feeling overwhelmed? I’m not surprised…it’s not an easy task to complte. But I have a little FREE printable that can help you complete all three steps: The DE-Clutter list.
Get it now!
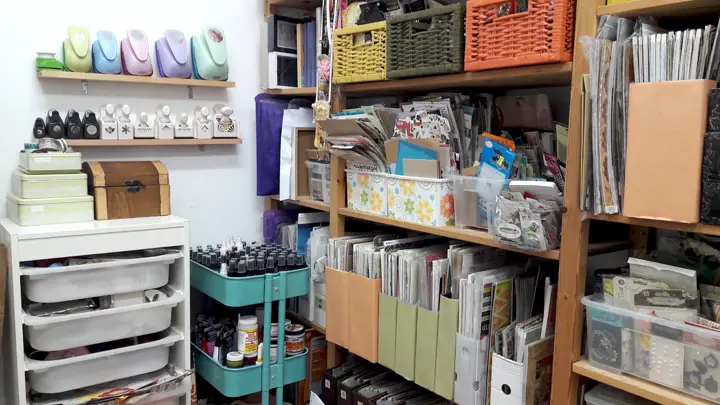
After you finish sorting through your stash it’s time to start thinking about how you want your craft space to look. The next step is to make a plan where everything will go and how you are going to store it or organize it.
When you make your plan start with the largest items like the furniture and work your way to the smaller items like boxes. The idea is that you first need to figure out where to put the items that take up the most space and then fill them and the space that is left with the smaller items.
Every craft space has empty spaces that might escape you:
If you want your supplies to be organized, easy to reach and visible and you’re less concerned with the overall look of your room then you need to make it functional. Find boxes, baskets and containers to store your supplies.
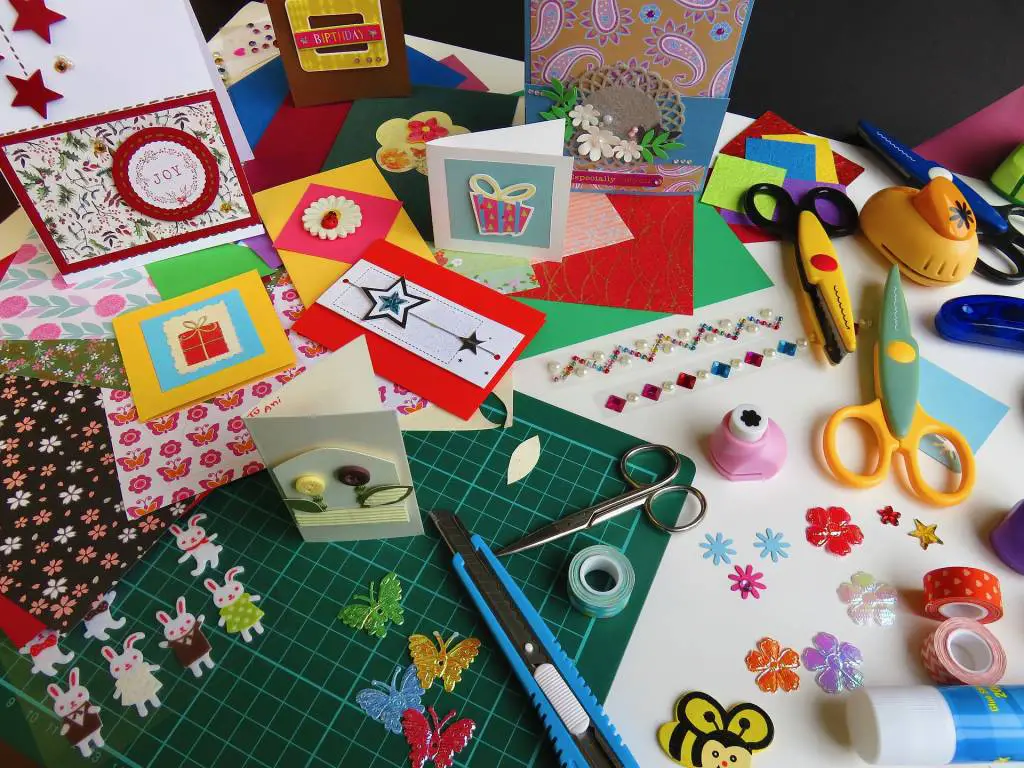
Have some fun and show off those colorful craft supplies! You can organize your craft supplies by color, or get a little crazy and mix and match.
Think texture! Craft supplies have such a myriad of different textures, so play up those features when you’re organizing your supplies.

Create your own boxes to store papers.
Here’s how:
Recycle items like tp rolls to create your own DIY storage solutions that you can custom make to fit your craft room design.
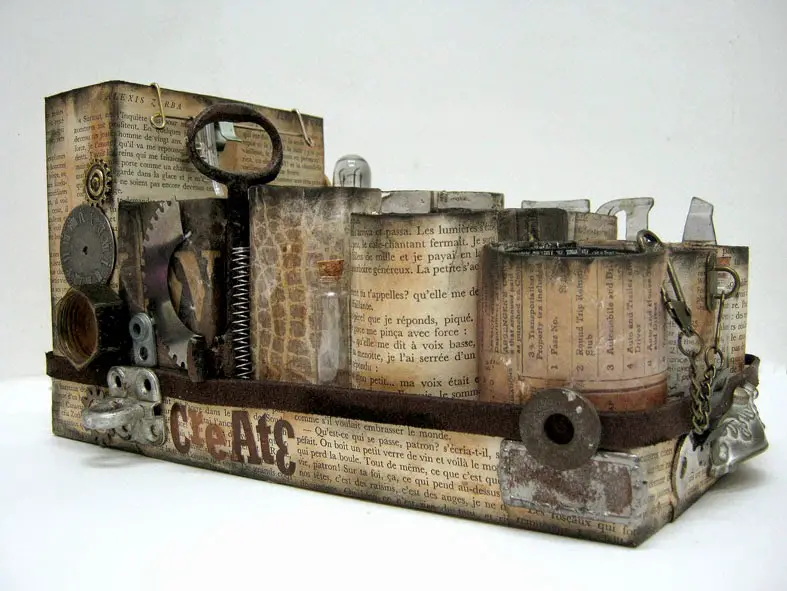
Do this:
Make a drawer chest out of match boxes to store beads and brads.
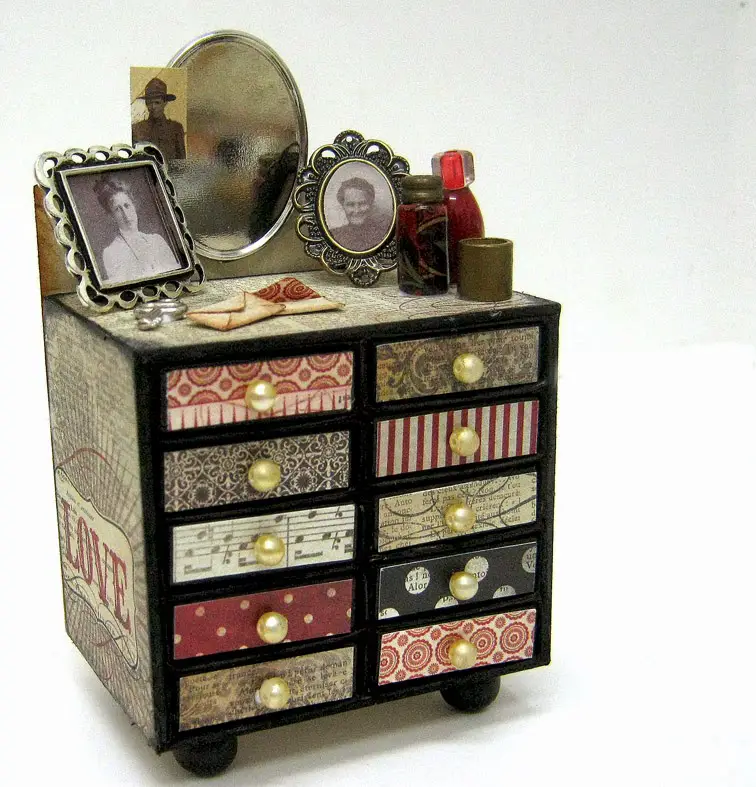
Here’s how:
Make an envelope binder to store your dies inside:
After you finish arranging your craft room and all your supplies don’t forget to label them so you’ll be able to find them when you need them.
To make your organizing process easier and more manageable I created a printable DE-Clutter Progress LIST. The list specifies different craft supplies you need to organize in your craft room with a checkbox nest to each one. When you finish organizing a type of craft supply check the box next to it and move on to the next!
Need more ideas? Here are some 5 tips to maximize space in your craft room.
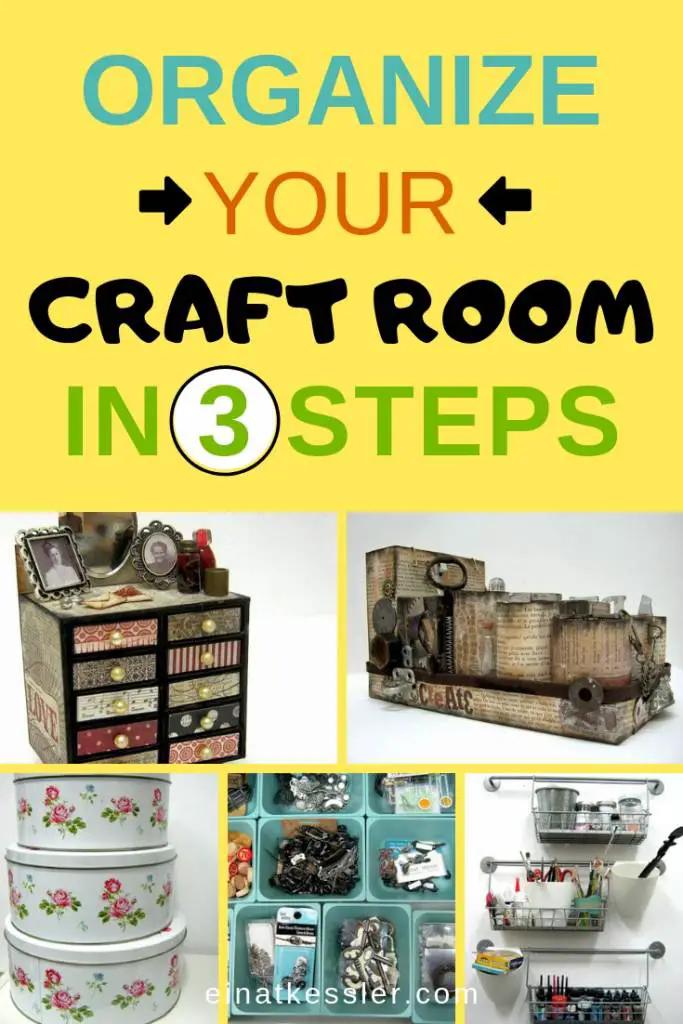
SAVE it for later – PIN IT!
Have fun creating and organizing!


6 Responses
Great ideas!! A lot of the suggested ideas, I use but using my old mugs that I once collected for pens, pencils etc. My mom`s crystal vase is great for holding knitting needles. Most of the items I use were once things I collected. Something that is not mentioned is using an old zippered cd case to hold dies. It used to be my son’s, it wasn`t cheap at the time but it served its purpose and now after a few repairs, I keep my dies in it. I don`t have many so when I do cut them out, I always do some extras and store them with the dies. It looks like a mini binder with cd pages to hold cds. It is inserted into what makes it look like a book. …hard to explain. Just in case someone sees it while thrifting!!
Greetings!
Thanks for your tips.
I think I will use your DIES BINDER idea for my extra die cut images.
Oftentimes, I will take some from old cards, or cut them out of packaging & I usually have stamped images that are ready to color. I currently have them in a plastic index box that opens/closes with difficulty. I like the idea of having them in a small binder where I could see them better and insert and remove them easier.
It’s been a couple of years that I have been refining my craft space.
With limited energy and reach, I have done everything I can to streamline my inventory. Limited options to chose from keeps me from spending too much precious energy/time getting lost in the possibilities.
I find myself at a roadblock that may have only happened to me or is my own doing!
I’m almost finished & now am stuck!
Maybe I just need a little more umph to finish. But, I think I have a few problem spots that need solutions.
Here are a few examples. If you have any tips,?please let me know!
1. Minimal wall space to post reference charts & a pocket organizer I plan to make to display and hold ‘Inserts & paper-sample swatches’.
Inserts are bookmarks, stickers, & small scripture/encouragement cards I like to enclose with my cards.
2. Small ’only’ items that don’t seem to go in any category.
3. I am not crazy about my stamp pad holder or my (video) shelf that holds my cling and wood stamps collection.
I bought Stampin’ Up!’s newer cube storage, but gave it away bc it shifted when I tried to insert/remove stamp pads. I’ve tried many other ways, short of buying a wooden organizer that takes up precious surface real estate and is cost prohibitive.
Gratefully yours,
Miss Chris
Hi Miss Chris
Great job! I’m sure you’ll finish in no time.
As for small wall space and stamps I like to organize things in drawers. Since they are shallow and stacked on top of each other they take up less room and can still store a lot. I put my stamps in a shallow drawer as well as other items. hanging them on a wall is for me a waste of space.
I also have a lot of things that don’t fit in any category so I make up my own categories and put them in little boxes with lids I can stack to save room.
Hope that helps.
to Chris: I used gallon-sized Zip-Loc type bags with cardboard cut to fit inside. I put the stamps between the bag and cardboard. You can see all of the tops at the same time. I put three or four bags of stamps into a canvas bag. They stand up well, or you can stack them. I have a lot of stamps and this has been very helpful for me. Hope this helps someone.
Seems like you could just stack the Zip-Loc type bags directly in a drawer if that is the type of space available to you.
What a great article, Einat! We will be moving in a few months and I’m excited about organizing a new craft room, so I’ll be keeping some of your tips in mind!
Great Lynne. Happy moving!