Inside: how to make a herringbone pattern on canvas
I love patterns and I always look for fun and easy ways o make them. Herringbone pattern always seemed really complicated to make but I found a really easy way to make it on canvas!
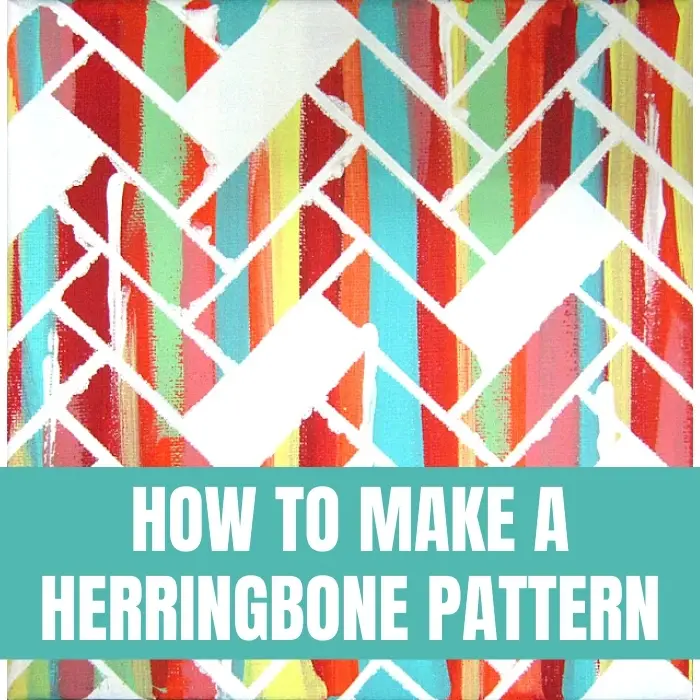
Herringbone, also called broken twill weave, describes a distinctive V-shaped pattern. It is distinguished from a plain chevron by the break at reversal, which makes it resemble a broken zigzag. The pattern is called herringbone because it resembles the skeleton of a herring fish.
The difference is all in the zigzag, where Chevron patterns have a continuous zigzag design like a repeated V where as the Herringbone pattern has a broken zigzag design in a 45 degree angle. Herringbone is a pattern made up of equal-size, rectangular pieces, arranged in a staggered zig-zag pattern. its distinct characteristic is that one rectangle is cut precisely so that the end of one plank or tile meets to the side of the other.
Herringbone is a very popular pattern on ribbons, craft papers and wrapping papers. You can use this pattern on scrapbook layouts, card design, wrapped books and notebooks and many other craft ideas. While you can use the pattern with a store bought product making this pattern yourself is much more fun!
I made this canvas with only a few products: square canvas, masking tape and acrylic paints.
Here’s how to make this canvas:
1.Cover the canvas with acrylic paints. Use a brush and different colors to paint the canvas and add it in vertical lines.
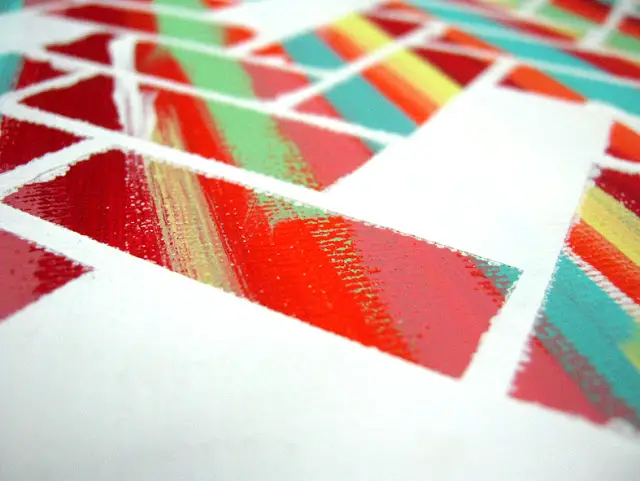
2. Cut equal size pieces from a masking tape. It’s important that all pieces are equal so the pattern will be accurate. Cover the entire canvas with a herringbone pattern with the masking tape pieces.
3. After you complete the pattern remove a few masking tape pieces to make the pattern a little more interesting.
4. Paint the canvas with two coats of white paint.
5. Wait until the paint is dry and then remove all the masking tape pieces.
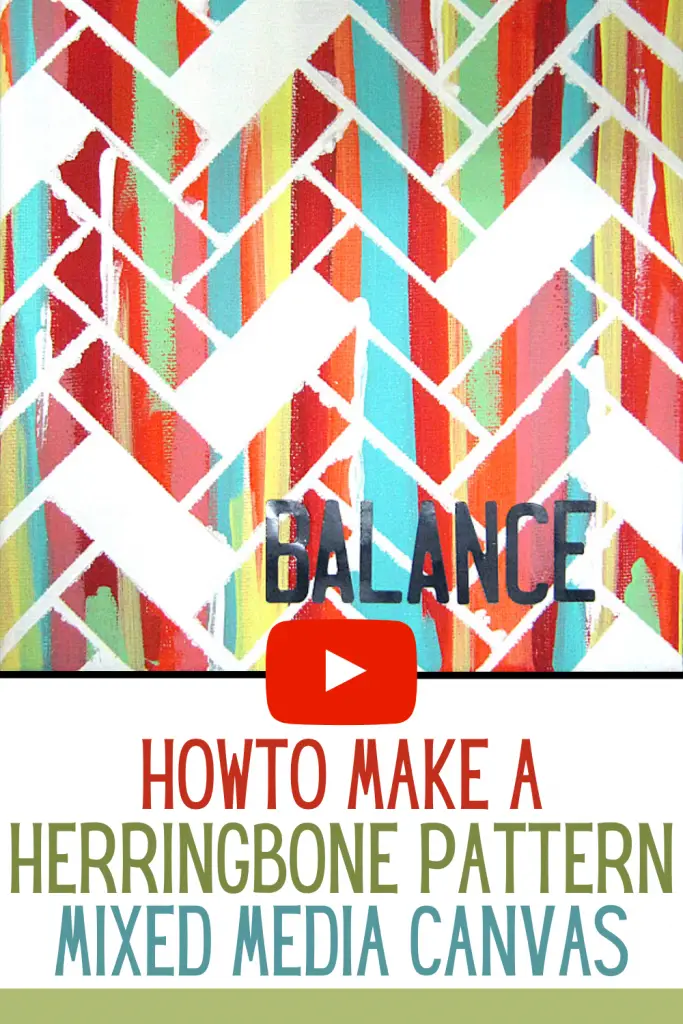
6. Add a title with letter stickers.
Sharing is caring – PIN IT!
Have fun creating!

