Home » BLOG » WHAT IS THE BEST WAY TO ADD A FLAP TO A MINI ALBUM PAGE
WHAT IS THE BEST WAY TO ADD A FLAP TO A MINI ALBUM PAGE
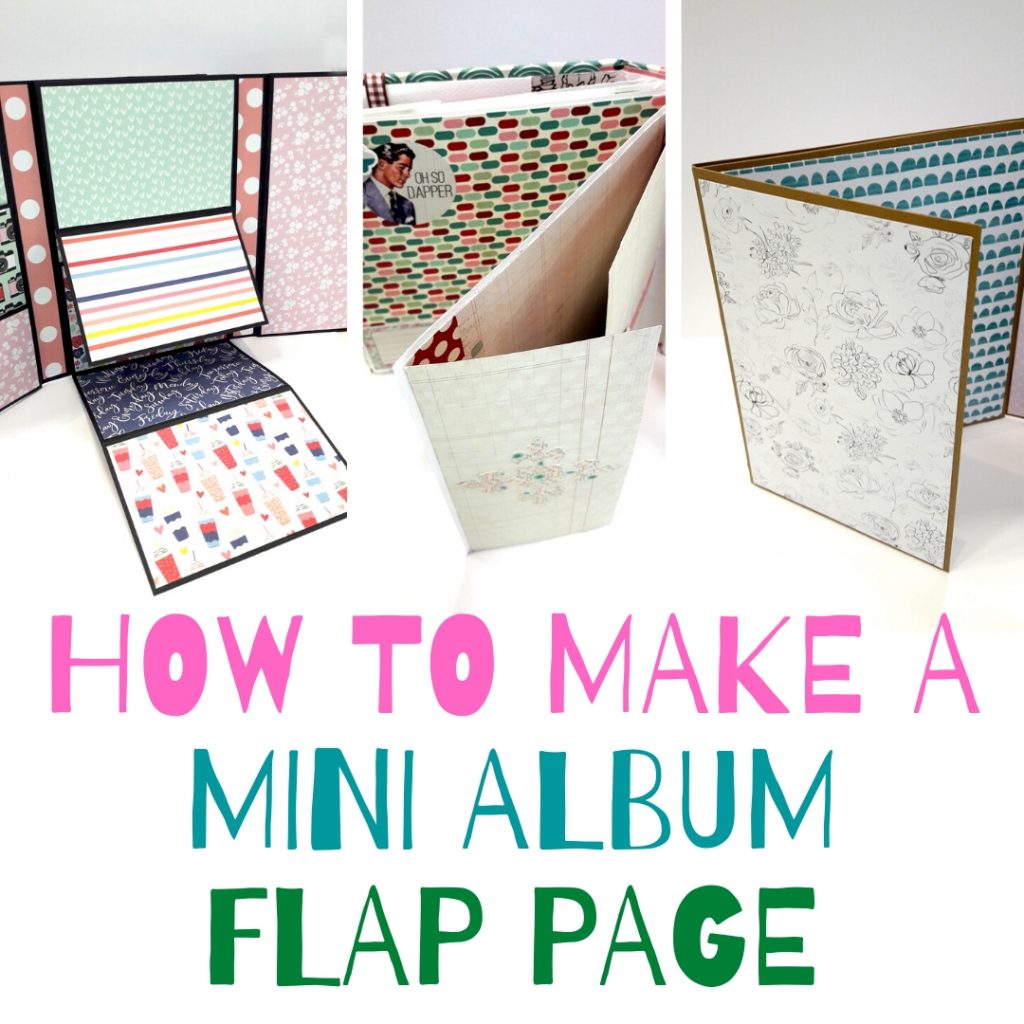
Inside: the best way to make a flap mini album page.
I love surprises – as long as they are good ones, they are so much fun! I just love that feeling of excitement when something unexpected happens and how nice it feels. That’s why I love making interactive mini albums with all kinds of hidden surprises in the pages.
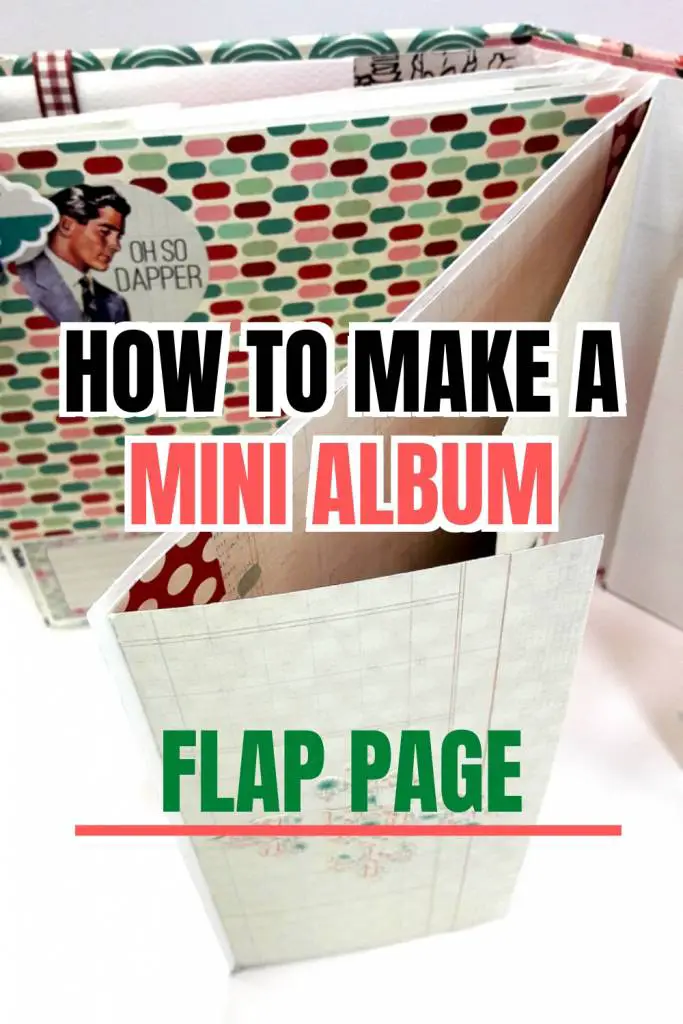
One of the most common interactive surprises is a mini album page with a flap. Imagine yourself flipping through a mini album and suddenly a page, that looks like any other page opens and reveals a hidden page underneath. It can hide an extra photo, journaling or even more surprises like a pocket or even more flaps!
WHY ADD A FLAP TO A MINI ALBUM PAGE
It has an element of fun and surprise
The page has extra space for photos or journaling
Although it’s easy to make it makes your mini album look much more professional
THE RULES YOU NEED TO FOLLOW
Depending on the size of the page you need to follow a few rules to make a successful flap:
The final size of the flap needs to be the same size of the mini album page so it won’t stick out or interfere with the closing of the mini album.
To create the flap you always need to add at least 1″ to the cardstock on the side of the opening. For example if the size of the mini album page is vertical 4″ x 6″ and you want to make a 4″ x 6″ flap you need to make your cardstock size 5″ if the flap will open vertically or 7″ if it will open horizontally. The extra inch is the folded hinge that will attach to the page.
Use a double sided cardstock because the flap is visible from both sides. If you don’t have a double sided cardstock use a solid color to make the flap and then cover it with pattern paper on both sides.
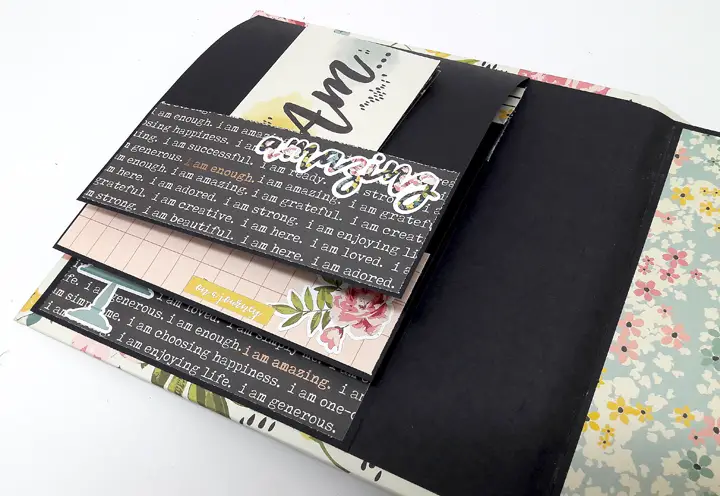
HOW TO MAKE A FLAP MINI ALBUM PAGE
To create the page you’ll need three pieces of cardstock: The base page, the background page and the page for the flap.
First decide the size of the base page. The background page should be slightly smaller than the base, about 1/8″ smaller.
The size of the flap page depends on your design: if you make it from base cardstock and then cover it with pattern paper then the size should be the same size like the mini album page + extra 1″ on the side of the opening. If you make the flap from pattern paper and attach it to a base page then the flap size should be the same size as the cover paper + 1″ on the opening side.
Score the flap cardstock on 1″ on the opening side.
Attach the hinge to the mini album page.
Here’s a video tutorial showing how to add a flap to any of your mini album pages
Making one flap is definitely fun but if you want to increase the space in your mini album or challenge yourself to making even more complex mini album pages, combine the flap with other interactive elements or create a few flaps on the same page.
Sign up for a crafty creative newsletter. Tips, inspiration, updates, exclusive sales and much more!
Tags
Copyright
The designs, pictures and instructions listed on this blog are provided here for personal use only and may not be sold, reproduced or used for commercial or submission purposes in any form without my written permission.
Welcome to the new and fresh website!
Hi visitors and members, we updated the website with a new design.
All members still have access to the content you had previously.
If you have any questions or issues please contact me by email: kessler054@gmail.com


6 Responses
How thick does the outside card need to be please?
Any cardstock will do
Do we get written instructions when we join the VIP club?
Some of the tutorials have written instructions and some don’t.
Very good idea! Love it!
Thank you my dear!