Inside: how to make a gel printing tissue paper background on art journal pages and other projects.
Do you love making your own custom supplies? Today I'm sharing How to Create a Gel Printing Tissue Paper Background for any project you want. This easy gel plate printing technique will work on any paper and not just tissue paper.
MAKE A GEL PRINTING PAPER BACKGROUND WITH TISSUE PAPER
Usually Gel printing or mono printing is done on a thick watercolor paper or cardstock, but printing on tissue paper is amazing! Why? because it gives you a unique effect you can't get with any other material. You can use tissue paper from local craft store or find in shoe boxes.
WHAT IS GEL PRINTING
Gel printing or gelli printing is a form of art to make prints called monoprinting. Previously in order to make monoprints you had to have a press to transfer the paints from the plate to the paper or fabric. Today there is a new thing called a gel plate, which is a soft silicone plate that allows you create beautiful prints without a press.
If you want to learn all about gel printing then check the Basics of Gel Printing detailed post.
WHAT MATERIALS DO YOU NEED FOR GEL PRINTING
There are a few basic materials and tools that you need to make gel prints:
- Gel plate
- Brayer
- Some kind of paint - acrylic, ink, crayon, watercolor and more
- Paper
WHAT PAPER TO USE FOR BACKGROUND GEL PRINTS
You can use any type of paper you want to print on but it also depends on what you want to make with your prints.
Here are some paper ideas to use:
- Cardstock
- Watercolor paper
- Delli paper
- Tissue paper
- Book paper
- Music sheets and maps
WHY USE TISSUE PAPER ON A GEL PLATE
Tissue paper is really thin and that gives it a unique trait. Tissue paper can be embedded on a page in such a way that it looks like the background page itself and not like a paper was glued on it. Since it's so thin once attached to the background with gel medium it absorbs the glue and combines with the background paper in a perfect way.
HOW TO MAKE A GEL PRINTING TISSUE PAPER BACKGROUND
The process is very similar to making regular paper gel prints
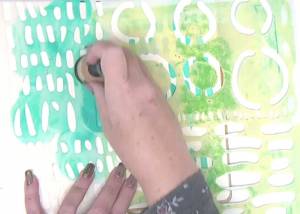
- Apply paint on the gel plate
- Press the tissue paper on the plate and pick up the paint layer
- Continue to build layers with paints and patterns to make your gel printed tissue paper
- Attach the tissue paper as a background with gel medium to an art journal page, scrapbook page, canvas or card base.
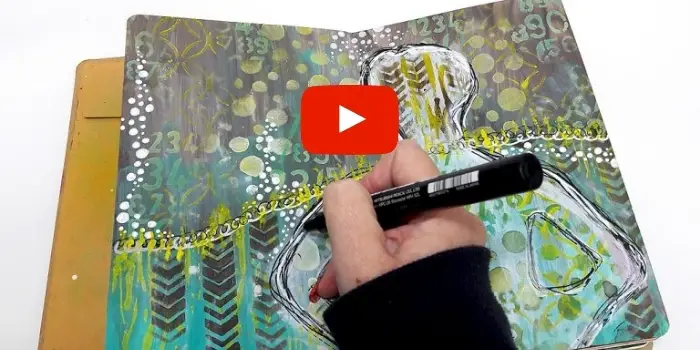
Check out the full step by step video to see how to make this page.
TISSUE PAPER BACKGROUND TIPS & TRICKS
- The transparent look of the tissue paper enables you to create layering when each layer is visible through the layer on top.
- Tissue paper is very thin so when you pull it from the gel plate be careful not to tare it.
- You can tare the tissue paper to pieces and attach it to your project instead of using it as one large paper.
- Make sure to apply a thin coat of gel medium that covers the entire area where you want to attach the tissue paper.
MAKE DIY TISSUE PAPER
Your gel printing tissue paper does not have to be just for the background of a project. This gel printed creation can also be the focal point of any project you make. Here's a video tutorial on how to make it.
Have fun creating!
One comment on “EASY VIDEO TUTORIAL OF COLORFUL GEL PRINTING TISSUE PAPER BACKGROUND”
I find it to be intersting. I have to do it. I need to buy the materials and tools. Thank you .