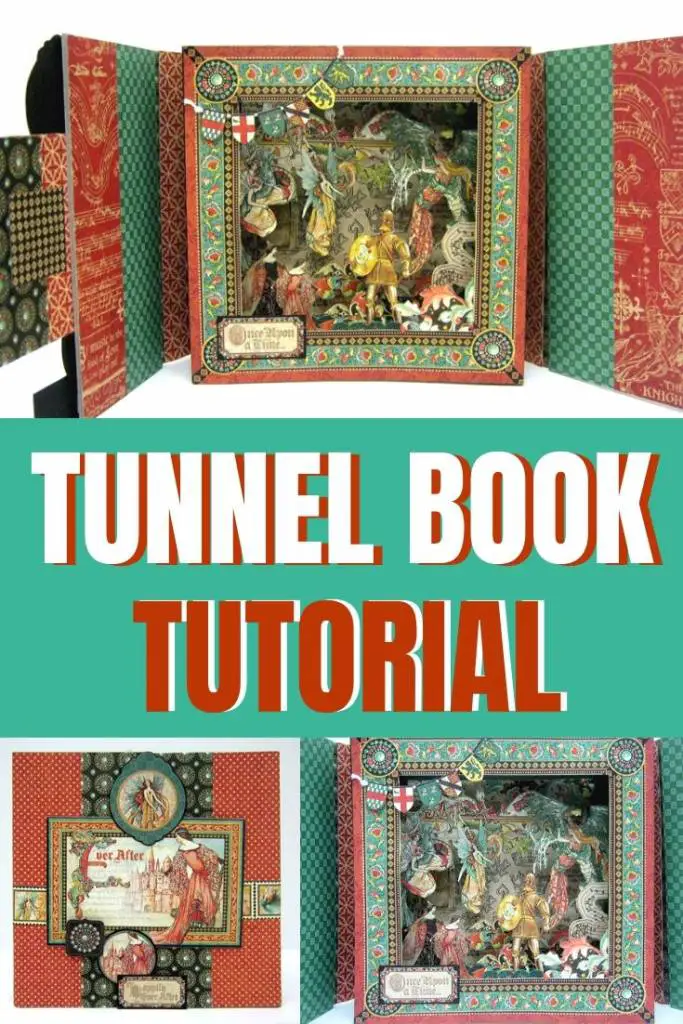
Inside: how to easily make a tunnel book the right way
Making a tunnel book is like writing a story. Since I’m terrible at writing stories but I am pretty great at making paper crafts, I decided to teach you how to make a tunnel book. Tunnel books have layers of images in them and each layer is like part of the story…
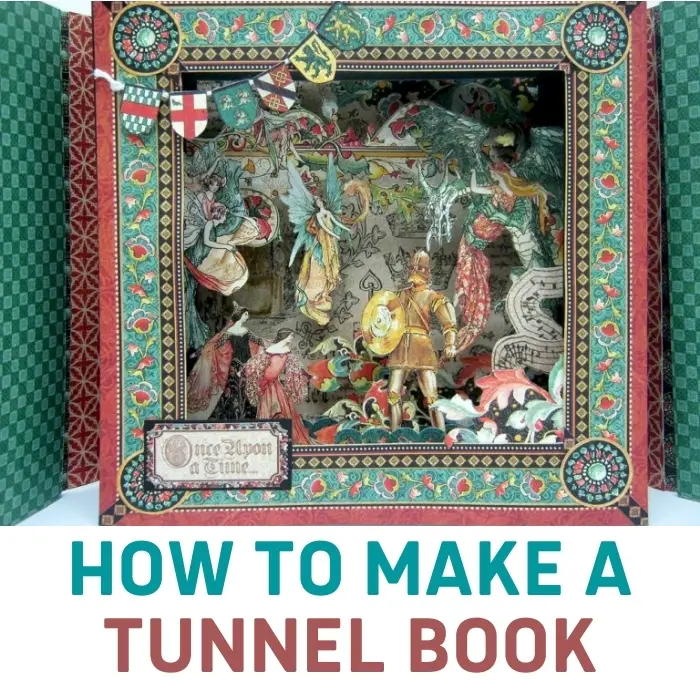
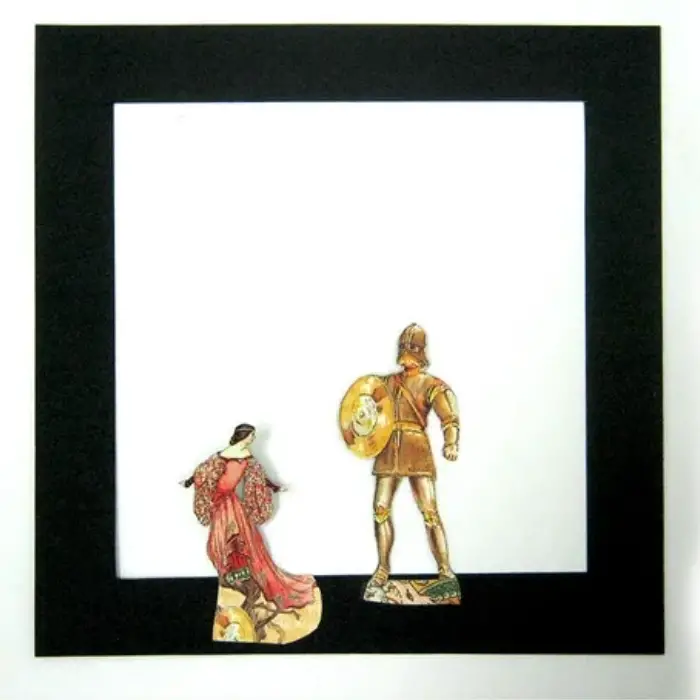
Tunnel books represent a unique meshing of storytelling with three-dimensional art. These books are a series of cut-paper panels placed one behind the other, creating the illusion of depth and perspective. Often, these are engineered like an accordion, with the two boards pulling apart and the illustrated panels lined up and viewed through a front peep-hole or viewer. Each page features openings that allow the reader to see through the entire book to the back cover. The images on each page work together to form a three-dimensional scene inside the book that helps to tell the story.
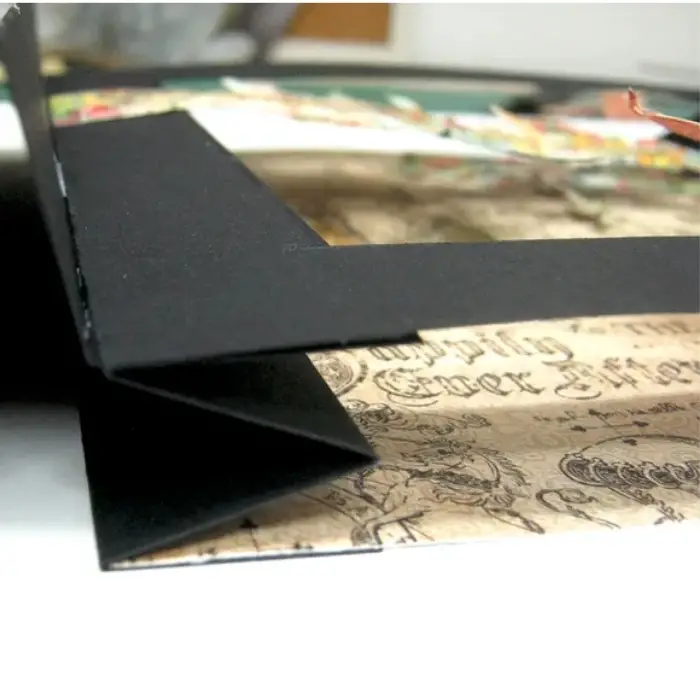
First you need to prepare the accordion like outside to hold the panels in place.
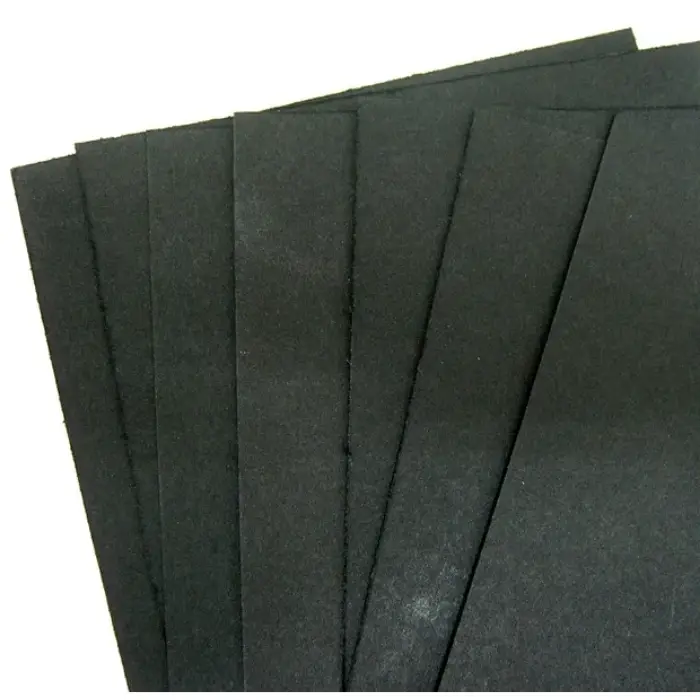
Cut eight 8″ x 4″ pieces from black cardstock.
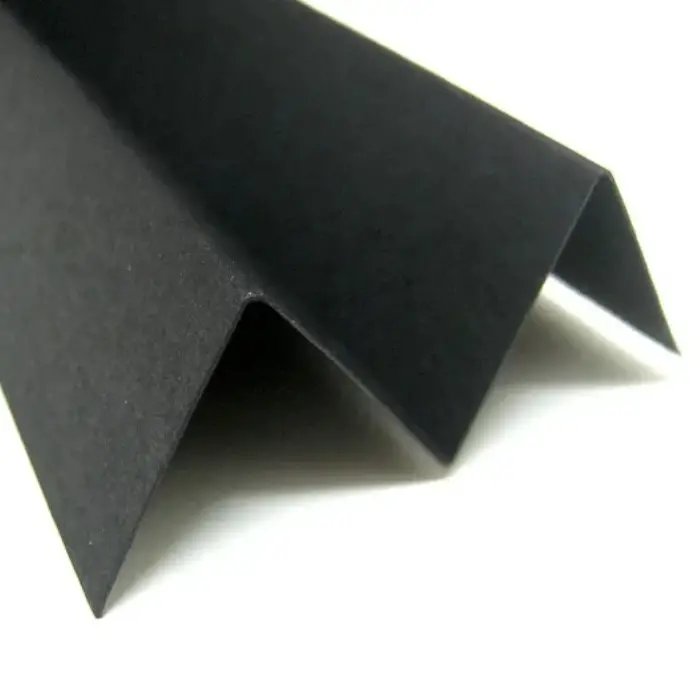
Score three fold lines every 1″ lengthwise. Fold in accordion shape to create “M”.
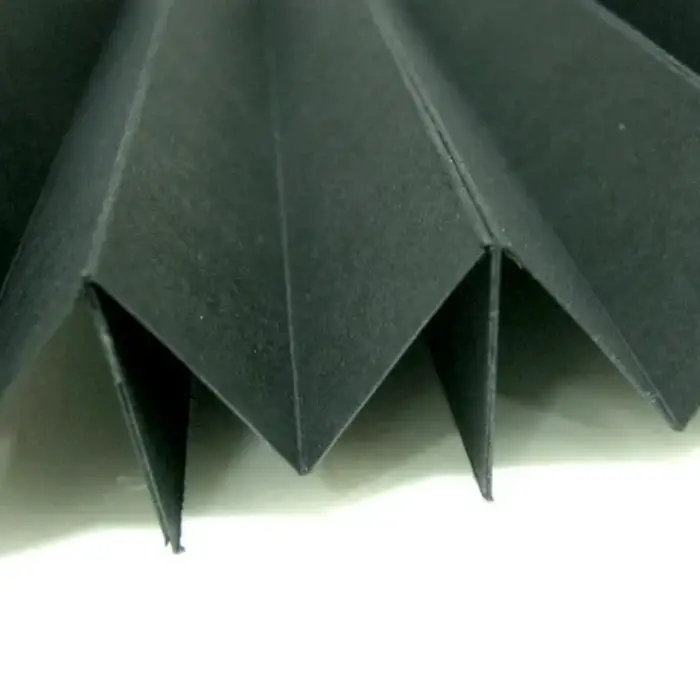
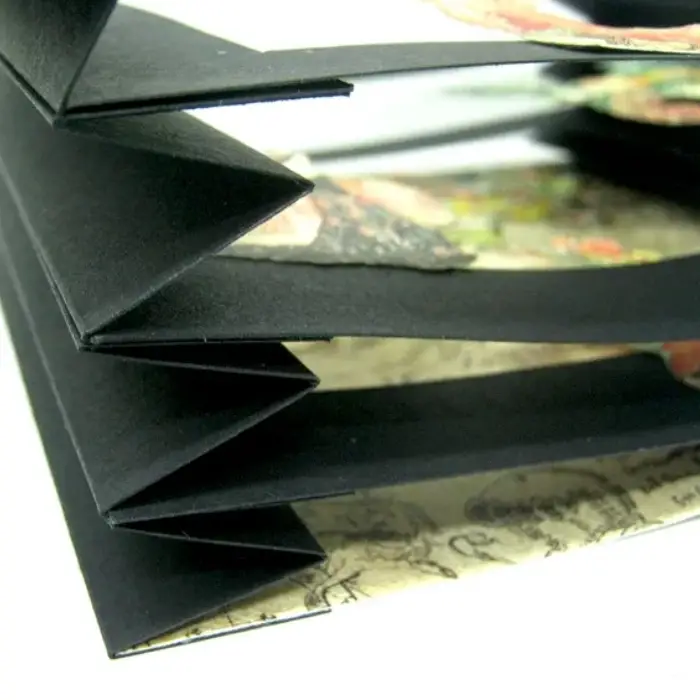
Attach four “M” shapes together and another four “M” shapes together the same way. The two completed accordions will be the two sides of the tunnel book.
The panels need to align together to form a dimensional scene so when you attach the different elements make sure they are slightly overlapping but still visible.
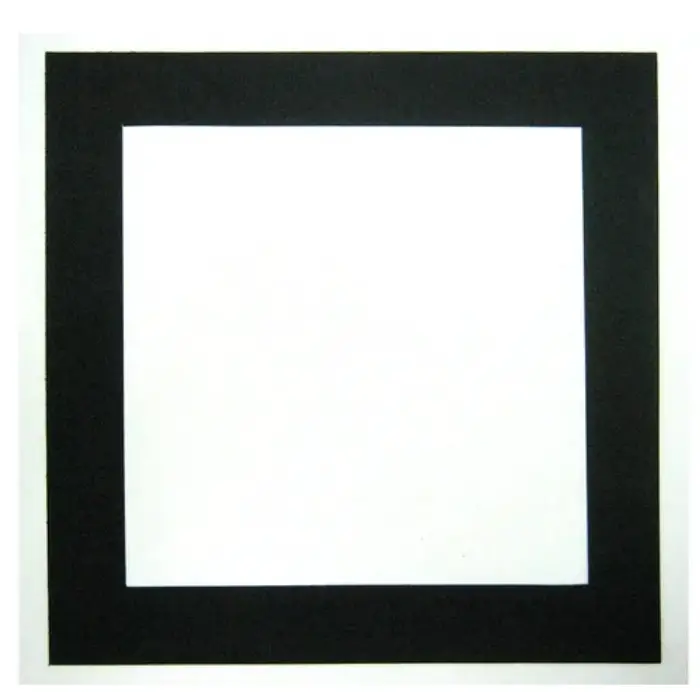
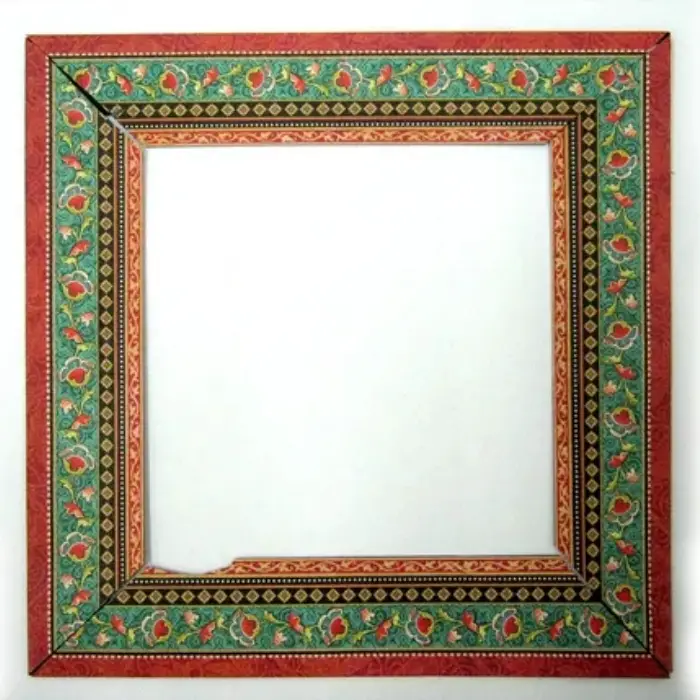
Cut four 8″ x 8″ squares from black cardstock. Cut out a 7″ x 7″ square leaving 1″ margins on all sides to create a frame.
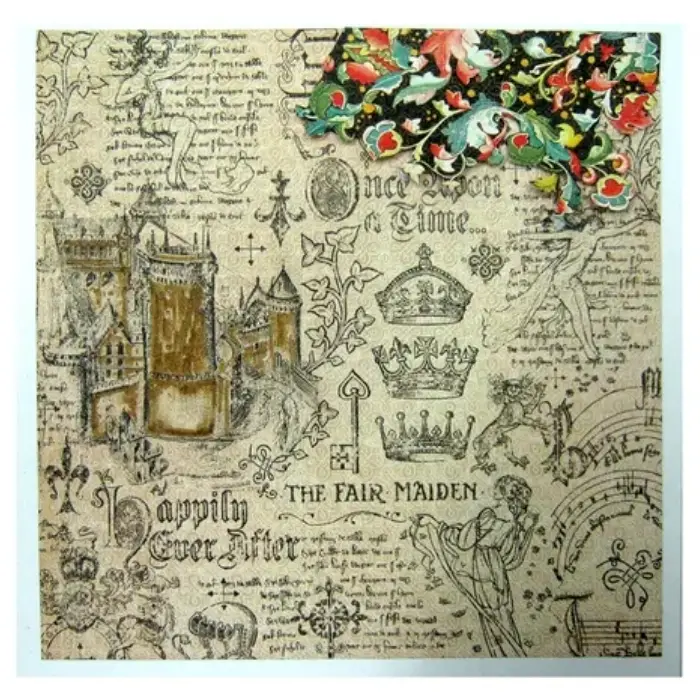
Start with the last panel which is the background. I used Graphic 45 papers but you can use any papers you have. Cut a 8″ x 8″ piece of pattern paper and add cut out shapes to it if needed.
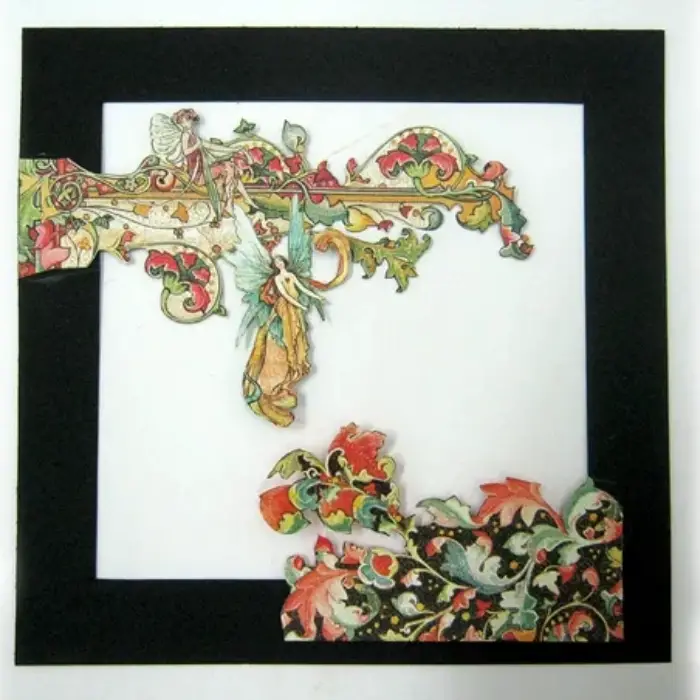
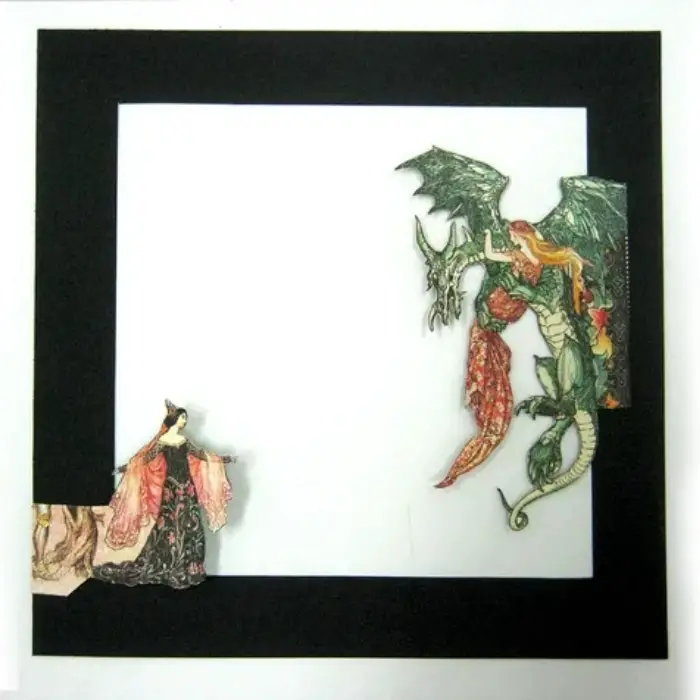
Make three panels with cut out images to tell your story.
Attach 8″x8″ patterned paper background to last bottom flap of both accordions.

Then attach first panel on the next “M” leg on both sides.
Attach the second and third panels on the next “M” legs.
Use last frame for the front panel. Cut strips from pattern paper and then cut both sides of each strips in 45 degrees. Attach to black frame Aligning the edge of each strip to the outer edge of frame. Attach to the top of the tunnel book.
This part is optional so you don’t have to make it. The cover can be from cardstock or constructed from chipboard. If you choose to make the cover don’t forget to decorate it!

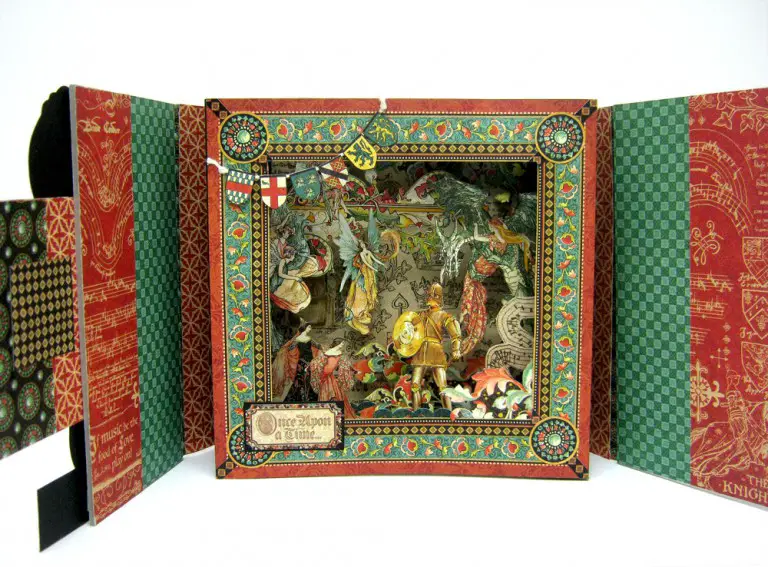
I created this book with the Enchanted Forest collection. Since it’s full of castles, princesses and all things fairy tales I thought it would be great to create a story in a box, which is what a tunnel book is all about. In this story a brave knight is saving the defenseless princess from the evil dragon claws.
Looking for more tunnel book ideas?
Check out this steampunk tunnel book with a circle openning full step by step tutorial
You can also make tunnel cards! Here’s how!
Sharing is caring – PIN IT!
Have fun creating!


13 Responses
beautiful. Where can I purchase the beautiful images used in your book please?
Dear Einat,
Thank you so much for your generosity with sharing this tutorial. I have searched the Internet for quite a while (Google: Tutorials for Sculpture/Sculpted Books, 3D, Dimensional, carved; basically, every-which-way, with no results. I really appreciate it.
Thank you so much for generously sharing this information with us! I’m a newly-empty nester and always looking for something exciting to create! I live in a very small town so will have to wait until my supplies to arrive to begin, but I believe it will be worth the wait!
So clearly taught. Super helpful. Thank you.
I love this pin and can’t wait to try it but I can’t figure out the cover. There are measurements for the other pieces but not the cover. Please help
The cover has the dimensions of the book. Measure the width of the book for the spines and that is attached to two parts closing on the front. Each measures half the width of the book and the same height
how did you attach the cover to the book?
Apply glue to the back of the tunnel book and attach to the cover
the part where the cover forms a “box” (at the seam where it attaches at the back and bends toward the front, sort of a “spine” to allow the book to fit in)…it appears to be sewn to the actual front cover. is that correct? there’s so many papers there it’s hard to tell. im in the process of making a tunnel book for my husband’s birthday, using photos from a recent trip to utah) and love how you did the cover (the whole thing, actually). im on the third iteration and hoping to get it figured out. i love how you did the cover! thanks.
The cover is not sewn anywhere. It is all attached with glue
This is great! Thank you so much.
This is amazing and I’m going to try it.
fantastic work scattered with an abundance of patience!