Inside: best ideas to make printers trays and configuration boxes
One of my main craft supplies problems is that I collect stuff… a lot of it and over time I accumulated quite a collection. I mainly collect small items, embellishments, 3D objects etc and I have boxes full of them! You probably ask yourself what am I doing with them? Well… my favorite way of using them is embellishing printers trays and configuration boxes because they are perfect for that!
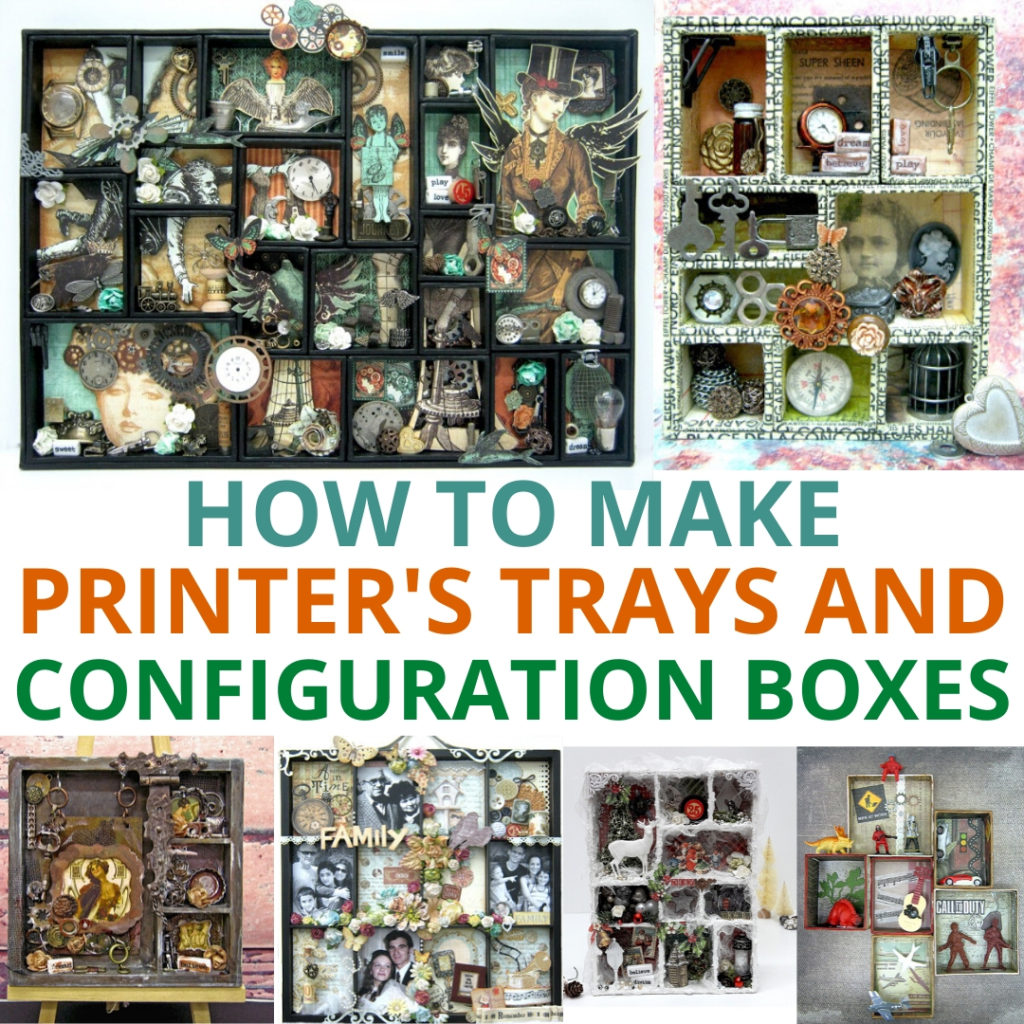
Printers trays are exactly as the name states they are a tray for printers. Long ago, the printers would put varied letterpress letters in the small compartments of the tray for organizing them and typesetting. Configuration Boxes are a modern take on the old printer’s tray, they are a collection of small boxes in different sizes, which are connected together that can be painted and embellished.
Both types of these boxes trays are perfect for storage of small items like toys, jewelry, bead bottles, spices and any object that fits inside the box. In recent years printer’s trays and configuration boxes have become really popular in crafts. Many artists and crafters are altering them, painting them, embellishing them and making them into works of art.
Creating a collection of items and objects to embellish printer’s trays and configuration boxes takes time but if you want to start your collection here are a few ideas where to get them and how:
Printers trays combine two things that I love, the first is boxes. I love them, I collect them and I buy them even if I don’t need them. The second is working with little 3d items and embellishments which I love collecting too. It’s so much fun finding the right place for each item and filling the spaces with all of them.
The style of a printer’s tray is determined by the emnellishments you add to it, the color and even papers you use. In this project I added a retro romantic embellishments like vintage women’s images, embellished metal buttons and flowers. Eventhough the color of the printer’s tray is dark it still has a softer look because I added touches of white paint and a distressed look.
Check out how to make this project with a step by step tutorial: Romantic Steampunk shadow Box
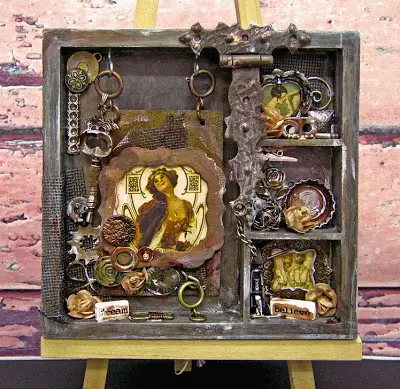
This is one of the first configuration boxes I created. I just started collecting metal embellishments, little trinkets and found items and I was really excited to show them in this box. Each embellishment found its place and I managed to give the box an artistic look. What I love the most is the idea to add hanged items because it’s always good to think outside of the box and use all sides!
You can find a video tutorial on how to make this configuration box here: Box of Treasures
You don’t have to buy a printer’s tray or a configuration box in the craft store because you can make it yourself! I made this printers tray from scratch with old jewelry boxes and my old kids toys. Then I hanged it in my craft room and I love to look at it and remember the good times my kids had playing with these toys.
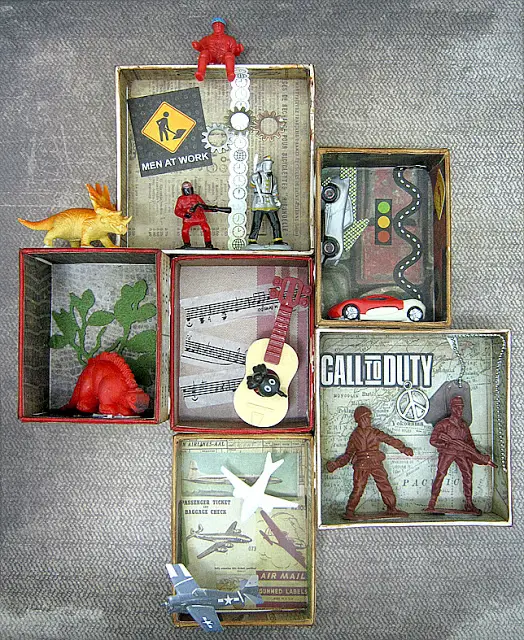
Here’s how to make it: Toys Shadow Box Wall Hanging
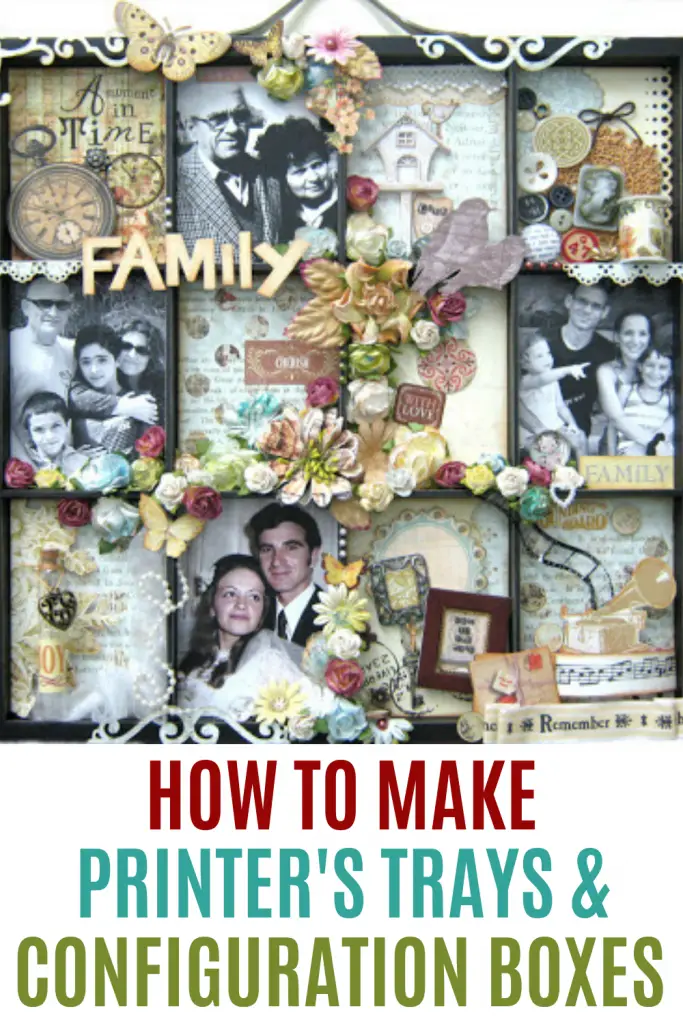
I created this printers tray as a gift for my grandparents especially for my grandmother’s birthday. It has lots of family themed embellishments and black and white photos of three generations of our family.
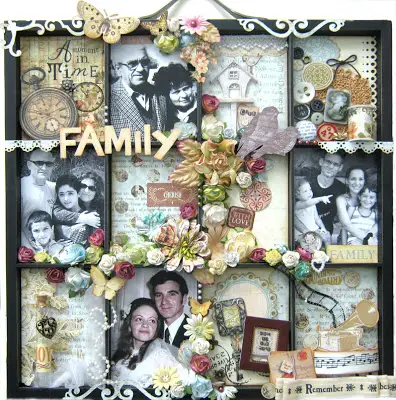
Here’s how to make it:
Check out some more tips and tricks for a this printer’s tray
I made this project especially for Christmas and I incorporated holiday embellishments and winter embellishments as well. For this project I used some really cool mixed media techniques to create the snow and the winter look and effects.
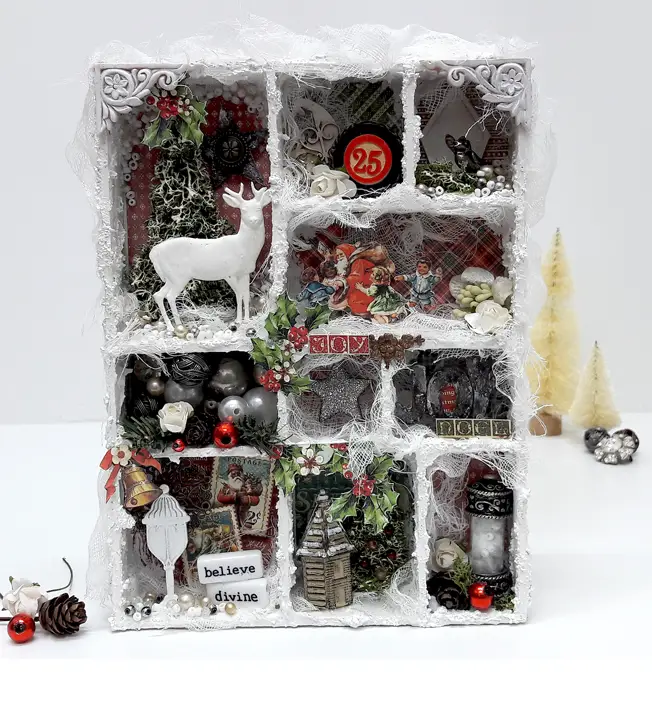
You can find the full tutorial on how to create this project from scratch in the VIP Room – you can join here
and also as a self pace online class! Get all the details HERE
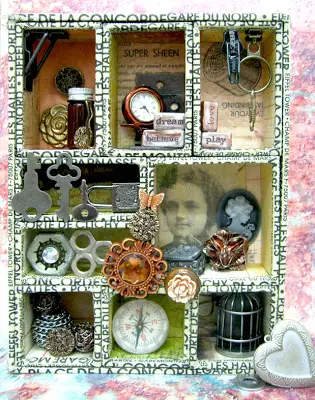
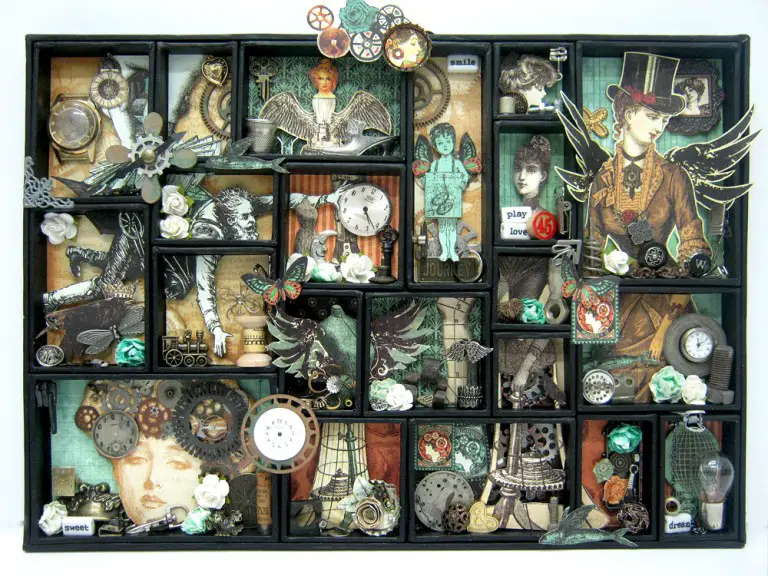
My favorite printer’s tray is the one I created for the Graphic 45 design team audition back in 2016. I’m really proud of it not only because I like how it turned out but also because it helped me get on the Graphic 45 design team for two years!
The tray is covered with a steampunk style papers and embellishents like cogwheels, clock parts and light bulbs.
Sharing is caring – PIN IT!
Have fun creating!


2 Responses
I am looking for plan for my printers tray. It needs to be no wider than 500mm and about 650 to 750 long. I need it to house variable size miniatures from overseas. As a female I think I will have to make from thin ply or something like that. I need the internals to be based on 100 mm squares and some with four little squares internal and some only two rectangles. Four to be left as 100 mm by 100mm. I cannot find little boxes to join together so need to make from scratch any ideas or planes
Some lovely ideas! Thank you!