October 18th, 2015
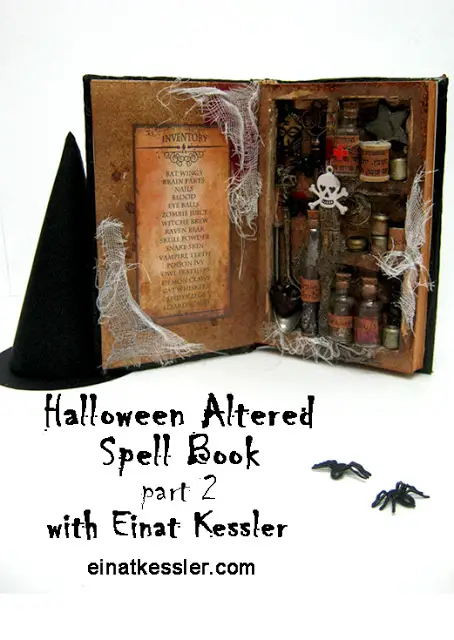
Inside: how to make the inside of the Halloween spell book This is the part 2 of the Halloween spell book tutorial. Last time we created the spook-tacular altered spell book cover with a spider’s seb texture and a skull embellishment. If you missed this part you can find it here. In this part we’ll learn how to make the inside of the spell book and turn it into a shadow box filled with apothecary style embellishments. SUPPLIES NEEDED TO MAKE THE HALLOWEEN SPELL BOOK EMBELLISHMENTS To make the spell book look as real as possible you’ll need to fill it with different types of embellishments and items: Glass bottles Embellishments like small teaspoon, plastic eyes, keys etc. Plastic spiders GEL MEDIUM Use the gel medium to secure all the pages an keep the shadow box sections from coming apart. DISTRESS INK The best ink to use to add aged …
October 16th, 2015
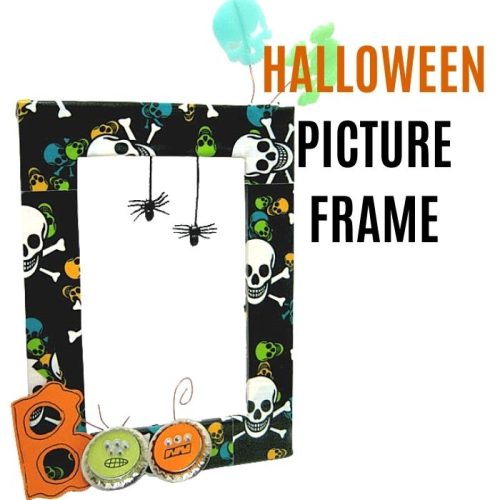
Inside: how to make a DIY Halloween picture frame Everybody is so busy getting ready for Halloween, deciding what costumes to wear, what candies to buy and what decorations to have. The big spooky day will be here and you’ll take lots of photos why not display them in a spooktacular way too? You can make this BOOtiful frame ahead of time and display photos from previous Halloweens! Making your own holiday embellishments will save you money and allow you to be creative. If you use different size frames you can create a complete wall of Halloween picture frames with old and new photos and display your memories for everyone to enjoy. MAKING A HALLOWEEN PICTURE FRAME 1. Attach metal wire to the back of plastic skulls with tape. 2. Attach wire to the back of frame with tape. 3. Cover frame with skulls duct tape. 4. Attach black cord to spiders. Let dry. 5. …
October 11th, 2015
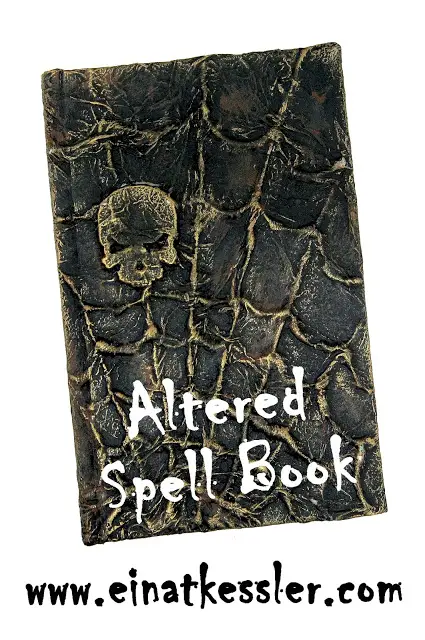
Inside: how to make an altered Halloween spell book cover I think the most fun projects I ever made were made for Halloween. I love all the creepy spooky stuff you get to add to everything and even if I don’t celebrate this holiday (like me, because I don’t in a country where this holiday is celebrated) it’s still fun. This altered Halloween spell book takes a little time to create and it will defenitely upgrade your spooky book shelf!. SUPPLIES NEEDED TO MAKE THE HALLOWEEN SPELL BOOK OLD BOOK To create the Halloween spell book you’ll need to use an old book and alter it. For this project you can use any book you have – that means any language, size, page thickness etc. The only thing you must make sure is to use a hard cover book. This is a great opportunity to use a book you no longer need or read.I …
September 18th, 2015
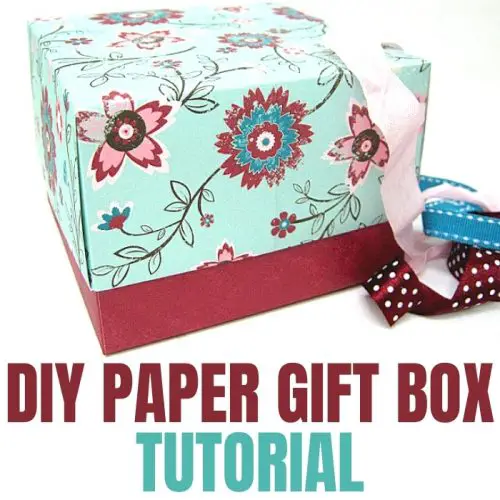
Inside: how to make an easy and fast origami paper gift box Making DIY gifts is something I do often but sometimes even I buy gifts or even gift cards. When I do that I like to make a special paper gift box to present my gift in a more personal way. MAKING DIY PAPER GIFT BOXES There are many ways to make paper gift boxes but here are a few important things to remember when you make them: When you need to make a large box use a heavier paper so the box will hold. Match the size of the box to your gift. Some paper gift box templates are fixes and the size can not be changed. Make the paper gift box in the right template to match your gift. The template determines the strength and size of the box so make sure they match. HOW TO MAKE A BOX …
September 15th, 2015
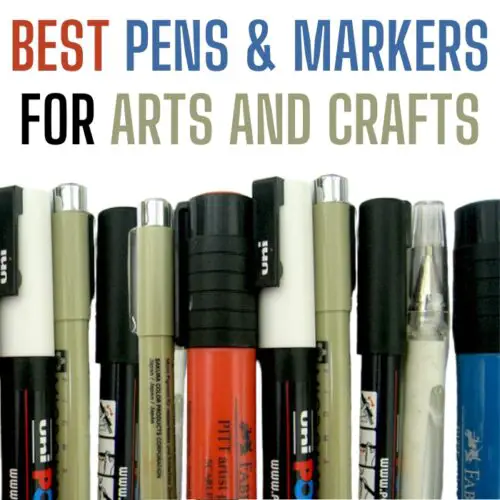
Inside: what are the best pens and markers for arts and crafts and the best tips for using and storing them. One of the most used tool in arts and crafts is a pen or a marker. These important tools are essential for mark making, doodling, writing, scribbling and any other technique you’ll want to apply on an art journal page, card, scrapbook page or mixed media project. Since these pens are such an important asset it is important to make the best of them and learn not only what are the best pens and markers to make arts and crafts but also how to store them. TIPS FOR WORKING WITH PENS AND MARKERS 1. Make sure that your surface is completely dry if you’re using acrylic paints or mediums before you start writing or doodling. If the surface is wet the tip will be destroyed. Believe me I have destroyed many by being impatient. …
September 13th, 2015
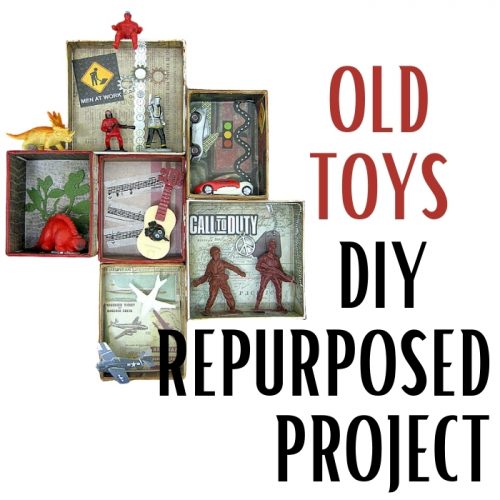
Inside: a cool way to repurpose old plastic toys and use them to make a configuration box I’m a sentimental person and it’s hard for me to let go of things, especially if they remind me of good tikes. So when I had to get rid of some old plastic toys because my boys grew out of them I wanted to find something to do with them instead of throwing them or giving them away. I couldn’t keep all of the toys so I did end up giving them away, but I kept a few for a craft idea I had – use them in a configuration box. WHY REPURPOSE OLD TOYS Plastic is not good for the environment and you what to do what you can to help. You don’t like throwing things away. You have unused, broken toys that you can’t really give away in the condition they’re in. The children are out …
August 30th, 2015
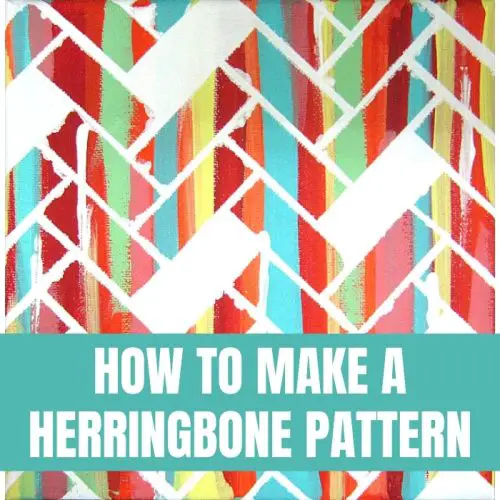
Inside: how to make a herringbone pattern on canvas I love patterns and I always look for fun and easy ways o make them. Herringbone pattern always seemed really complicated to make but I found a really easy way to make it on canvas! WHAT IS A HERRINGBONE PATTERN Herringbone, also called broken twill weave, describes a distinctive V-shaped pattern. It is distinguished from a plain chevron by the break at reversal, which makes it resemble a broken zigzag. The pattern is called herringbone because it resembles the skeleton of a herring fish. WHAT IS THE DIFFERENCE BETWEEN CHEVRON AND HERRINGBONE The difference is all in the zigzag, where Chevron patterns have a continuous zigzag design like a repeated V where as the Herringbone pattern has a broken zigzag design in a 45 degree angle. Herringbone is a pattern made up of equal-size, rectangular pieces, arranged in a staggered zig-zag pattern. its distinct …
« Previous
1
2
3
4
Next »