Inside: great hacks to make amazing mini albums you need to know and try!
If you're a paper crafter and you want to showcase your photos and document your memories you can make 12x12 scrapbook pages or mini albums. However sometimes those large empty scrapbook pages are a little intimidating and time consuming to create so a smaller mini album is the perfect way to achieve the same goals in less time and more fun!
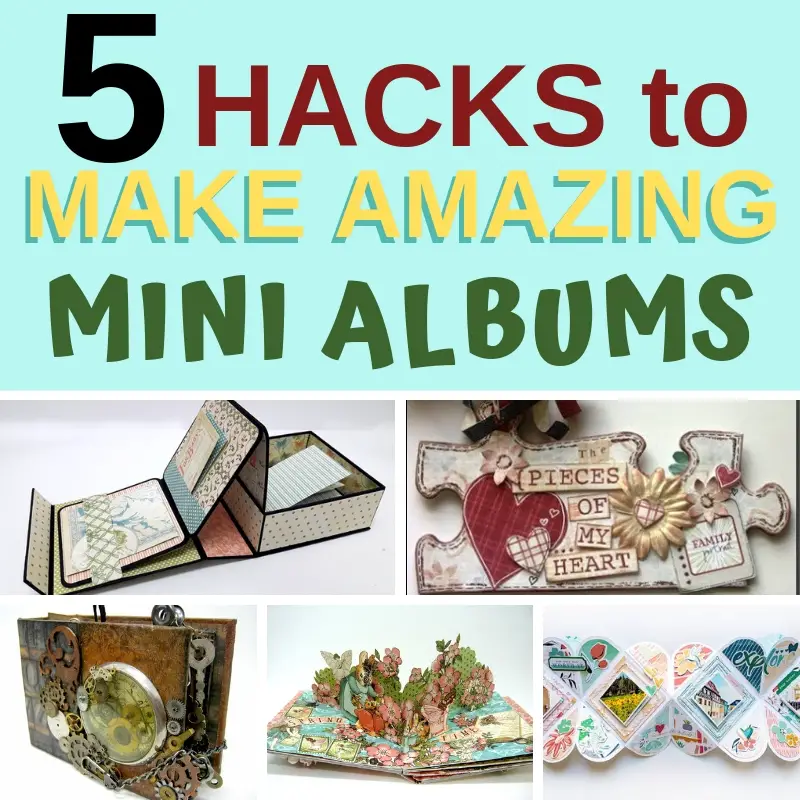
Mini albums come in all sizes, with 8”x8” and 6”x6” being the most popular. They often have all their pages in the album about a specific person, place, event or occasion. There’s often a thread of continuity in terms of design: The papers match the album or the scrapper uses the same alphabet stickers throughout.
WHY MAKE MINI ALBUMS
Overwhelmed by the thought of devoting time, money and energy to a giant scrapbook, more and more people are starting small. Mini albums are manageable and are faster to make. They cost less to make and allow you to use your stash and craft scraps. Mini albums are great gifts for family and friends and really fun to make!
HOW TO MAKE MINI ALBUMS
If you look online your head will spin from all the different possibilities and designs of mini albums. The reason for that is that usually a mini album is created from scratch including the pages and the binding. That means you can make your mini albums as small or big as you want, decide the number of pages and the spaces between them and the amount and size of embellishments and interactive mechanisms in them.
However, all mini albums have a few common elements and the same working process:
READY MADE OR HANDMADE
First you need to pick the type of your mini album. Do you want to work on a ready made album or create it from scratch.
SIZE
If you're making your own mini album then the next step is to decide the size of the mini album. It can be as small as a size of a tag or as large as a 10" x 10" square.
SHAPE
Next think about the shape of the mini album. It can be in the popular square or rectangle shape or in a more unusual shape like a circle or a heart.
BINDING
Decide on a binding method. Binding methods can range from rings, hidden hinge, spiral or sewing.
PHOTOS
Pick and organize the photos for your mini album. Divide your photos into little stories within the general theme of the project. For example: days or places you visited on your vacation, people and events on your dad's birthday etc.
PAGES
According to the little stories you organized decide the number of pages you need to make. A page can have one or more photos.
DESIGN
Pick your colors and papers and then your embellishments. If you plan to make your own embellishments now is the time to pick the materials for those as well.
EXTRA ELEMENTS
Do you want to have interactive elements in your mini album? Plan which elements you want and on what pages to put them. Usually the best pages to use interactive elements is where you have lots of photos and you need more space for them or for journaling.
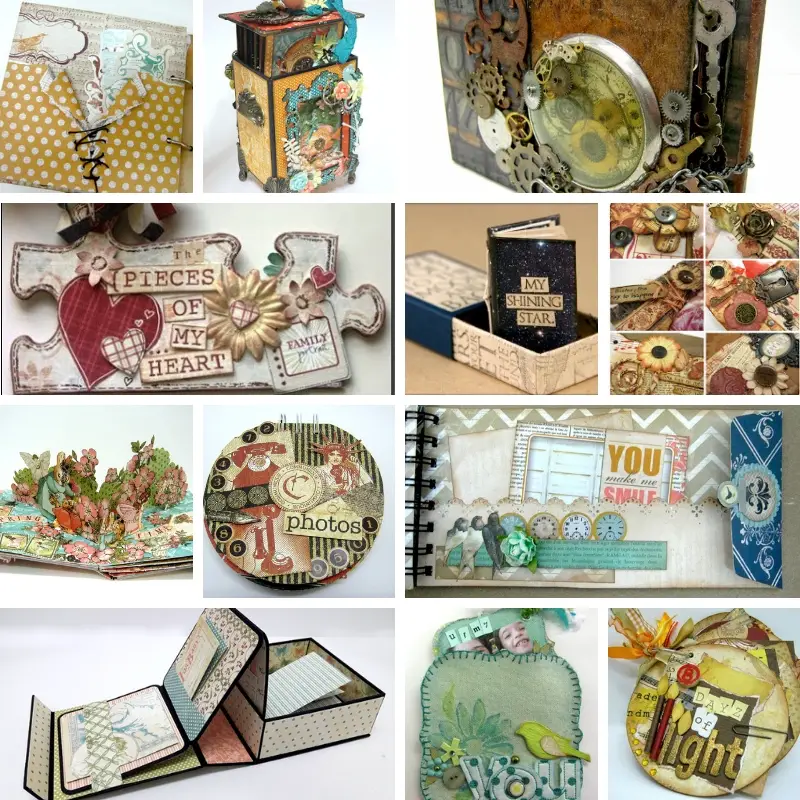
3 STEPS TO MAKE MINI ALBUMS
All mini albums have the same work process. Here's what you need to do:
1. BUILD THE COVER
Create the cover from chipboard or other material including the binding mechanism. If you bind your mini album with one ring and don't need a chipboard cover you can skip the first step and start with your pages. Just make one of the pages an opening page for the font.
2. CREATE THE PAGES
Cut cardstock into the desirable size and design your pages. This is when you also create all the interactive mechanisms and cover the pages with pattern paper if needed.
3. ASSEMBLE
Create your mini album: attach the pages to the binding, add the photos and embellish both the pages and cover.
HACKS TO MAKE AMAZING MINI ALBUMS
In order to take your mini albums to the next level and make them even more special and beautiful here are a few ideas:
ODD SHAPED MINI ALBUMS
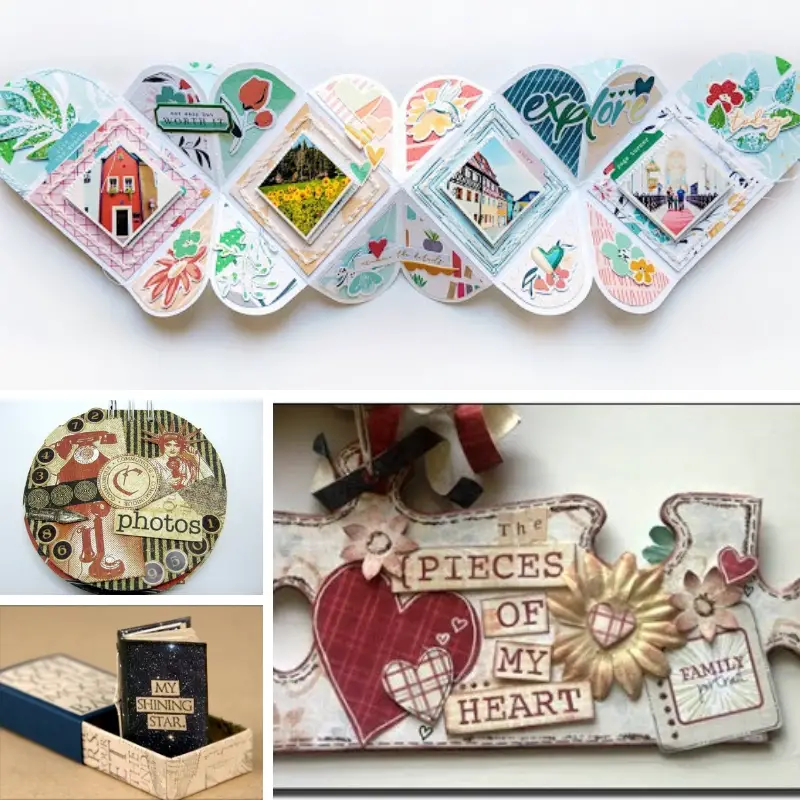
Creating a mini album with an odd shape other than a square or a rectangle is a great way to upgrade your mini album and make it more interesting.
Circle mini album Part 1 and Part 2
NON PAPER MINI ALBUMS
Using other materials for your mini albums will add different texture and a unique effect to every mini album you create.
TP rolls faux leather mini album Part 1 and Part 2

MAKE YOUR OWN EMBELLISHMENTS
Instead of using the traditional stickers and embellishments on your mini album create your own custom made embellishments.
INTERACTIVE MINI ALBUMS
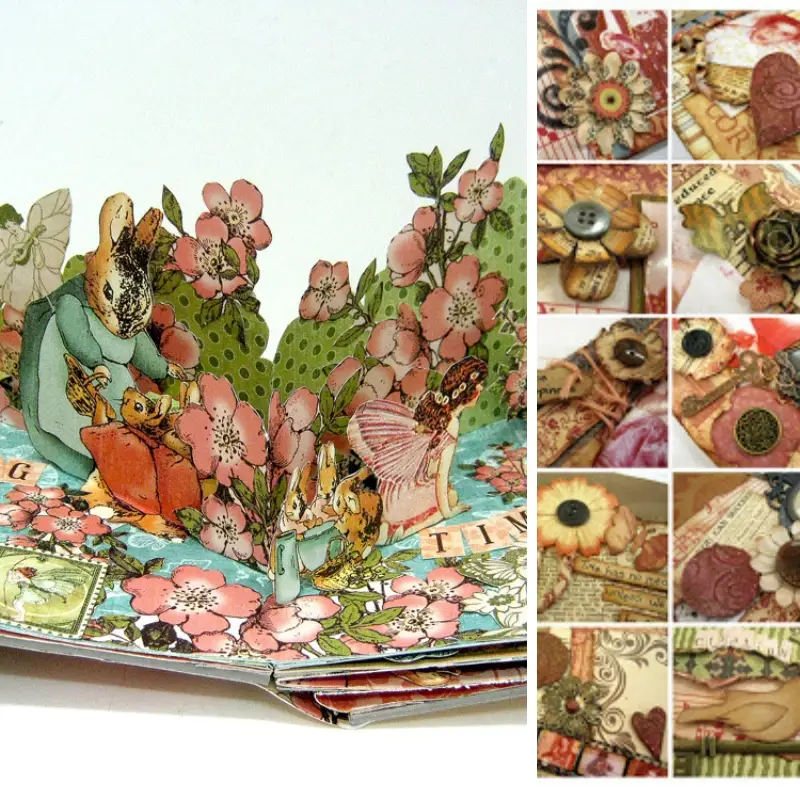
Adding interactive elements to a mini album will make it look unique, professional and much more complex. It will not only add more space for photos and journaling but it'll create a much more interesting and special experience for those who look at it or receive it.
Document your journey mini album
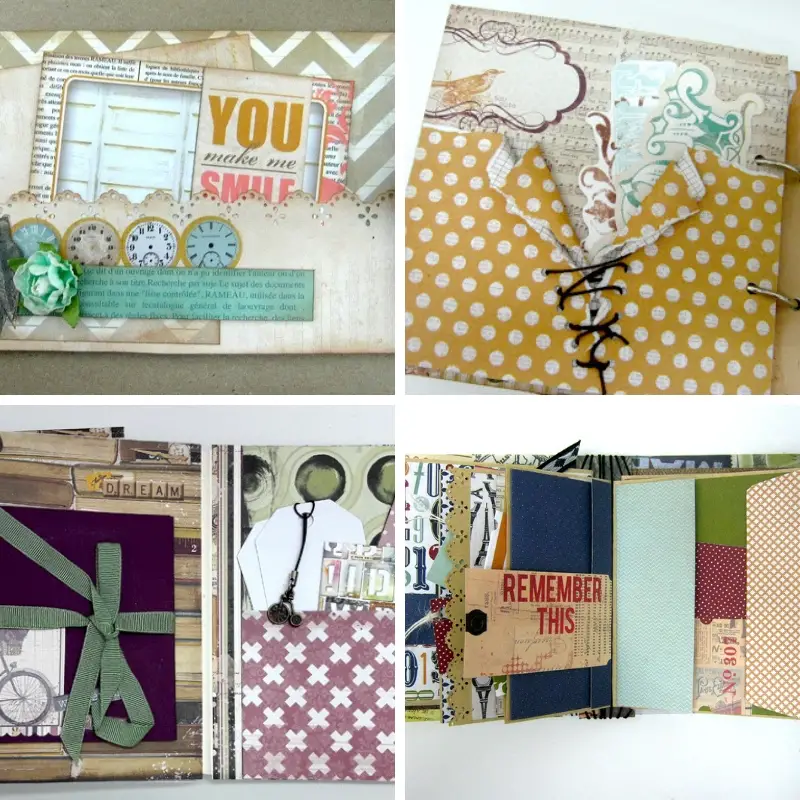
If you want to learn all there is to know about making interactive mini album check out inter-ACTIVES: Moving Mini Albums class where you'll learn to make an interactive with more than 30 different mechanisms from start to finish!
You can also learn how to make more than 30 different inserts for your mini album pocket pages! Check out the Ultimate Mini Album Inserts Class where you'll find out how to build interactive inserts to fill the pockets and envelopes in your mini album.
MINI ALBUMS IN A BOX
Building a mini album inside a box creates a whole look of a set and takes your mini album to the next level with a complete look.

SAVE it for later - PIN IT!
Have fun creating!


2 comments on “5 HACKS FOR AMAZING MINI ALBUMS YOU NEED TO KNOW”
I’m still at the beginning of my mini album making journey having only made a couple of albums by following tutorials. However i would like to try and design an original mini album of my own and have purchased a 12×12 set of some gorgeous Stamperia Patchwork papers to use. Because I’m limited to just using the one pack I’m worried about making too many elements to the pages then when I come to the decorating part that I might run out of papers. Do you have any tips? I would love your input
I always make all the elements in black and then I decorate with small pices of paper or strips if I’m low on paper. You don’t have to cover everything!