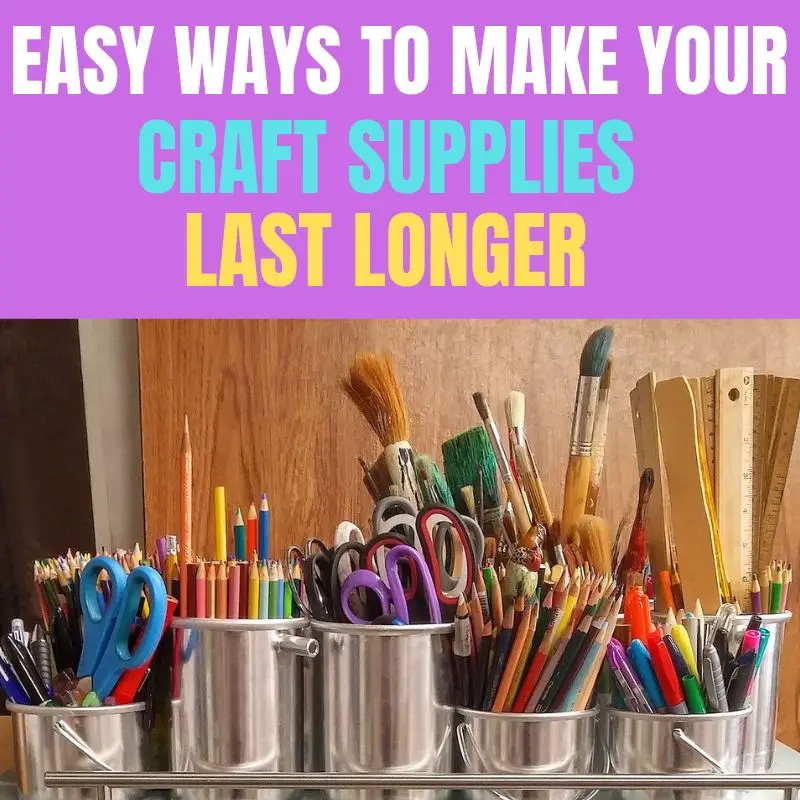
Inside: useful tips on how to make your craft supplies last and work longer
I have a problem with brushes… I always forget to wash them and as a result I have to throw most of them away because they dry up with all the paint on them and they’re unusable. Does this ever happen to you? Got any craft supplies you can’t use anymore or dried up ink pads, paints or stamps? I once had a Martha Stewart border punch which broke after only using it twice! They sent a new one but it was days after i needed it for my project.
We spend so much money on craft supplies and tools only to throw them away when we can’t use them anymore. It’s not only waste it’s also really frustrating when you need to use them and can’t.
MOST USED CRAFT SUPPLIES
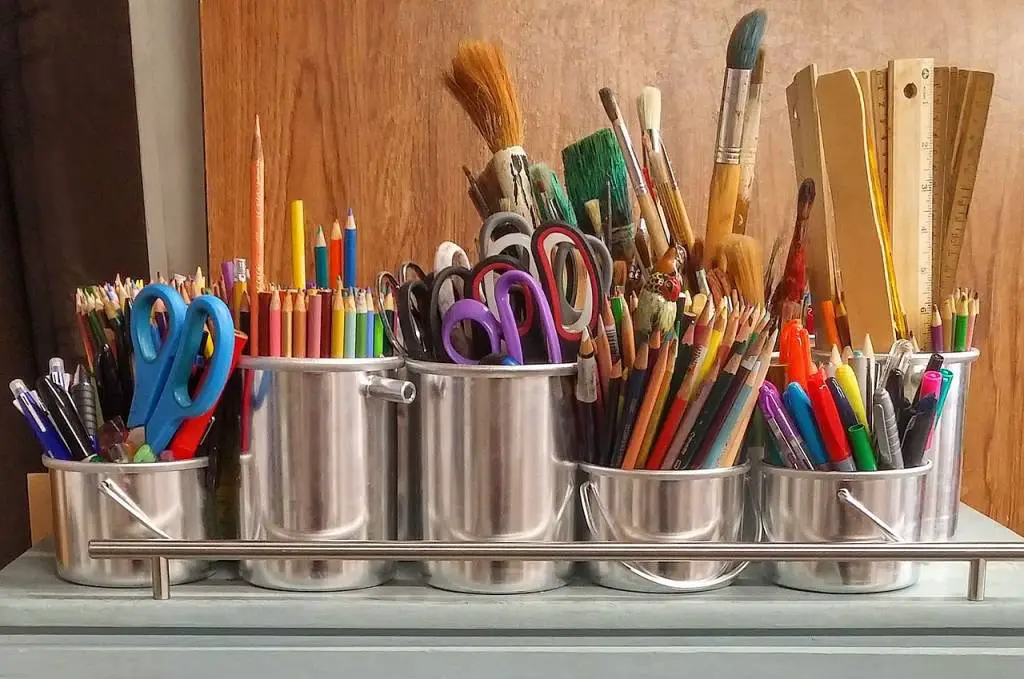
Our craft room is full of supplies, some we use often and some not so much. Usually the craft supplies we use the most are the first to break, dry up or destroyed. I’m not talking about papers, stickers or ribbons which are only used once or twice I’m talking about the craft supplies and tools that we need to use over and over again:
- Paints
- Ink pads
- Punches
- Scissors
- Brushes
HOW TO EXTEND THE LIFE OF CRAFT SUPPLIES
There are a few easy steps we can take to keep those craft supplies and tools functional for a long time.
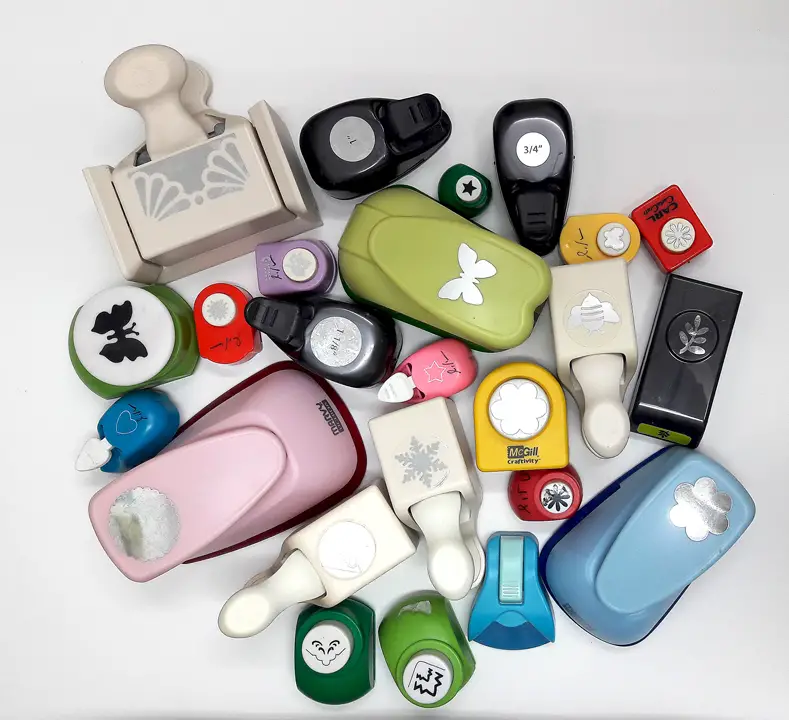
PUNCHES
Punches can stop working for two reasons:
1. THEY BREAK – in this case there’s not much you can do. Talking from experience I can say it’s really hard to open them and fix them.
2. THEY NEED SHARPENING
If this is the case you need to:
-
- Get a piece of aluminum foil and fold it in half, then in half again to create four layers.
- Stick that folded piece in your punch, and punch a couple of shapes from it. Do maybe half a dozen or so. Believe it or not, that will sharpen up your punch a bit.
- Another way to sharpen your punch is to punch sand paper. Start with a coarse and then continue with a lighter one.They get stuck –
3. THEY GET STUCK
To fix that you need to:
-
-
- Tear off a small piece of wax paper, and fold it into four layers.
- Punch through the folded wax paper half a dozen times. You’re waxing up the edges a bit, which helps encourage the punch to spring back quickly.
Once all your punches work perfect you can create amazing projects. Here are some ideas!
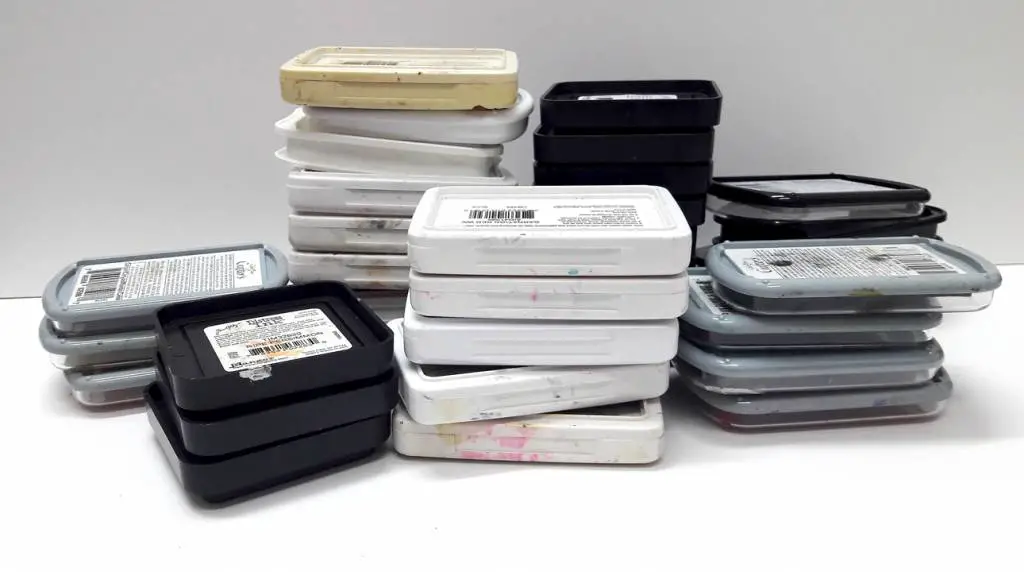
INK PADS
Ink pads dry because of the same process that makes the ink dry on your project – the evaporation of the solvent or liquid in the ink. It can happen for a few reasons:
- The ink pad is not closed properly
- It’s not stored properly
- The pad is too old
In order to extend the life of your ink pad here’s what you need to do:
- Always close the lid of the ink pad while you’re using it.
- Store the ink pad upside down.
- Eventually you’ll need to re-ink the pad with pigment and solvent. Almost all ink pads today have available refills.
- In case you don’t have a refill add a little Glycerin to the ink pad and it’ll bring it back to life. Check out what else you can do with Glycerin in the craft room
STAMPS
Stamps can dry up over time and get chipped or broken. It depends on what material the stamp is made of and it’s more common in acrylic and rubber stamps. Proper cleaning and storage of your stamps is an easy way to extend their usable life. However If you have dried rubber stamps leave them to stand with Glycerin for a few hours and it will fix the stamp. Then store them in their package or in a Ziploc plastic bag.
Some stamps can become stained after repeated use or after you use permanent inks. If your stamp is stained, but clean, it will not transfer old ink onto your new project.
Here’s what you need to do to clean your stamps:
- Clean the stamp using a mild soapy water.
- A clean toothbrush is great for washing off ink that has become embedded in nooks or crannies in the stamp.
- Use a stamp cleaner and stamps scrubber for really old and stubborn ink.
STENCILS
Stencils are usually made of durable materials. But cleaning them regularly with soap and water will make sure no excess paint will interfere with the stencil’s pattern. Store them in their original package so they will not get tangles in each other and torn over time.
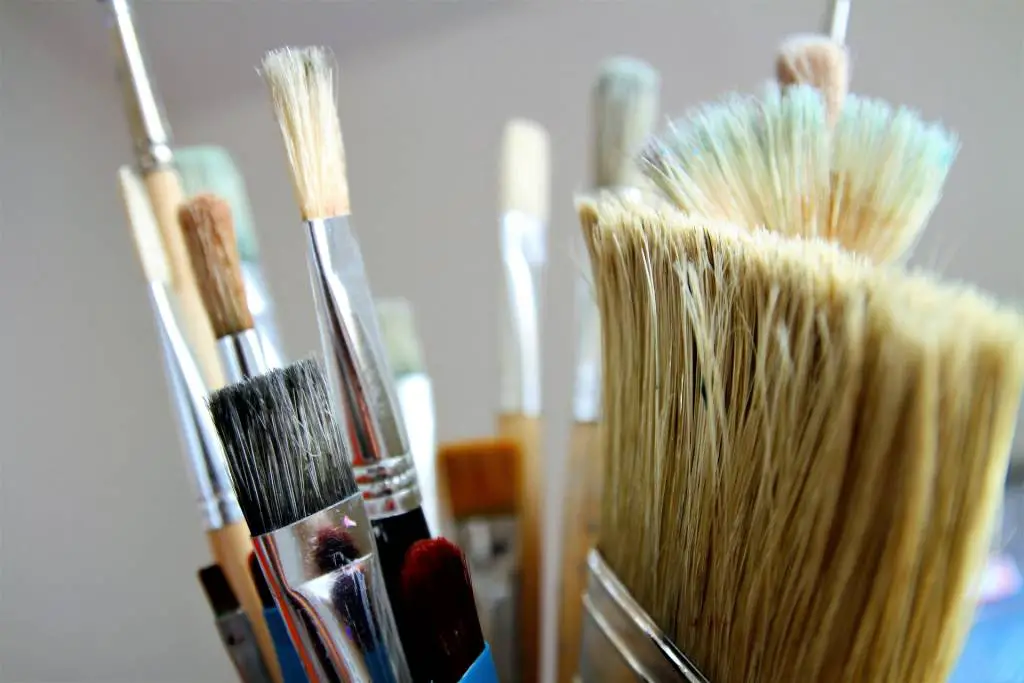
BRUSHES – CRAFT SUPPLIES YOU THROW THE MOST
This is definitely my weakness… as I said before I can’t remember how many brushes I had to throwaway because I didn’t wash them.
To avoid this happening to do this:
1. CLEAN THE BRUSH IMMEDIATELY AFTER USING IT
When you are having an artistic moment, it may be tempting to leave a dirty brush to sit for a while while you grab another one to complete your masterpiece. Resist! Especially in the case of painting with acrylics, forgetting to clean a brush often means buying a new one.
2. WASH THE BRUSH WITH SOAPY WATER OR SHAMPOO
When you know you’ll be putting your brushes away for a while, a simple rinse in water (or mineral spirits for oils) isn’t good enough. Work brush soap or shampoo into the bristles of the brush all the way down to the ferrule, and rinse thoroughly with lukewarm to cool water until no trace of paint or suds are left.
3. MAKE SURE TO CLEAN THE BASE OF THE BRISTLES
The area near the ferrule is often the hardest to clean, but it’s actually just as important for maintaining a brush’s shape as the tip. Any paint residue that coats the bristles at their base will prevent them from coming together at the top. Gradually, your brush tip will become more and more spread apart until it no longer holds its shape.
4. NEVER STORE YOUR BRUSHES VERTICALLY IN WATER
The pressure on the brush can permanently misshape the bristles, bending them or spreading them out so they no longer come to a point. If they are left too long to rest on the bristles, most brushes will never regain their original shape. Store clean brushes vertically head-side-up or horizontally. Make sure that brushes aren’t resting against the tips of other brushes, or they can become deformed.
PAINTS
Acrylic paints all dry out at some point but in order to reach that point as late as possible there are a few things you can do.
- Try to buy paint with a small opening the less contact with air the longest the paint will stay liquid. If you have paints in large opening containers cover the opening with plastic sheet and then close the lid.
- While working always make sure the paint is closed.
- If you have paints you haven’t used for awhile shake them every once in awhile so the pigment and the liquid will mix together and not separate (which is a contributing factor for fast drying).
- Add a tiny amount of Glycerin to the paint and shake well. The Glycerin will extend the drying time of the paint while you’re using it and while it’s in the container.
SCISSORS – ALSO CRAFT SUPPLIES
One of the most annoying things that can happen to a crafter is having dull scissors. Apply these tips and keep your scissors sharp and in tip – top condition:
1. USE THEM ONLY FOR ONE MATERIAL
In the scissors case don’t mix and match! Resist the temptation to reach for the nearest pair of scissors to cut fabric after you’ve been using these scissors for paper. You’ll dull or nick the metal and may also throw off the alignment of the blades. Keep a separate pair for each material such as paper, fabric or metal.
2. AVOID MOISTURE
Scissors are from metal so they don’t like moisture. Keep them out of the way when you’re spraying or spritzing on your mixed media project. Moisture or water can cause rust and although we steampunk fan LOVE rust it’s not something we would want on our scissors.
3. KEEP THEM SHARP
- SHARPEN WITH SANDPAPER: cut through the sandpaper, cutting long strips, about 10-20 times. Use full scissor strokes, beginning the cutting at the base of the scissors and extending to the tip. Cutting through sandpaper is good for scissors that aren’t horribly dull, but just need some touch up sharpening. The sandpaper also helps smooth out nicks and indents on the blades.
- SHARPENING WITH ALUMINUM FOIL: about 8-10 inches long, and fold it lengthwise multiple times so you have a thick, folded strip of foil. Cut strips of the aluminum foil with your scissors until you have cut the entirety of the thick aluminum strip.
- SHARPEN WITH MASON JAR: yes…you have read correctly…
- Fit the scissor blades around the mason jar. Open the pair of scissors as wide as they can go, and position the blades around the sides of the mason jar. The jar should be as far as it can go between the two blades.
- Hold the jar with one hand, and the scissors with the other hand. Cut the mason jar. Squeeze the scissors closed, and slide the mason jar out from between the blades as the scissors close.
Glass is made of sand and although it’s melted it can still use as a sharpener. Repeat this process until the blades have a smooth, clean edge. Be sure to use a mason jar that you don’t mind damaging, because the blades of the scissors might leave scratch marks on the jar.
4. KEEP THEM CLEAN
Wipe your scissors regularly. Wipe the blade and the pivot screw (where lint and grease build up) with a soft, dry cloth. If you get glue residue on the blades wipe them with a moist cloth and then dry the blades thoroughly.
Leave me a comment with your tips on how to make your craft supplies and tools last for a long time.
Save it for Later – PIN IT!


3 Responses
I like how you wrote about Easy ways to make your craft supplies last and work
longer.
I want to share too, most trusted wholesale supplier list: https://bit.ly/31tTure (maybe it will help someone)
Thanks and keep it up!
A tip for brushes when the bristles standing out all sides. Put in some water based hair gel. The strong (cheap) kind for spikes. Form the brush back in shape with your fingers. That’s it, just let it dry and leave it until the next time you’ll need it. Rinse out the gel before using it.
This might not work for all brushes but for the kind my kids use it works great.
Great tip Anneke. Thanks!