October 19th, 2013
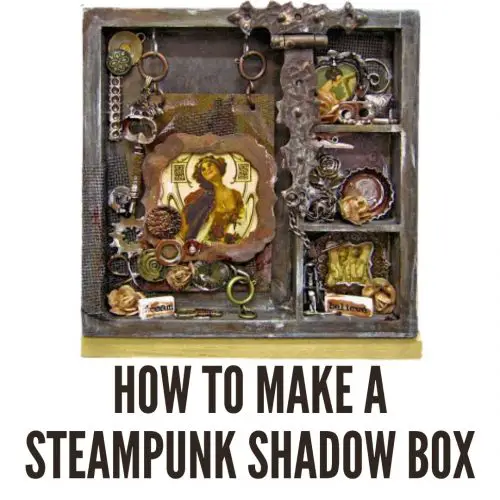
Inside: how to make a steampunk shadow box with a romantic style to it I think shadow boxes are just magical. They combine two things I love, the first is boxes. I love them, I collect them, I buy them even if I don’t need them. You can put all your treasures, memories and secrets in a box. The second thing is touching. One of the reasons I love traditional scrapbooking and not digital is you can feel the page. You can touch it, go over all the elements with your hand and bond with them. Bond with the story. Shadow boxes are the same because you can touch everything in the box and feel the story. WHAT MAKES A STEAMPUNK SHADOW BOX UNIQUE There are many styles of shadow box you can make like you would scrapbook pages, cards or mixed meia canvases. A steampunk shadow box has an industrial mechanical look that is …
September 21st, 2013
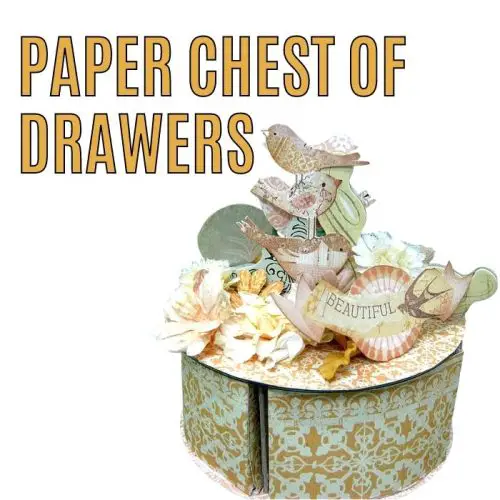
Inside: how to make a glamorous recycled paper chest of drawers Everyone has a collection. Some like to collect stamps, others have stamps collection or even movie memorabilia. I love boxes. I have many of them, even though I don’t have many things to put in them. During the years I bought a few, but I also really love making them. It always amazes me how little you need to build a box and how easy it is. BUILDING A PAPER BOX Building a paper box is a simple process that usually requires folding and gluing You can make a box in any shape and although it will not hold very heavy items it can be useful and not just decorative. WHAT TO PUT INSIDE A PAPER BOX As long as the items are dry and relatively small you can put almost anything inside a paper box. Here are some ideas: Beads …
September 10th, 2013
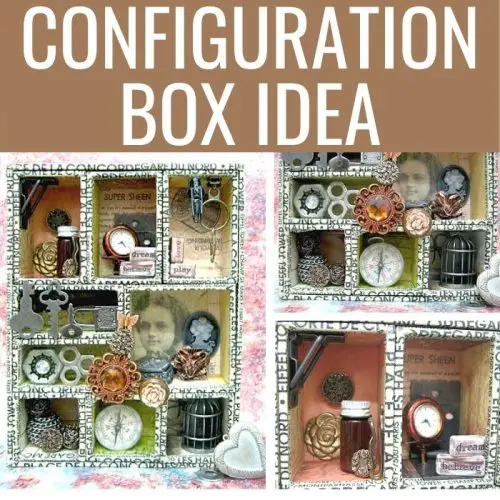
Inside: how to make a configuration box with 3D objects and little found treasures I have a confession to make… I’m a hoarder. My house is not full of stuff but I do have A LOT of metal embellishments that I collect from all kinds of places. Why I collect them is a good question – something about metal objects fascinates me especially when it comes to add them to mixed media and altered project. They have a really interesting look in a craft project that I can’t resist. However collecting is nice but what do you do with all the metal embellishments you have? I found an answer… fill a configuration box! WHAT IS A CONFIGURATION BOX Configuration box is of a shadow box with compartments that can be filled with 3D objects. You can find wooden boxes ad chipboard boxes from various brands. Each brand has a different order and sizes for …
August 24th, 2013
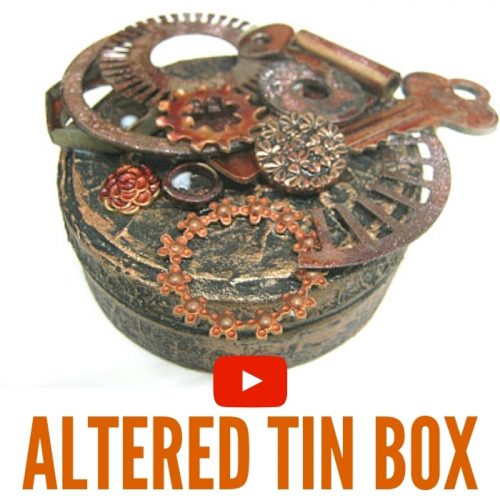
Inside: how to alter a tin box steampunk style with the best mixed media technique My oldest boy likes a type of chocolate that is sold in tin boxes of different shapes and sizes. I can hear you now… “knowing her, she probably keeps all of them…” and you’ll be completely right. I can’t help myself, I love boxes and I just have to keep them. My plans for these boxes are great, but most of the time they just sit on a shelf waiting for me to notice them and do something… Altering boxes is part of a large craft genre called altered art. ALTERED ART Altered art is a popular form of craft where you take an existing object and change it into something else. This recycling and reusing of objects is versatile and can include almost any household item or a 3D object. Sometimes the change is dramatic, for example when you …
August 17th, 2013
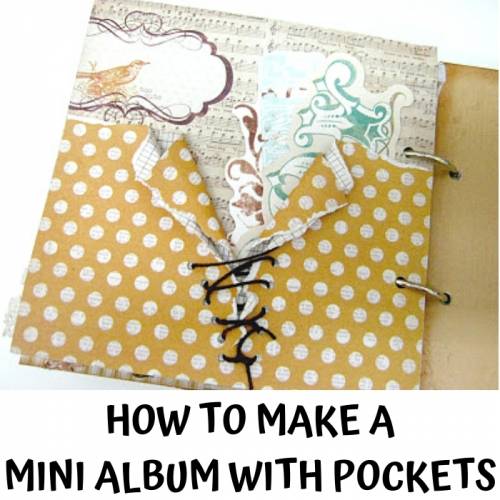
Inside: how to make an exciting mini album with pockets for extra photo space I always prefer pants with pockets because it’s really comfortable when you need to keep something handy like your phone. My mini albums are no different! Making mini album with pockets is not only fun and pretty it’s also very handy when you want to add more than one photo per page. Mini album with pockets is a type of an interactive mini album that has “moving” elements in it that engages the viewer and allows for more space for photos and journaling. These elements can be pockets, flaps, windows and more. Find out how to make 20 interactive mini album pages! WHY MAKE MINI ALBUM POCKET PAGES It allows you to add more than one photo to a page You can also add journaling cards, memorabilia, tickets and more. It gives your mini album a professional look. Adding pocket …
June 29th, 2013
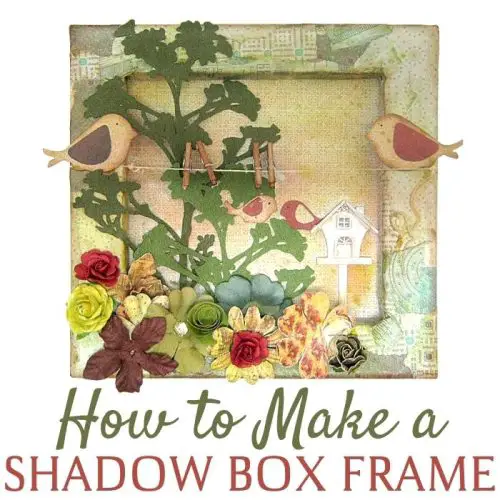
Inside: how to make a shadow box frame I was 50 years old just a few months ago and I’d like to think my memory is as good as it was 20 years ago, but I’ll have to face reality…it’s not! I have to write everything down or I’ll forget it. So i write notes and I put them in my DIY shadow frame box that is also a bulletin board. MAKE A SHADOW BOX FRAME BULLETIN BOARD If you are used to looking at a canvas as a flat surface to make art on, you better think again! A canvas has two sides… One is flat and great for art and mixed media projects, but the other side is much more intereating. The other side of a canvas is like a shade box frame waiting to be made. Since it has depth it is perfect for turning it into a shadow box. There are …
November 19th, 2012
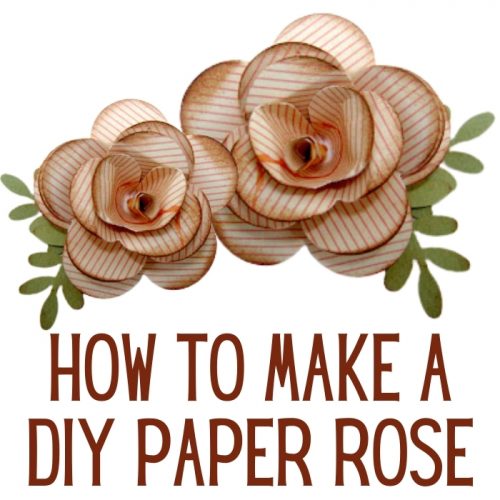
Inside: how to make a DIY paper rose flower for paper crafts When I need a specific embellishment and I can’t find it in my stash I make one this way I always have the perfect embellishment that matches my project in color and size. This is also a great way to use my paper scraps instead of throwing them away. This DIY paper rose technique require the following: 6 petals flower punch Double sided cardstock Leaf punch (optional) Here are three different size punches you can use to make this flower: HOW TO MAKE A DIY PAPER ROSE STEP 1 Punch 3 flowers. If you don’t have the right punch you can print a flower image on the computer, cut it and trace it on your cardstock. Left flower: make a cut from the edge between two petals to the center. Middle flower: cut out one …
« Previous
1
2
3
4
5
Next »
